

Hello July! This month Kirstie has provided some fantastic projects for you to try at home; Rope Coasters and Lino Printed Napkins.
Rope Coasters
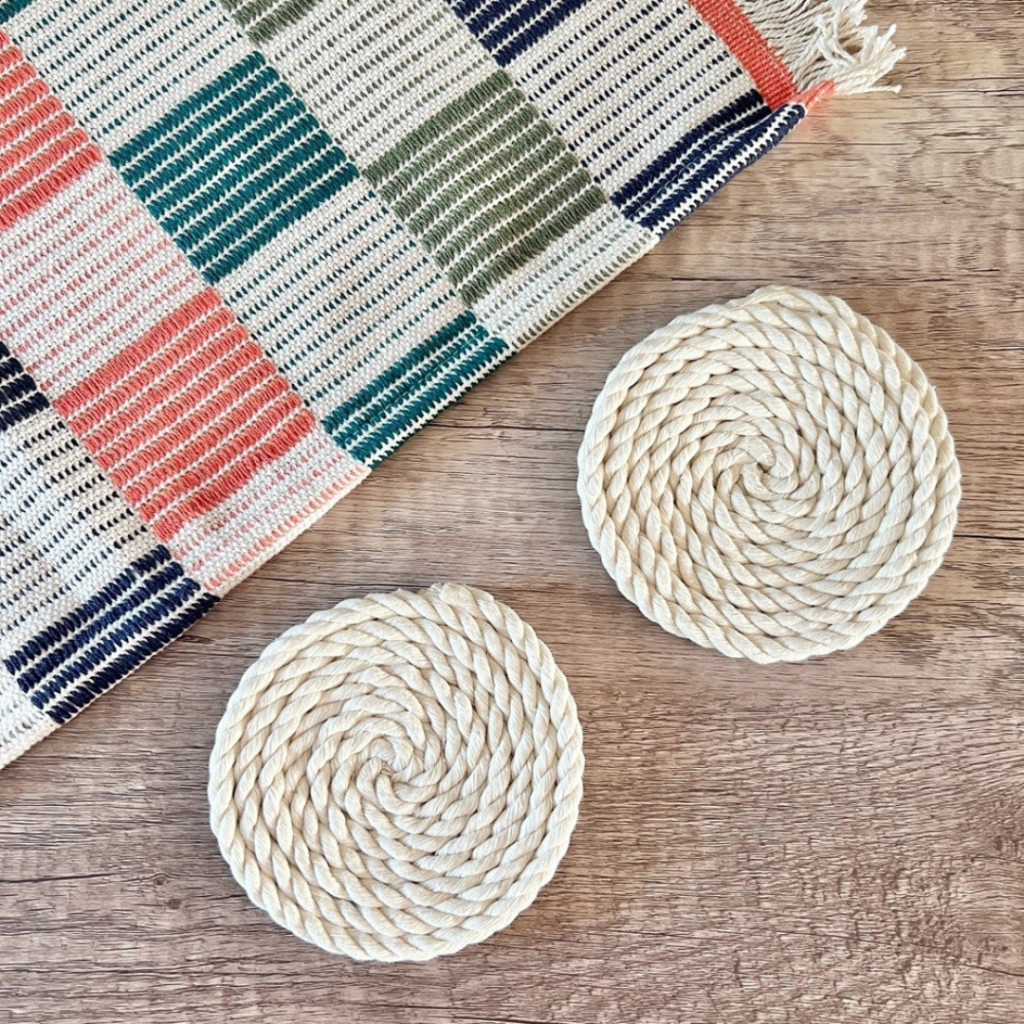
Skill level: Beginner
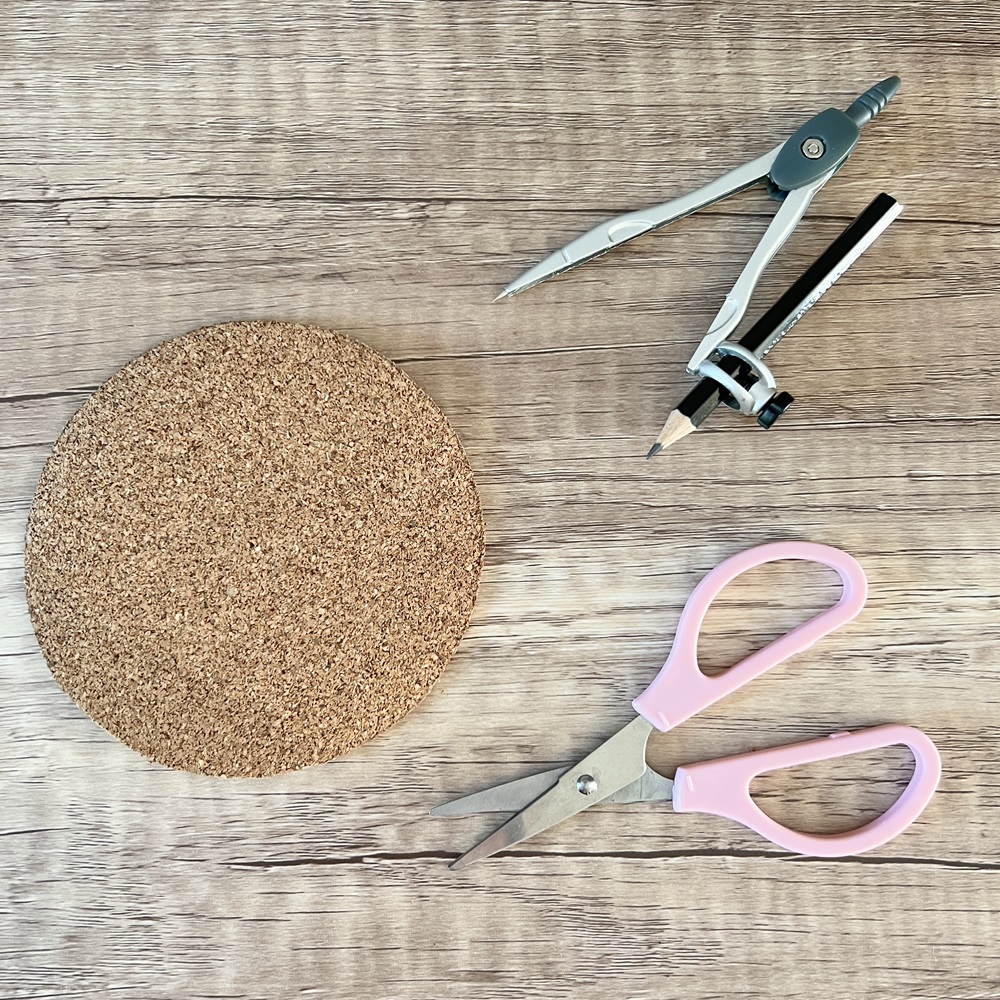
You will need:
- Cork sheet – 25mm thick and 11cm diameter (per coaster)
- Rope – 8mm x 140cm (approx. per coaster)
- Glue gun and glue
- Compass and pencil
- Ruler
- Sharp scissors
Tips and ideas
- Be careful not to use too much glue as it can become a bit messy.
- Use a different colour of rope to match your dining colour scheme.
- Make a larger cork circle and use a longer piece of rope to create a matching place mat.
- Make a set of coasters, tie together with ribbon and gift to a friend.
Step 1
Set the compass to 5.5cm and draw a circle on the cork sheet. This will create a circle with an 11cm diameter. Mark the centre point and cut out.
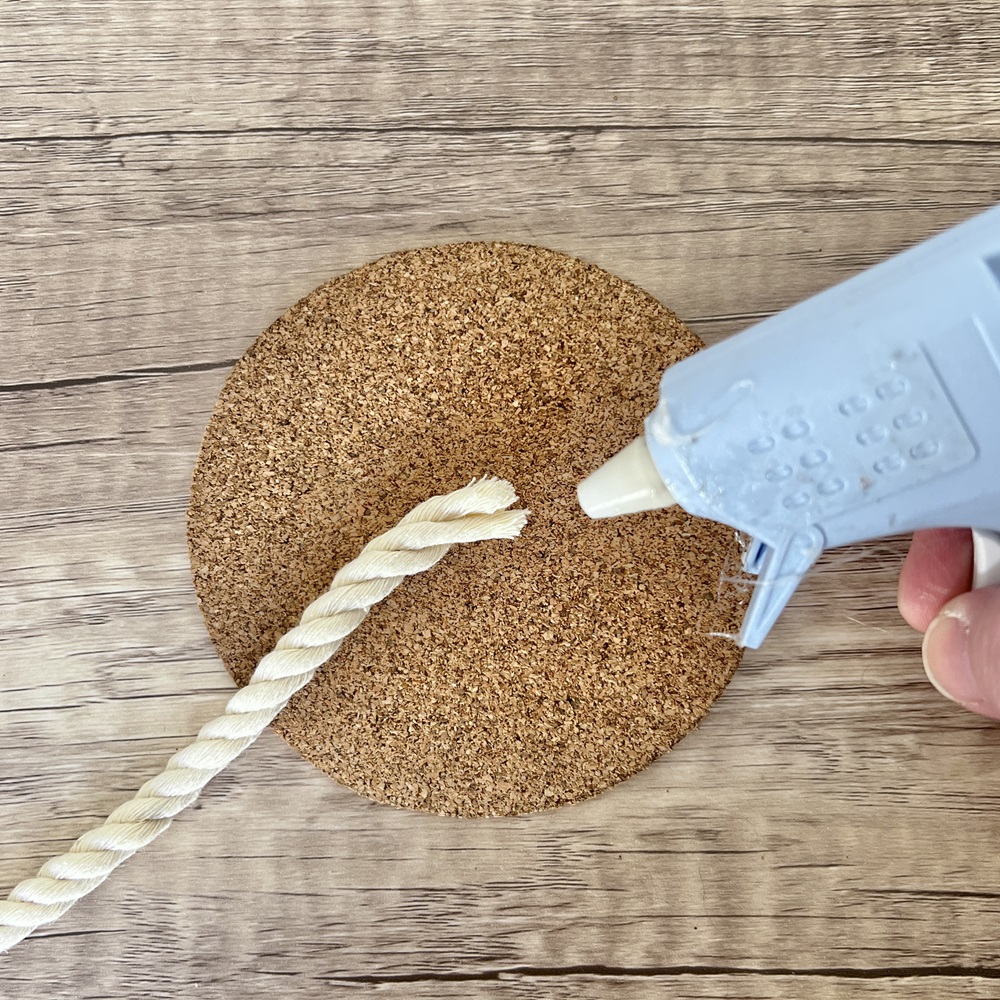
Step 2
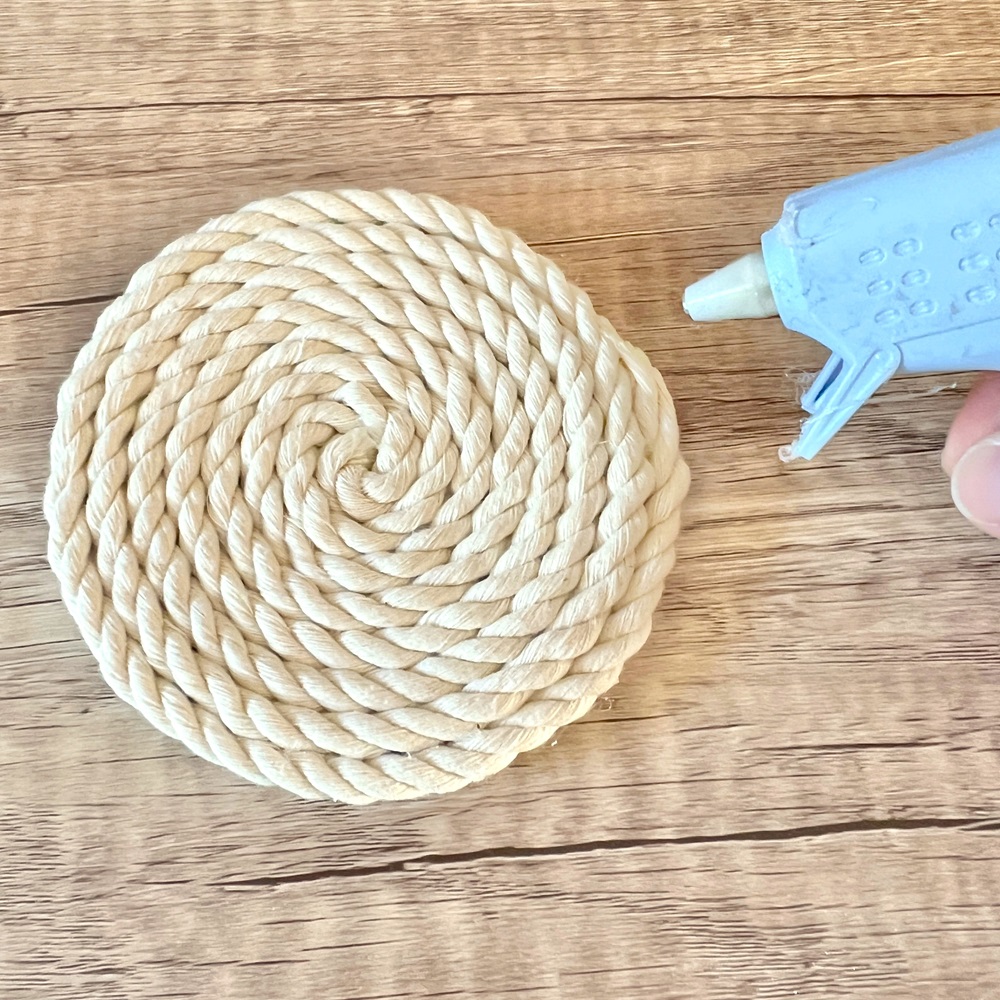
Using the glue gun, add a dot off glue to the centre of the cork circle. Take the end of the rope and place it on the glue dot.
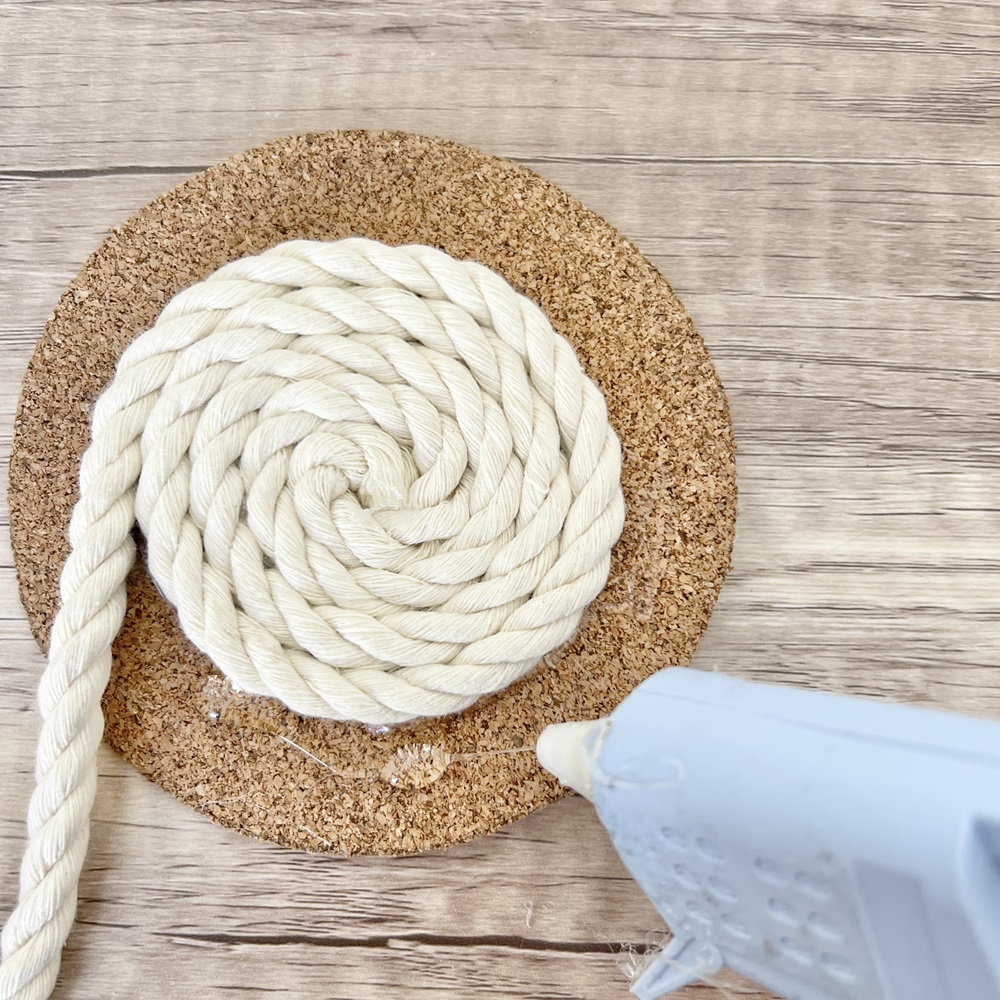
Step 3
Use the rope to create a spiral on the cork circle, adding glue to the cork board before you place the rope down. Continue until you reach the edge of the cork circle.
Step 4
Use the rope to create a spiral on the cork circle, adding glue to the cork board before you place the rope down. Continue until you reach the edge of the cork circle.
Lino Print Napkins
Skill level: Beginner
You will need:
- Cotton or linen napkin/s
- Fabric paint
- Cutting lino
- Lino cutting tool
- Paper
- Pencil
- Black permanent marker pen (fine)
- Tracing paper or baking paper
- Sponge for paint
- Paint tray
- Foam mat
- Tape
- Iron
- Scrap paper
- Lino cutting safety guard (optional)
Tips and ideas
- After use, clean your stamps with warm, soapy water.
- Be careful when using the lino cutters and cut away from you. You may need to rotate your lino as you cut. You can also use a lino cutting safety guard if you have one.
- If you are confident with your design, draw directly on to the lino (don’t forget you will need to draw the design back-to-front so that it prints the correct way round).
- If you would find it easier, when you have cut your design, glue the back of the lino to a small piece of wood the same size as your design to create a handle to use when stamping.
- If you are not confident with drawing, trace a design.
- You can also use lino printing inks instead of paints.
- Lino printing kits are available to purchase from craft shops and online.
- Use acrylic paints or lino ink to use your stamps on paper. You could create cards, gift wrap, gift tags and lots more!
Step 1
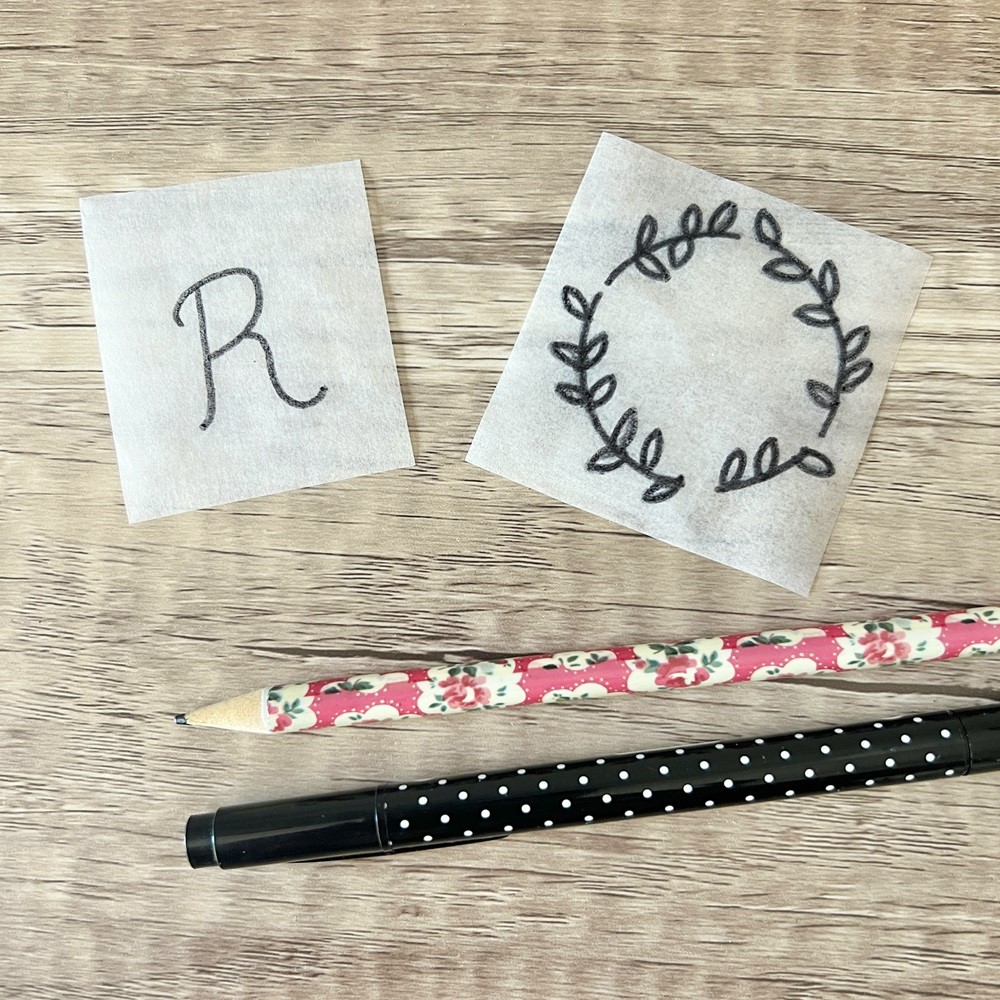
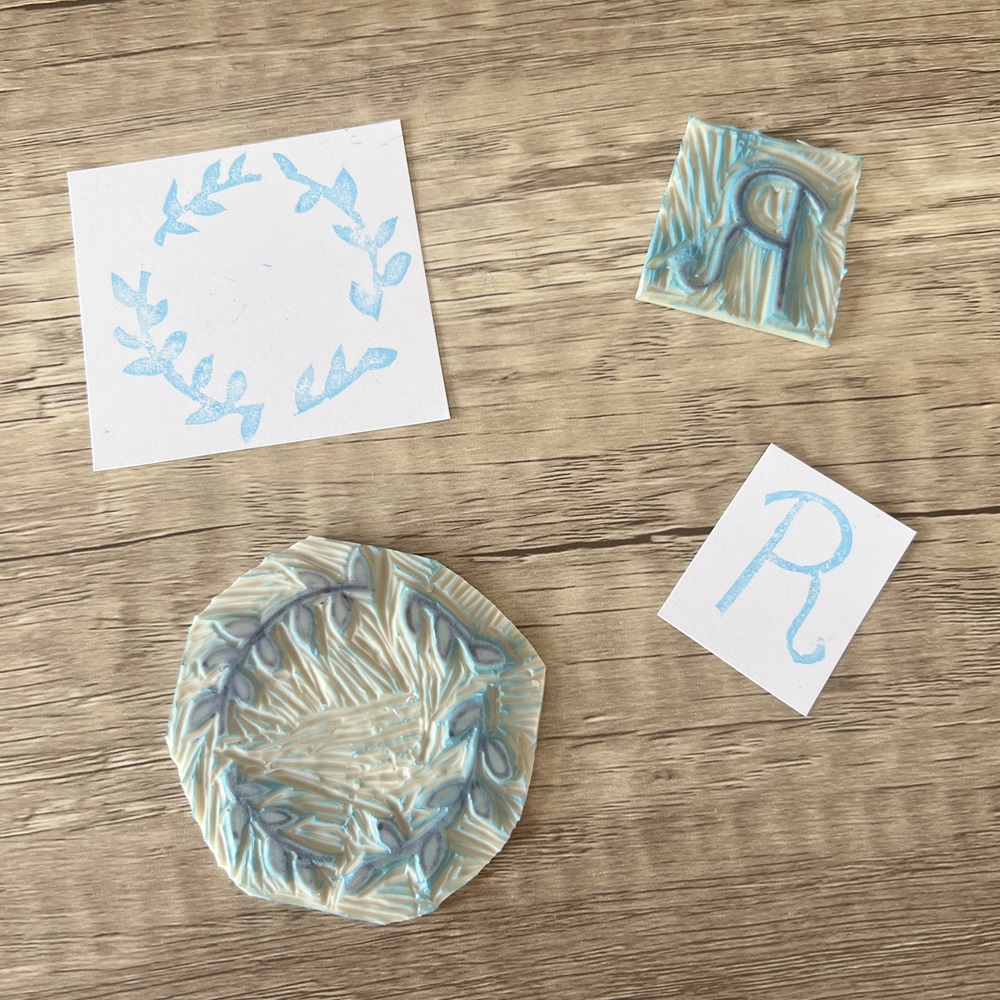
Using the pencil, draw your design on to the tracing/baking paper. For this design, we drew a circle with gaps, and added leaves. We then drew a letter as the napkins will be used as place settings at a table with the guests initials on.
When you’re happy with your drawings, go over them in permanent pen.
Step 2
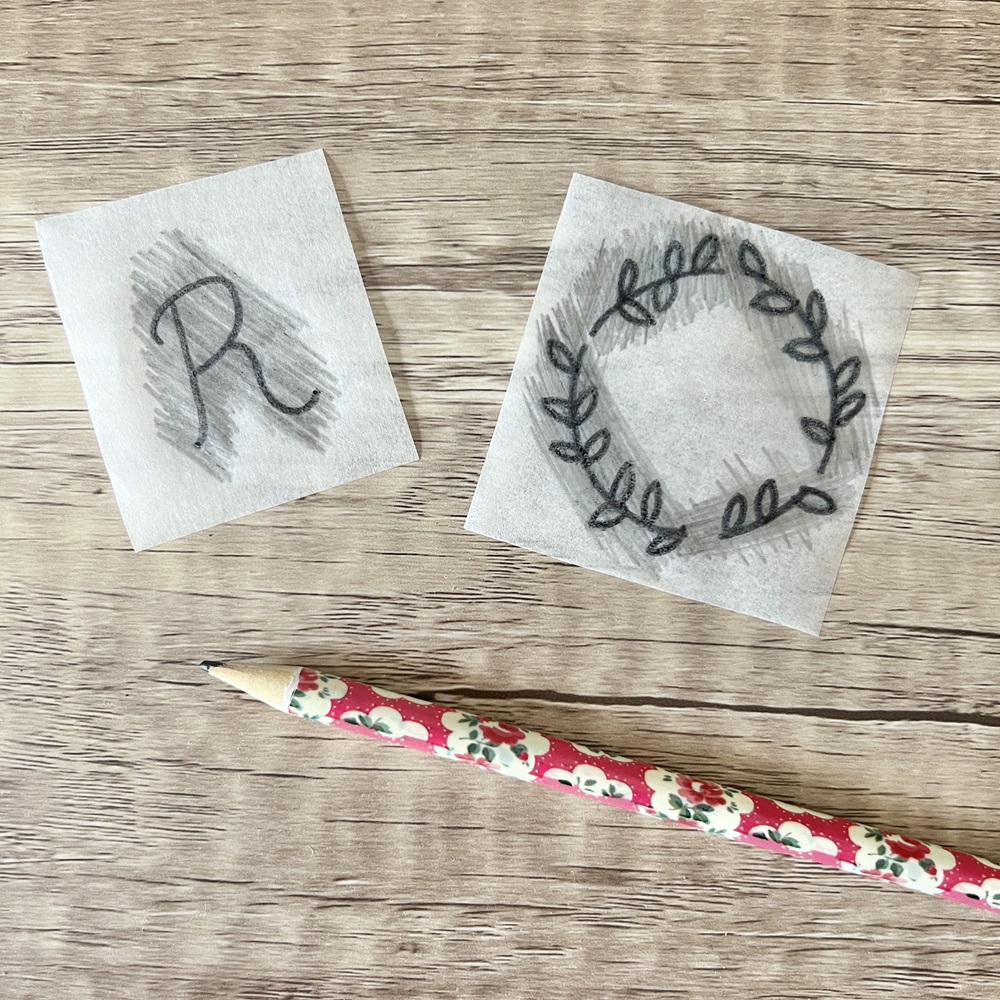
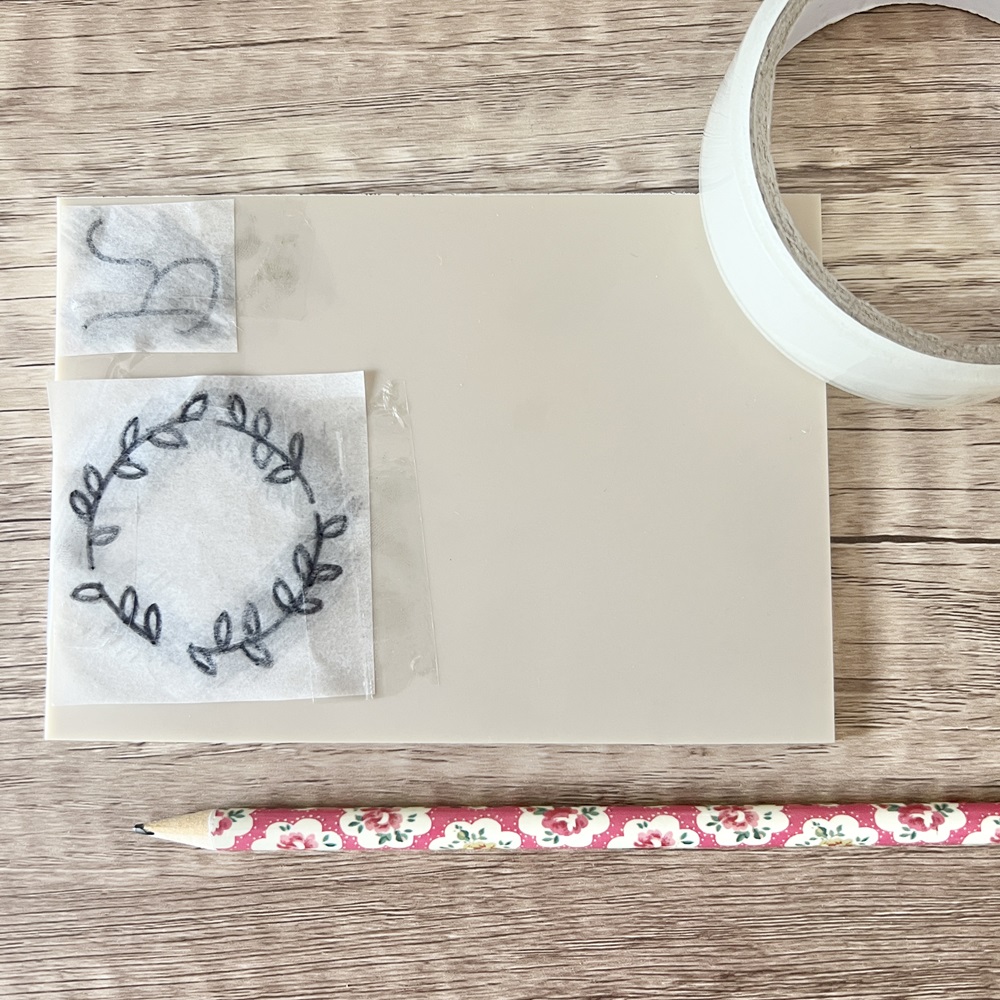
Using the pencil, scribble over the top of your drawing, ensuring all lines of the drawing are covered.
Step 3
With the lino shiny side up, place your drawings right-side down on to the lino and tape into place. The designs should now be back-to-front.
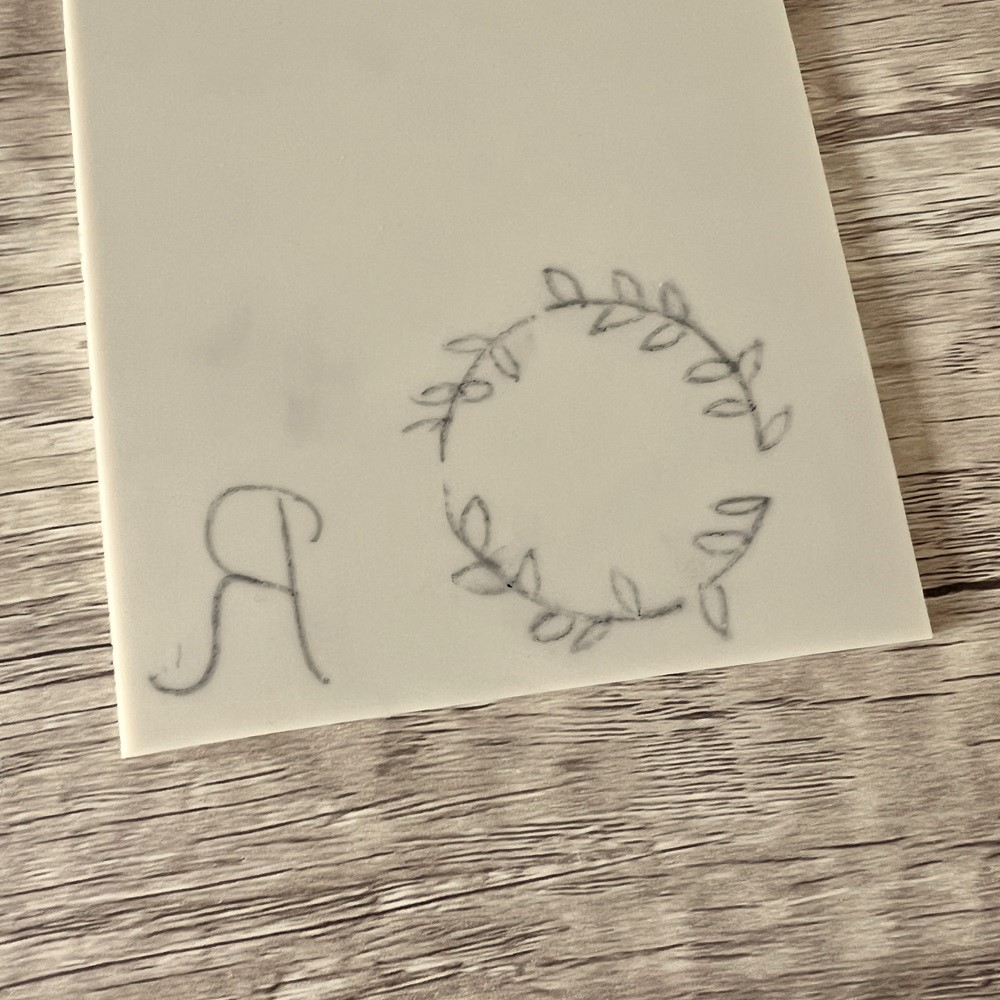
Step 4
With your pencil, and pushing down firmly, draw over the lines of your design. This will create a copy of the drawings (back-to-front) on to the lino.
Remove the paper from the lino.
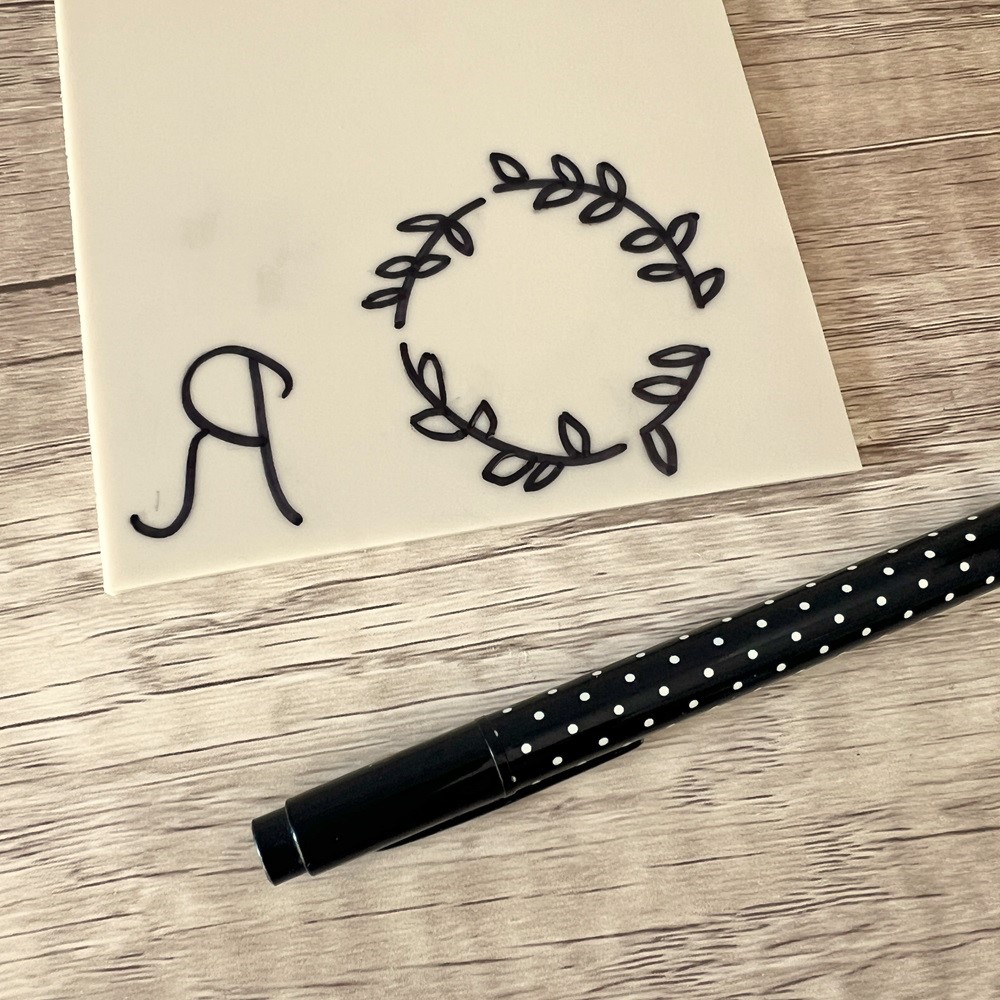
Draw over the top of the pencil markings with the permanent marker pen.
Step 5
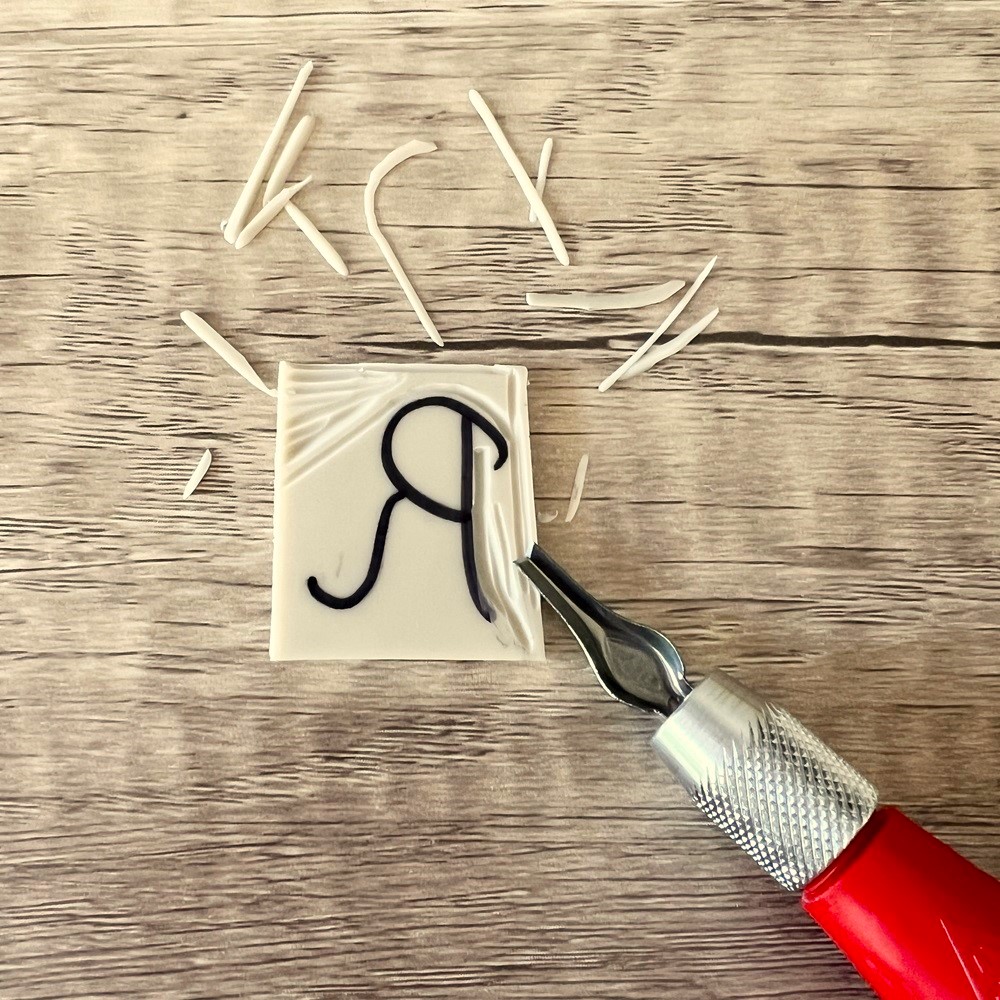
Cut the stamps out of the lino sheet, close to the edge of the design to reduce the amount of lino you need to remove.
Take the lino cutter and carefully remove all parts of the lino that you do not want to print with your stamp.
Step 6
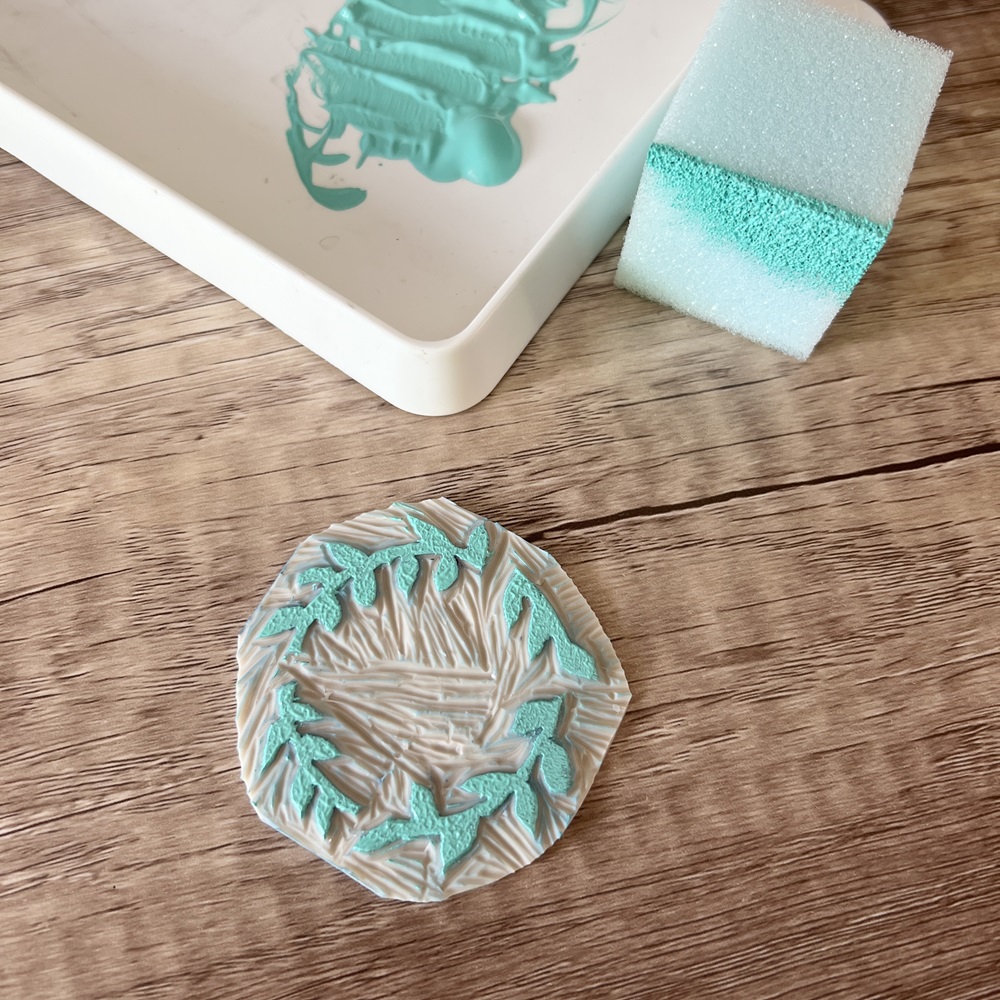
Pour some of the fabric paints on to the paint tray.
When you think you have removed all of the lino required, take the sponge, add a small amount of paint and carefully dab it on to the stamp.
Place the stamp face down on to the scrap paper and press firmly and evenly on to the back of the stamp. Lift the stamp upwards to remove it from the paper.
You will now be able to see the print you have created and you may find that there are still some areas of the lino that need to be removed.
Remove any further lino required and test again (do this until you are happy with your print).
Step 7
Lay out your napkin on top of the foam mat.
Sponge the fabric paint on to the stamp and place it face down on to the area of the napkin you would like your design. As above, press firmly and evenly on to the back of the stamp. Lift the stamp upwards to remove from the fabric. Allow to dry.


Step 8
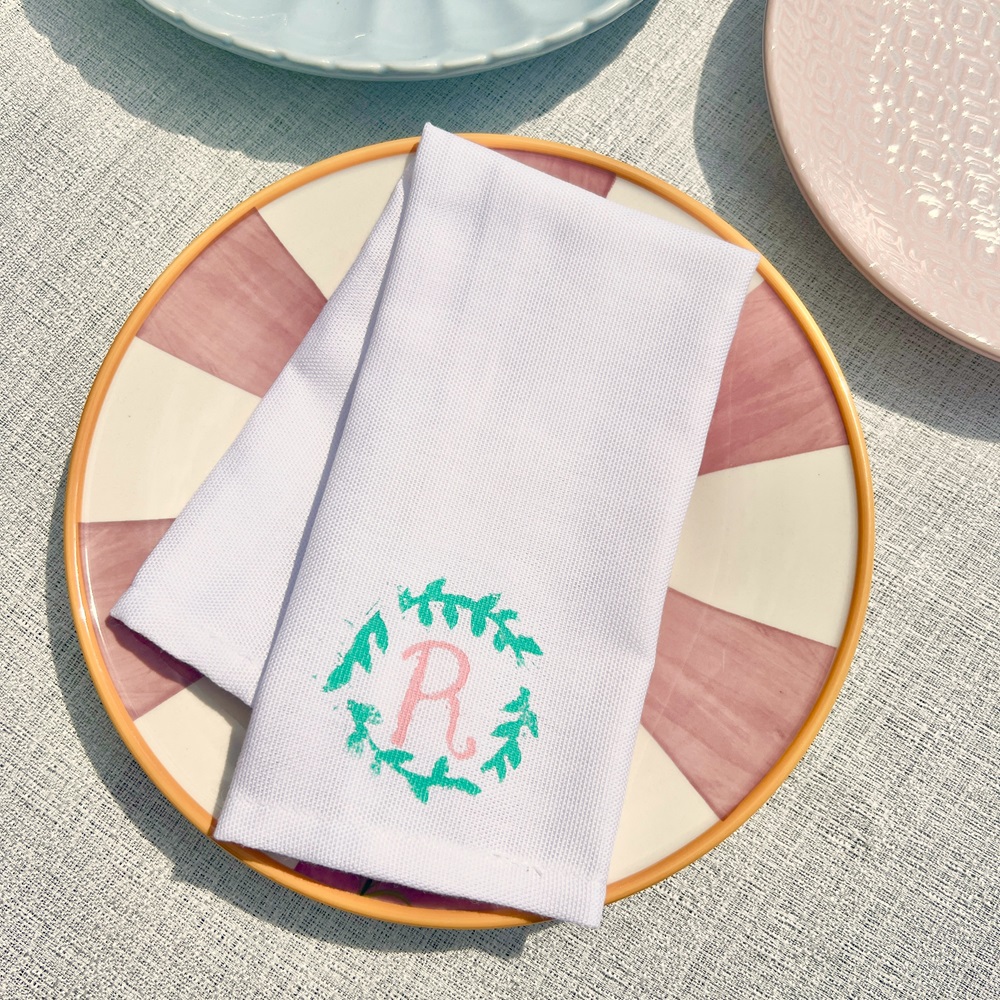
Repeat the stamping for any other parts of your design. We have added the initial on to the napkin, in the middle of the leafy design.
When you have added all elements of your design, follow the paint manufacturer’s instructions to heat set the paint. The paint we have used states we should use a dry iron to press on top of the painted designs – the design will then be permanent and machine washable up to 40 degrees.