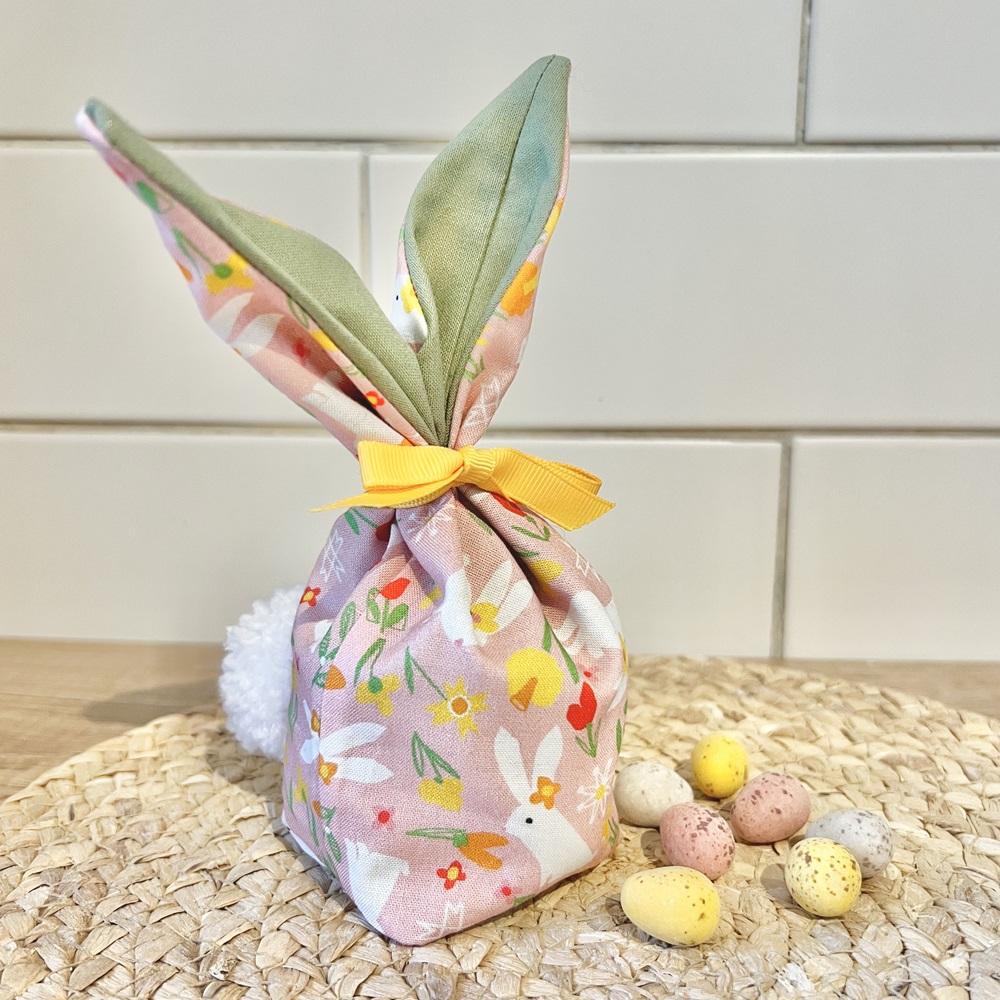
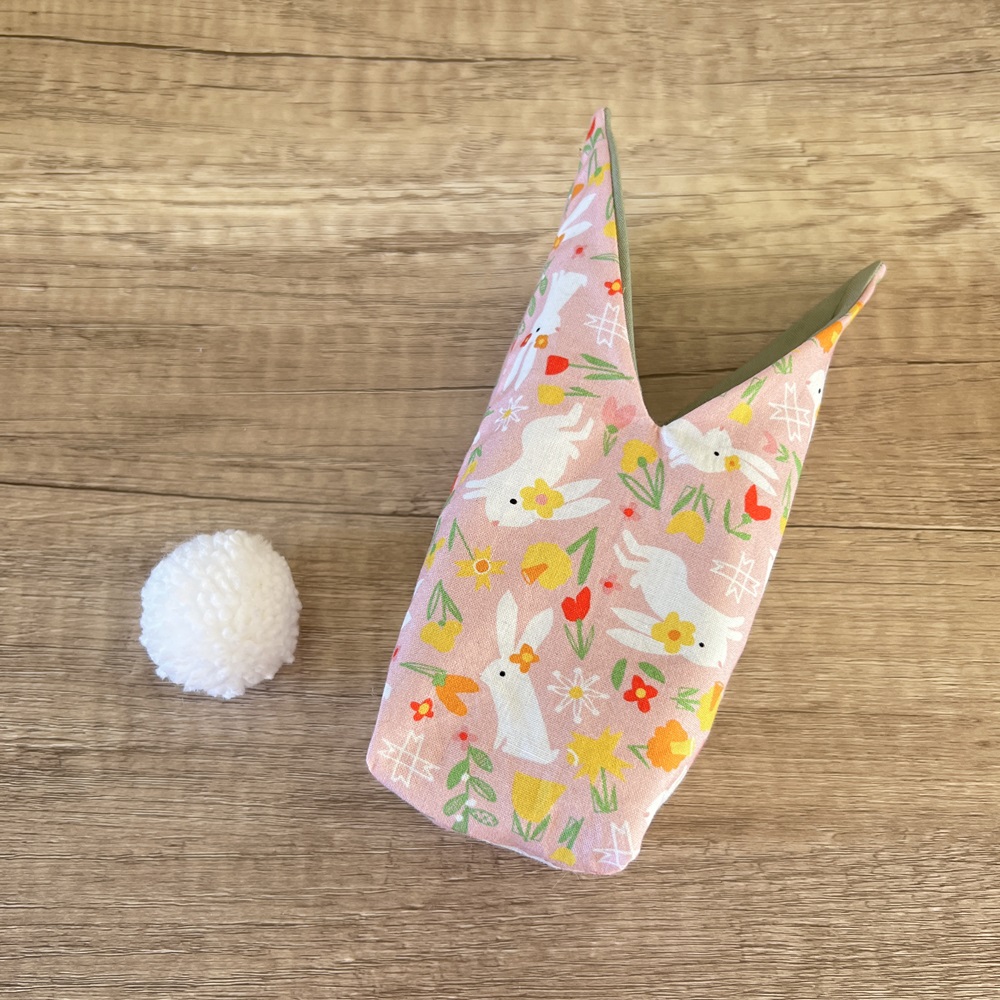
This April, Kirstie Phipps brings us a charming and practical crafting project that’s perfect for the Easter season! Whether you’re planning a springtime celebration or simply love giving handmade gifts, this adorable Easter bunny treat bag is a fun and festive way to share sweet surprises.
Featuring cute ear ties and a fluffy pom-pom tail, Kirstie’s easy-to-follow tutorial will show you how to create these delightful little bags, ideal for filling with chocolates, small gifts, or homemade goodies. They’re perfect for kids, friends, or anyone who deserves a little Easter cheer!
Simple to make and endlessly adorable, this project is a great way to add a personal, handmade touch to your Easter gifting. Let’s get crafting!
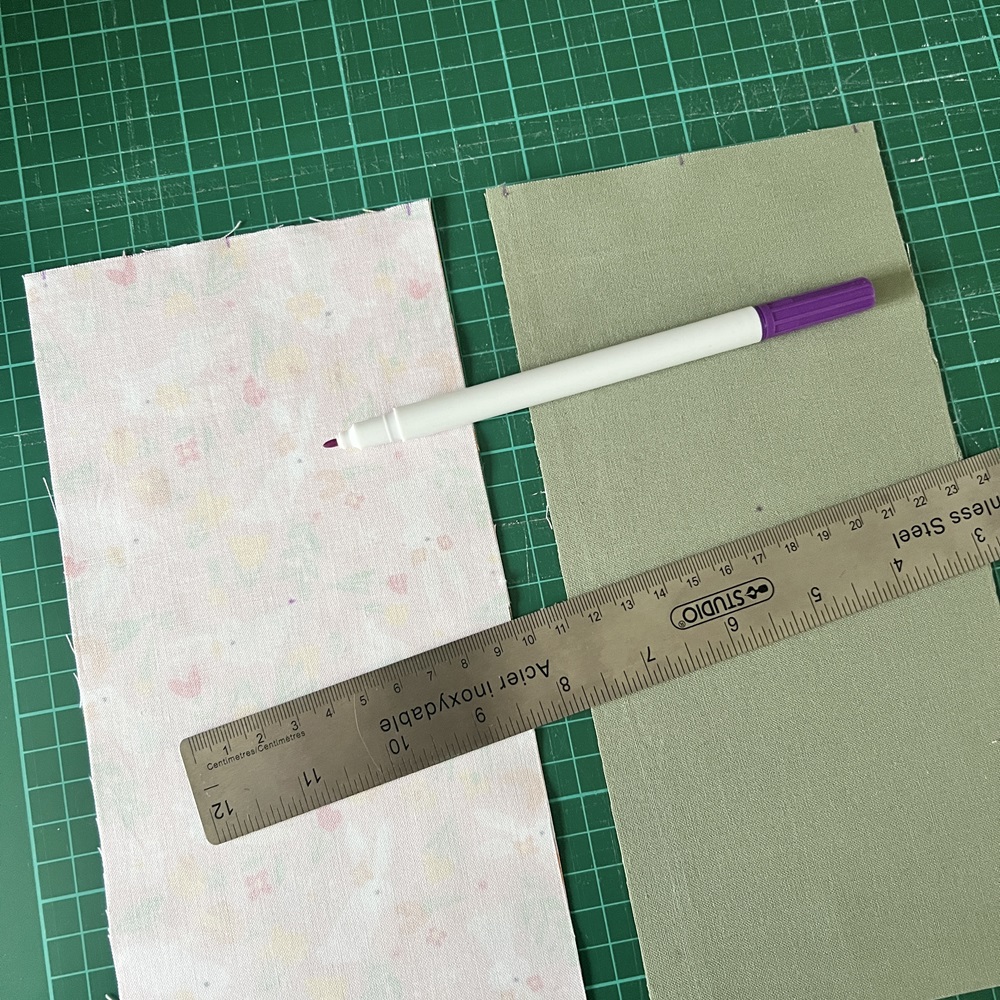
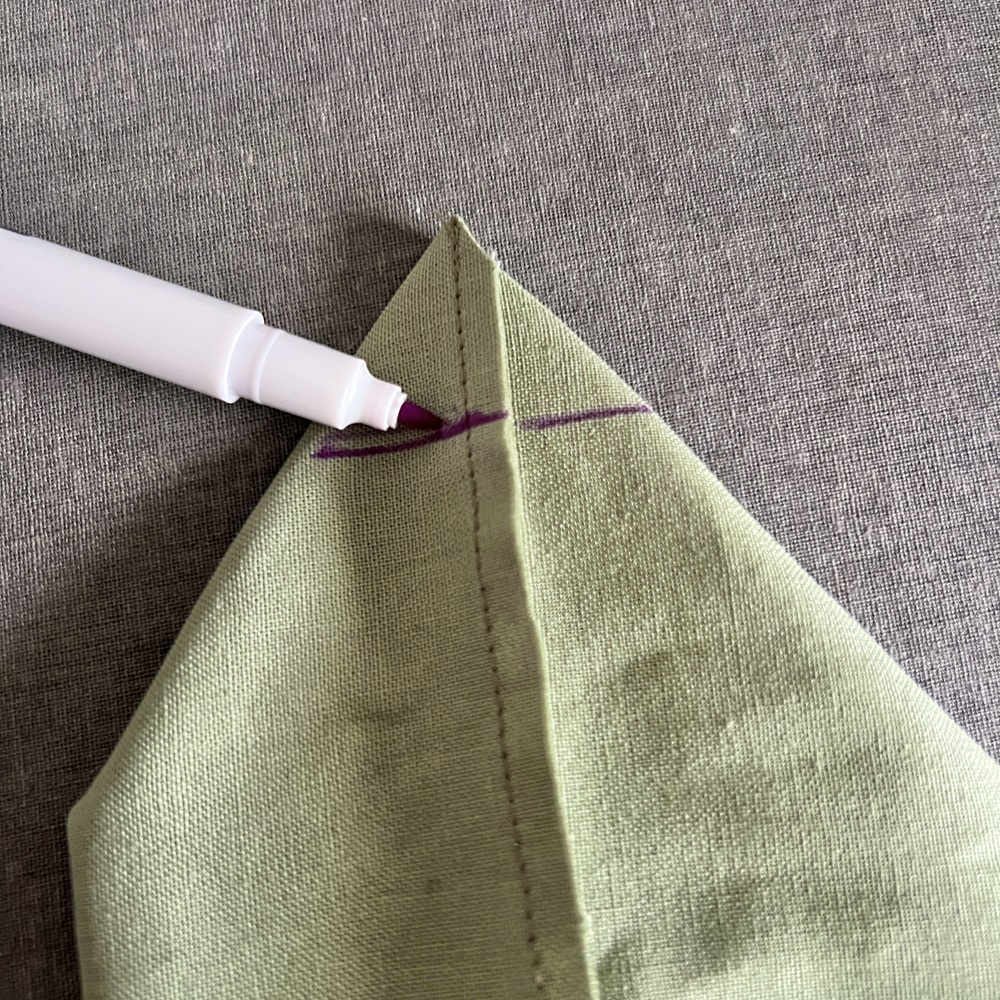
Using your fabric pen, at the top/open end of the main fabric, make a mark 5mm from the edge on both sides, left (mark A) and right (mark B). Also, make a mark in the middle of the top of the fabric, and then in the middle of the fabric, 10cm down (mark C). Repeat on the lining fabric.
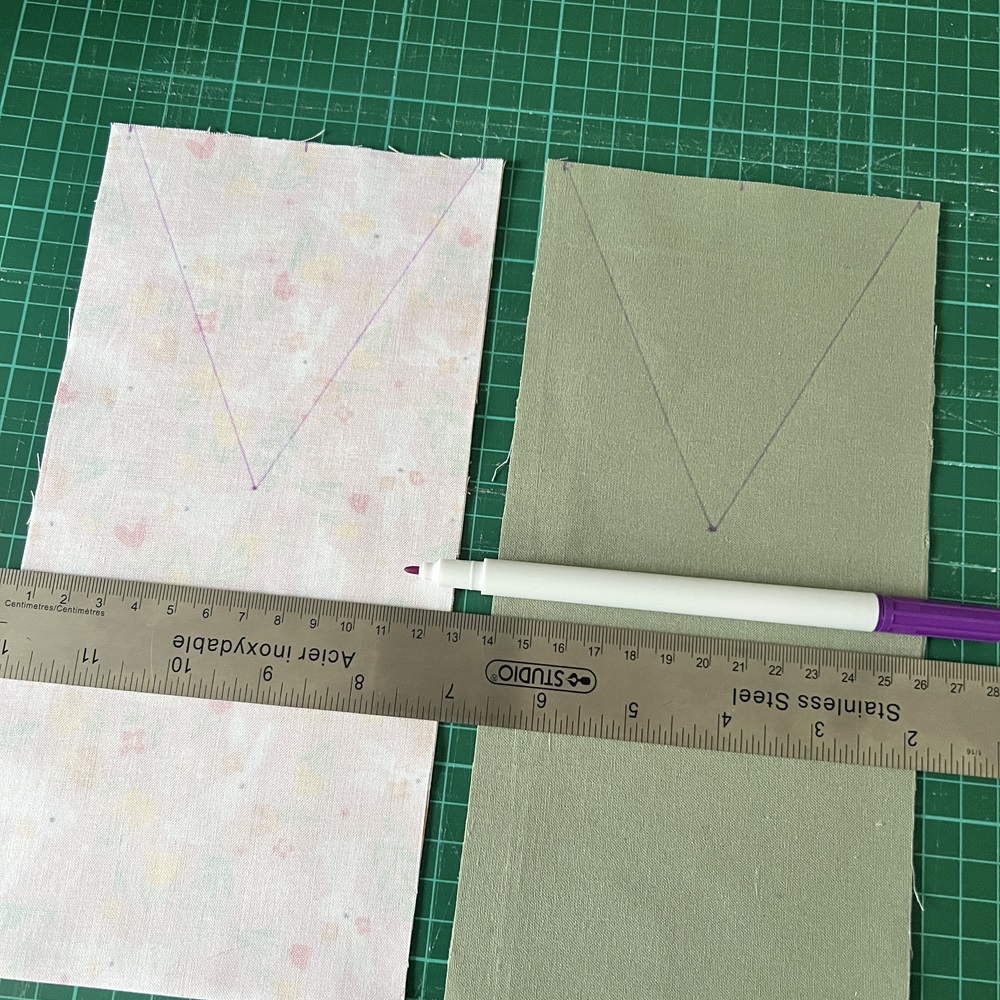
Step 2
With the fabric pen, on the main fabric, draw a line from ‘mark C’ to ‘mark A’, and then draw another line from ‘mark C to ‘mark B’.
Clip the two sides of the folded fabric in place. Cut out the triangle shape through both sides of the folded fabric. Repeat for the lining fabric. Remove the clips/pins.
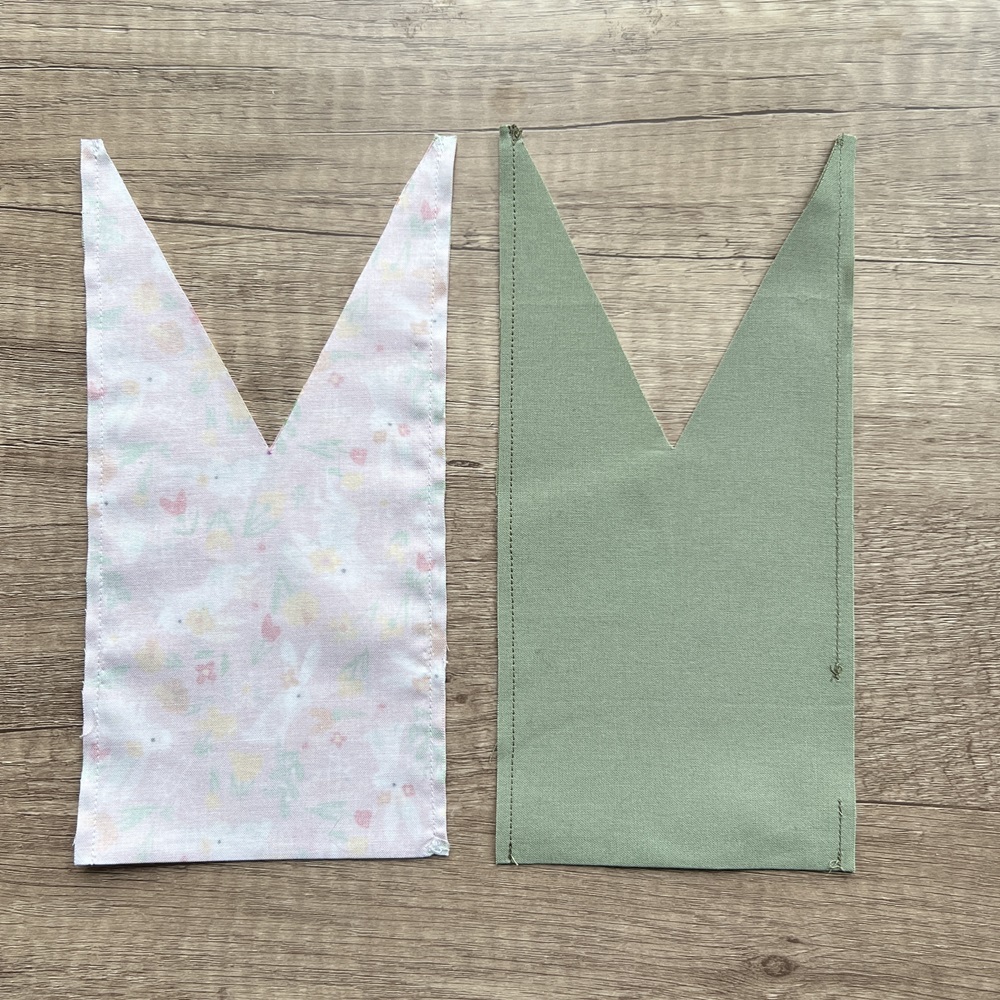
Step 3
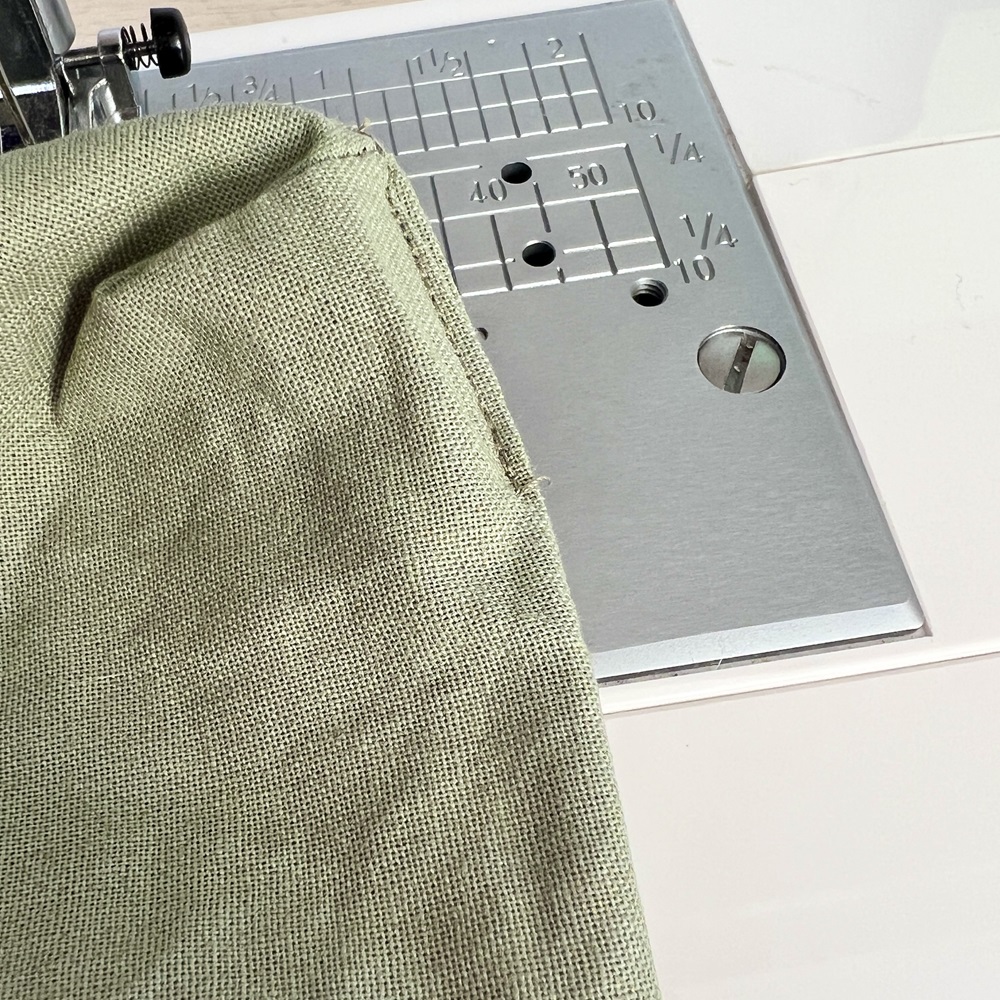
Take the main fabric piece and on your sewing machine, straight stitch from the top to the bottom on each side of the long edges, sewing from the mark you made on each side, therefore, leaving a 5mm seam allowance. Repeat on the lining fabric, however, ensure you leave a gap of 4cm in the stitching on one edge (at least a few cm from the bottom) so the fabric can be turned out.
Step 4
On both pieces of fabric, trim the corners of the seams. On the main fabric piece, fold one of the bottom corners to ‘box’ it. Measure 2cm from the point and draw a line across the corner with your fabric pen to create a triangle.
Repeat on the other corner of the bag, and then also on the two corners of the lining fabric. On your sewing machine, straight stitch along each of the lines you have drawn. Cut off the excess fabric on the corners, leaving a 5cm seam allowance.
Step 5
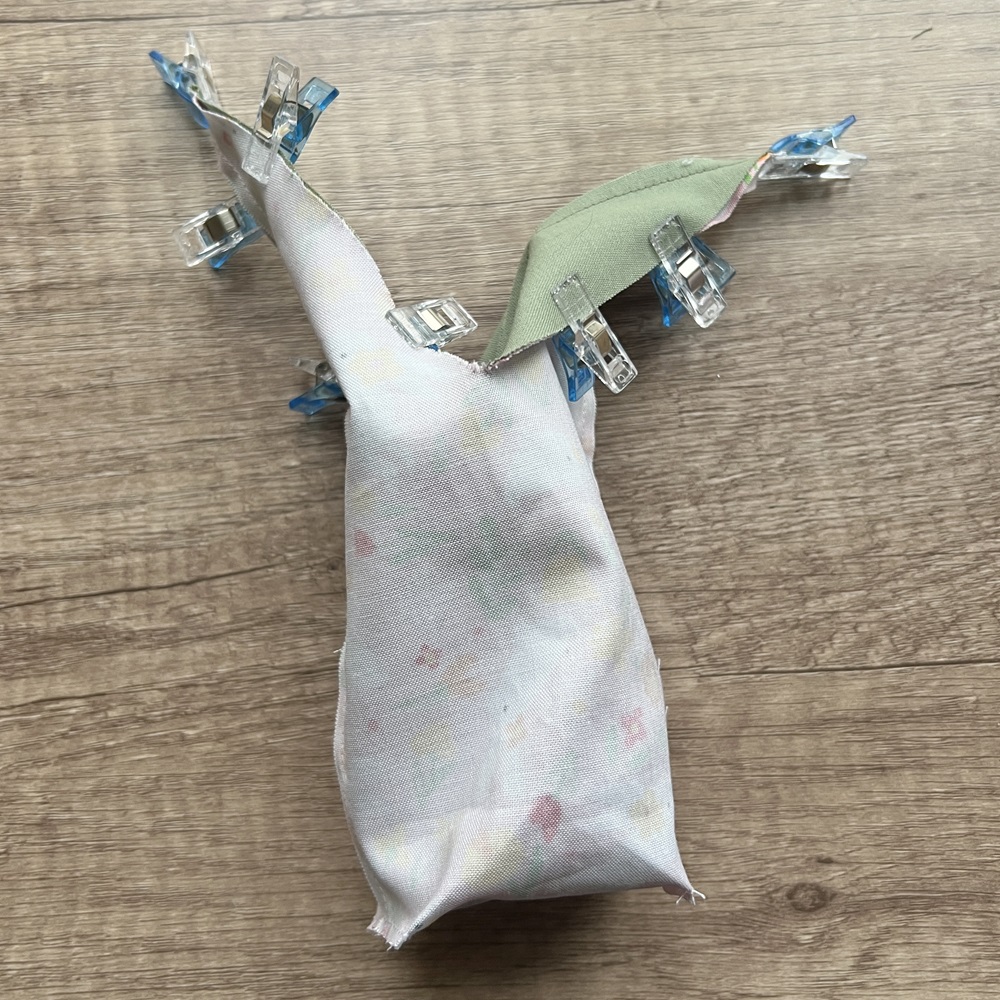
Turn the lining fabric right side out and place inside the main fabric piece, lining up the seams. Clip/pin in place.
Step 6
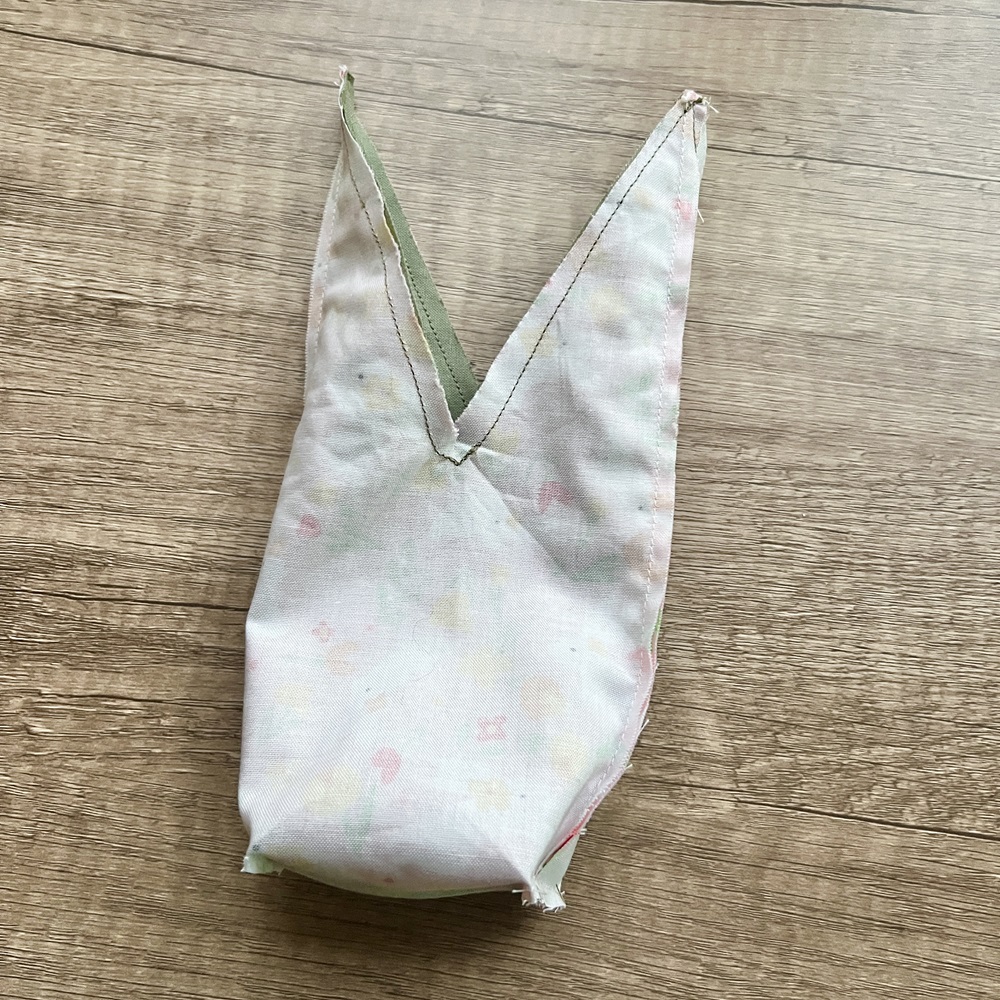
Leaving a 5cm seam allowance, on your sewing machine, straight stitch the main fabric and lining fabric together by stitching around the top edge and ears of the bag. Remove the clips/pins. Trim the excess fabric off of the top of the ears and also make a snip at the point of the ‘v’ on each side of the bag.
Step 7
Using the gap in the lining fabric, carefully pull through the main fabric, turning the fabric right-side out. The main fabric should now be on the outside, and the lining fabric on the inside of the bag. Use a chopstick to push out the points of the ear shapes from inside the lining. On your sewing machine, straight stitch the gap in the lining to close the gap.
Step 8
Following the manufacturer’s instructions, use the pom-pom maker to create a pom-pom from the white yarn.
Take a needle and thread and stitch the pom-pom to the back side of your bag.
Step 9
Fill your bag with treats. Take the ribbon and tie a bow at the bottom of the ears. Ensure the bow is on the front of the bag.
Tips and ideas
Increase/decrease the dimensions if you would like to create a bigger or smaller bag.
You could personalise the bunnies with the recipients initial or name by stitching onto the fabric or adding vinyl initial/name if you have a cutting machine.
This is a good project to use up fabric and ribbon from your stash.