This month, Kirstie Phipps brings us two wonderfully festive crafting projects, perfect for adding a handmade touch to your holiday season! Whether you’re looking to create thoughtful gifts or charming decorations, these beginner-friendly crafts are sure to spark your creativity, no matter your crafting ability.
First, Kirstie guides you through a beautiful Christmas tree cross stitch pattern, ideal for adding a personal touch to your Christmas cards or framing as a delightful keepsake. Then, she’ll show you how to make a versatile decoration that can be used as part of your gift wrapping or to adorn your Christmas tree with a touch of handmade charm.
These projects are not only fun and festive but also a great way to bring a little extra magic to your celebrations. Let’s get crafting!
Christmas Cross Stitch Card
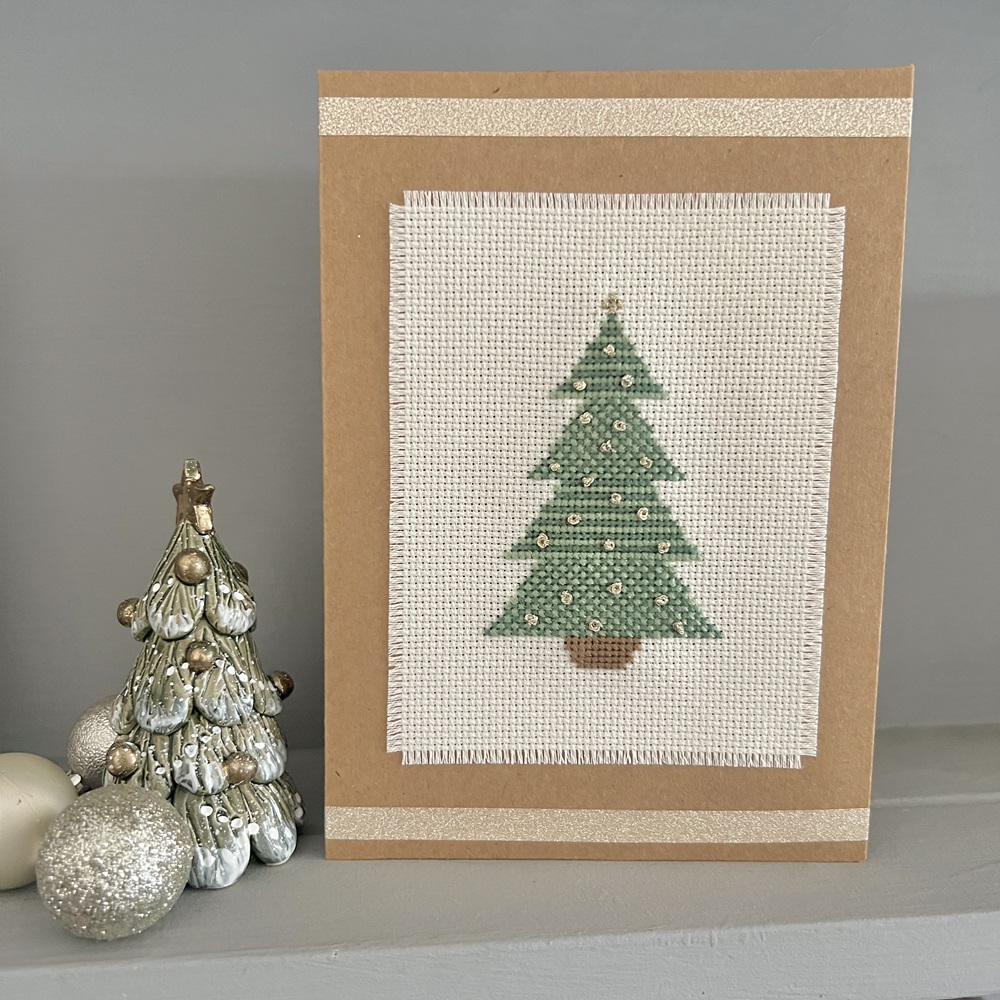
Skill level: Beginner
You will need:
- Cross Stitch Pattern <insert link to chart image>
- 18-count ivory aida 20cm x 20cm (this will allow excess to use the hoop)
- Dark green 6-strand cotton embroidery thread (separate and use 2 strands)
- Light green 6-strand cotton embroidery thread (separate and use 2 strands)
- Brown 6-strand embroidery thread (separate and use 2 strands)
- Gold 6-strand embroidery thread (separate and use 3 strands)
- 5cm x 12.5cm kraft card blank and appropriate envelope
- 2 pieces of 0.75cm x 12.5cm gold washi tape
- Embroidery needle
- Embroidery hoop (minimum 12cm)
- Scissors
- Double-sided tape
- Ruler
Finished stitched design – 8.5xm x 5.5cm
To Make:
Step 1
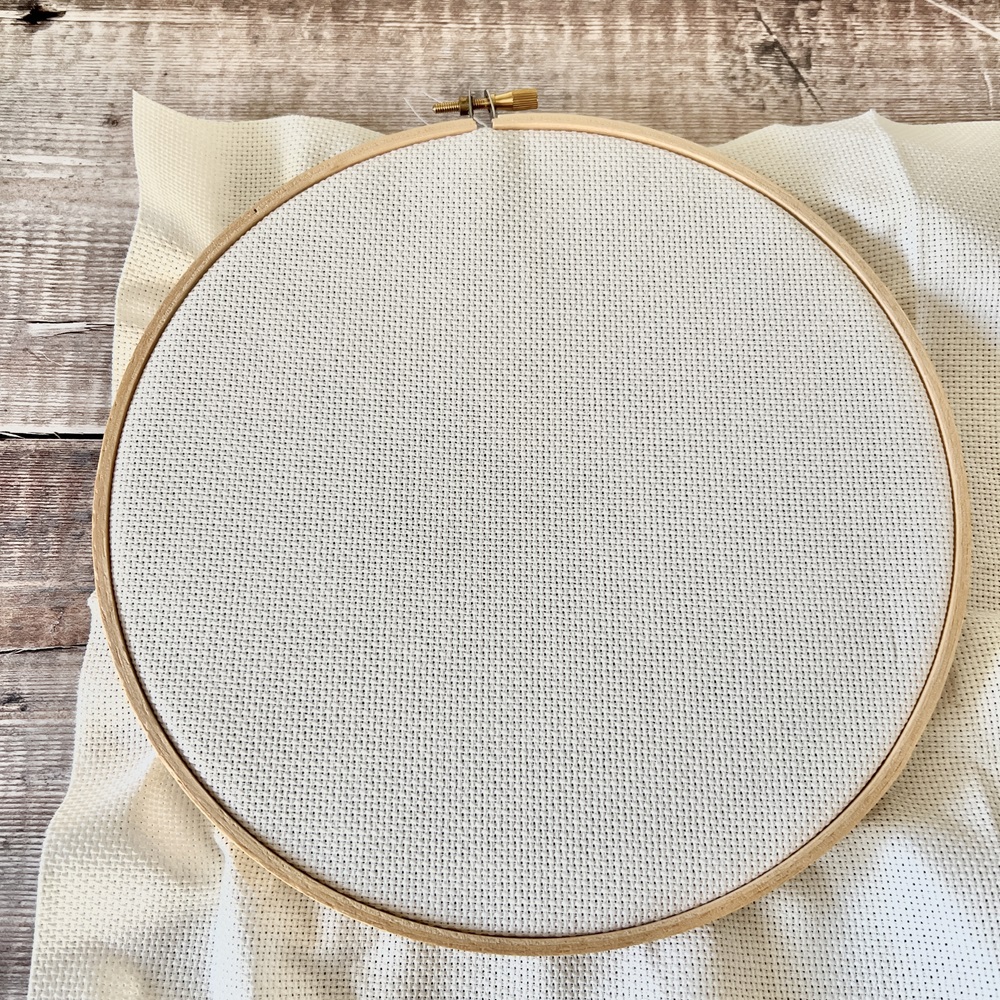
Place the aida into the embroidery hoop ensuring it is tightly in the frame.
Step 2
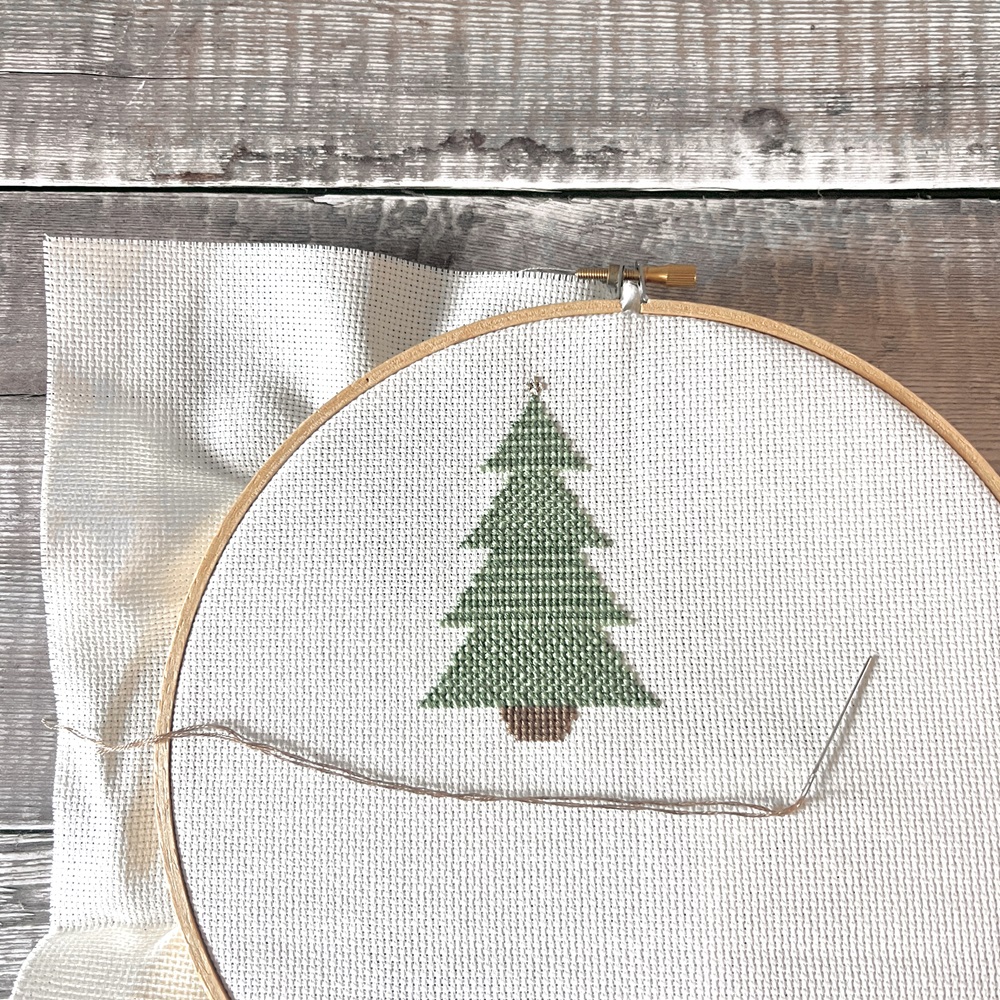
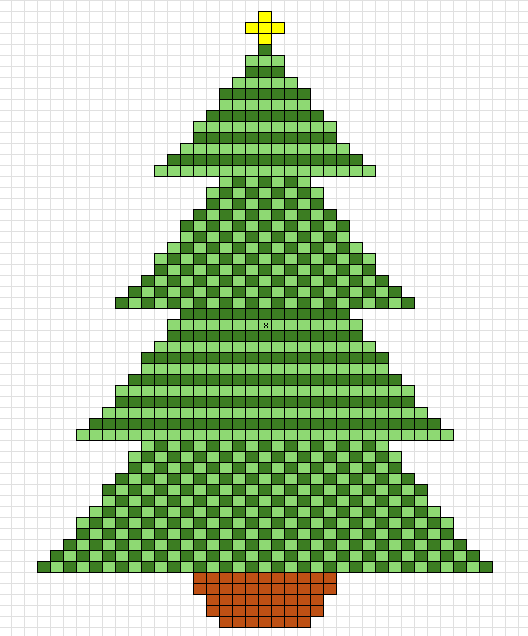
Using the cross-stitch chart provided, stitch the pattern on to the aida.
To stitch:
- Start stitching from the midpoint of the chart (marked on the chart with an x).
Ensure where you start stitching on the aida allows enough space for all of the stitches on the chart. - Tie two knots at the bottom of the two strands of thread, tying them together. At the opposite end of the strands, thread the needle, leaving a few cm for a tail.
- Always stitch the crosses in the same direction – for example, on this chart, each stitch was stitched bottom left to top right, followed by bottom right to top left – this will keep the stitches looking neat and tidy.
- When you are at the end of stitching with your thread, on the back of the piece, carefully thread the strands under a couple of stitches and tie a small knot.
Step 3
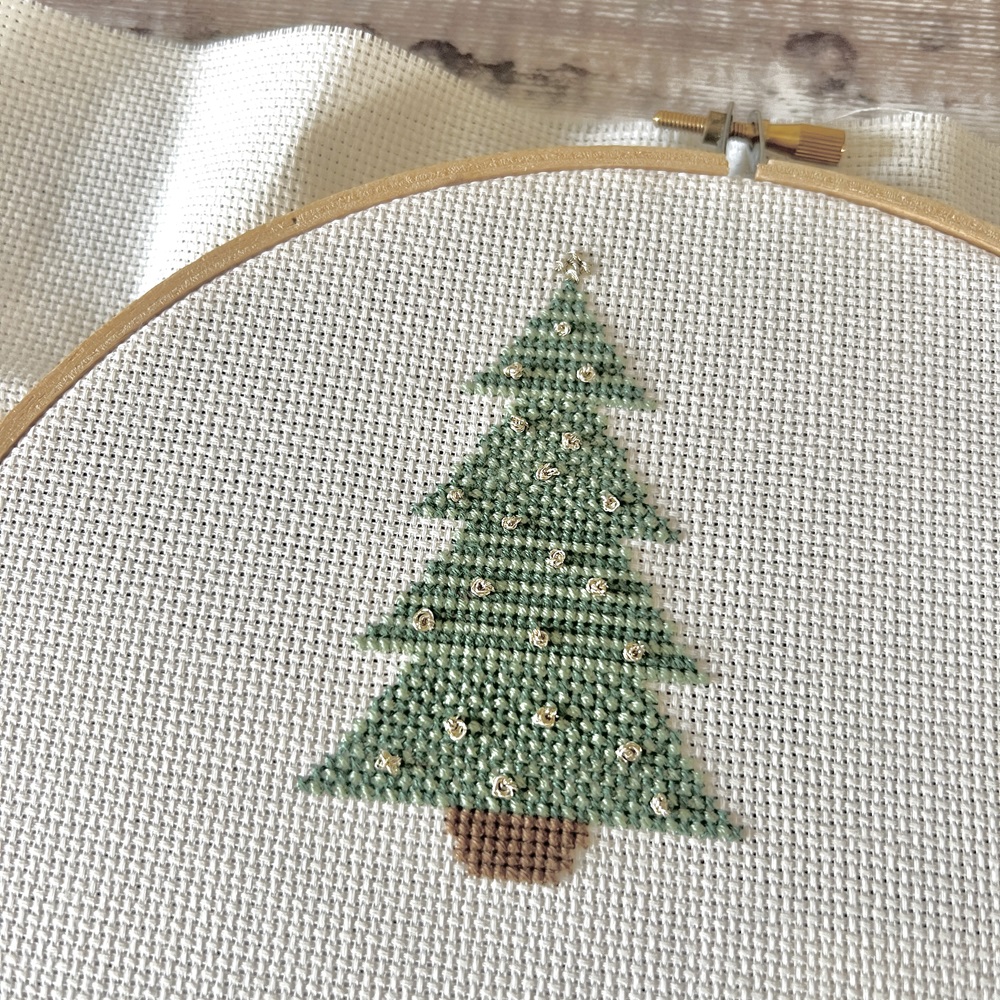
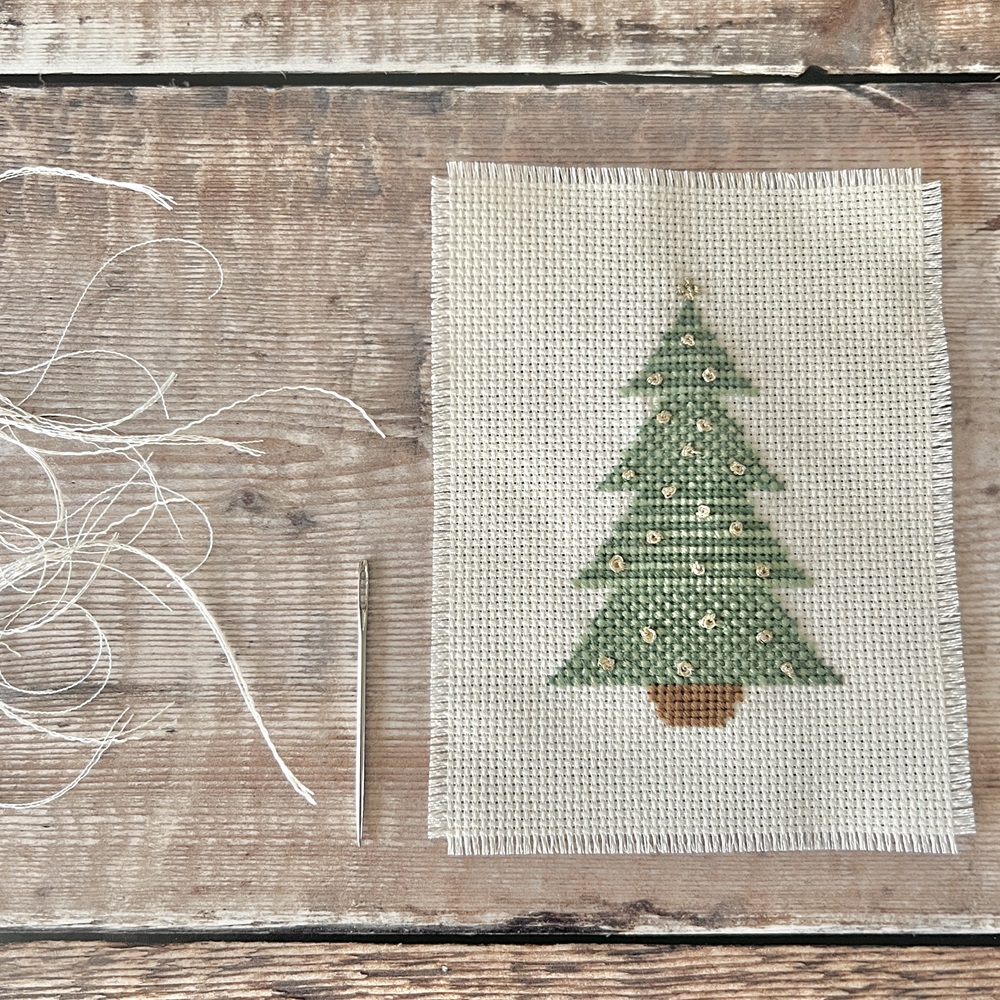
Thread your needle with 3 strands of the gold thread, tie a knot at one end of the strands, leaving a few cm for a tail.
Where you desire, add French knots to the tree to add ‘lights’.
To create a French knot –
Pull your needle and thread through to the front of the aida, take the thread and wrap it around the pointed end of the needle two times.
Place the needle back into the aida 1mm away from where the thread came through, holding on to the piece of thread as you do so. This should create a small knot on top of the aida.
Step 4
On the back of the piece, carefully press any creases out of the aida.
Ensuring the tree is in the centre, measure 2cm from each side of the design and cut the aida to size.
Remove two rows of the strands of the aida along each side to create a ruffled edge.
Step 5
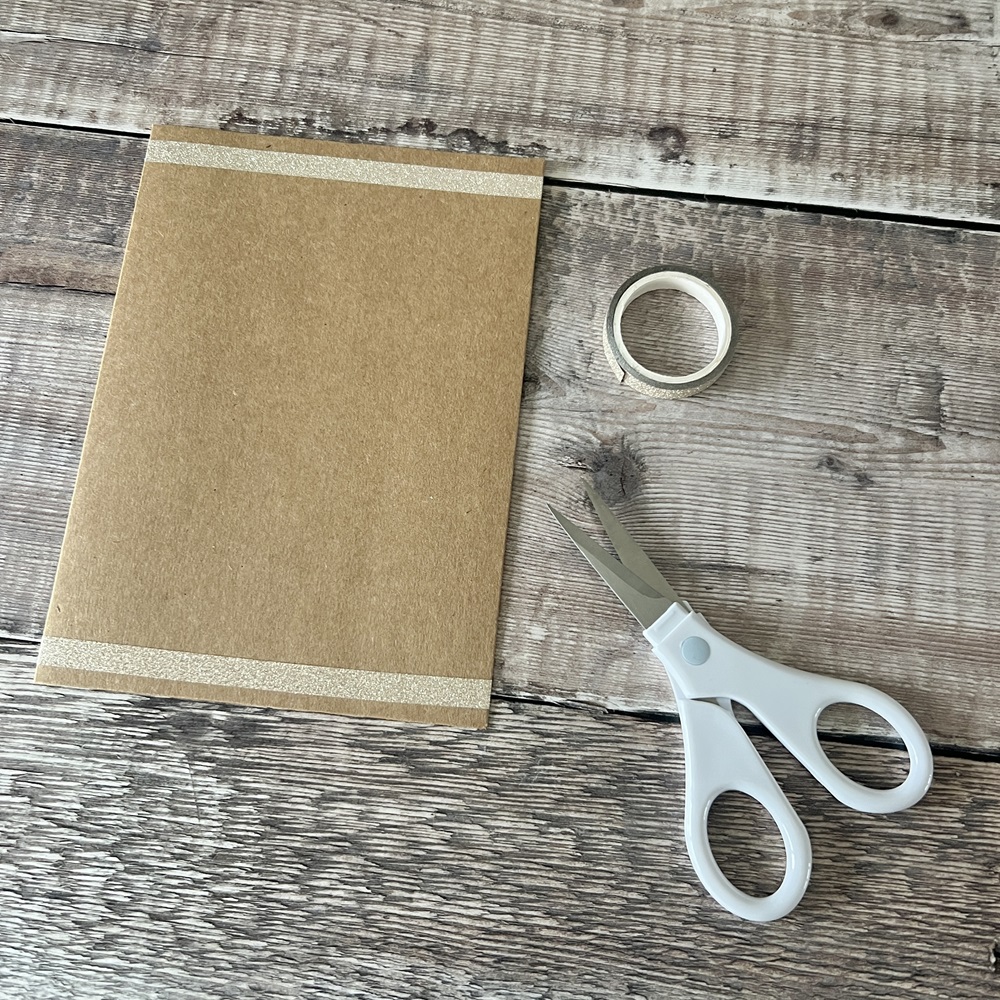
Take the card and add one piece of the washi taper vertically along the top of the card, 0.5cm from the edge. Repeat along the bottom of the card.
Step 6
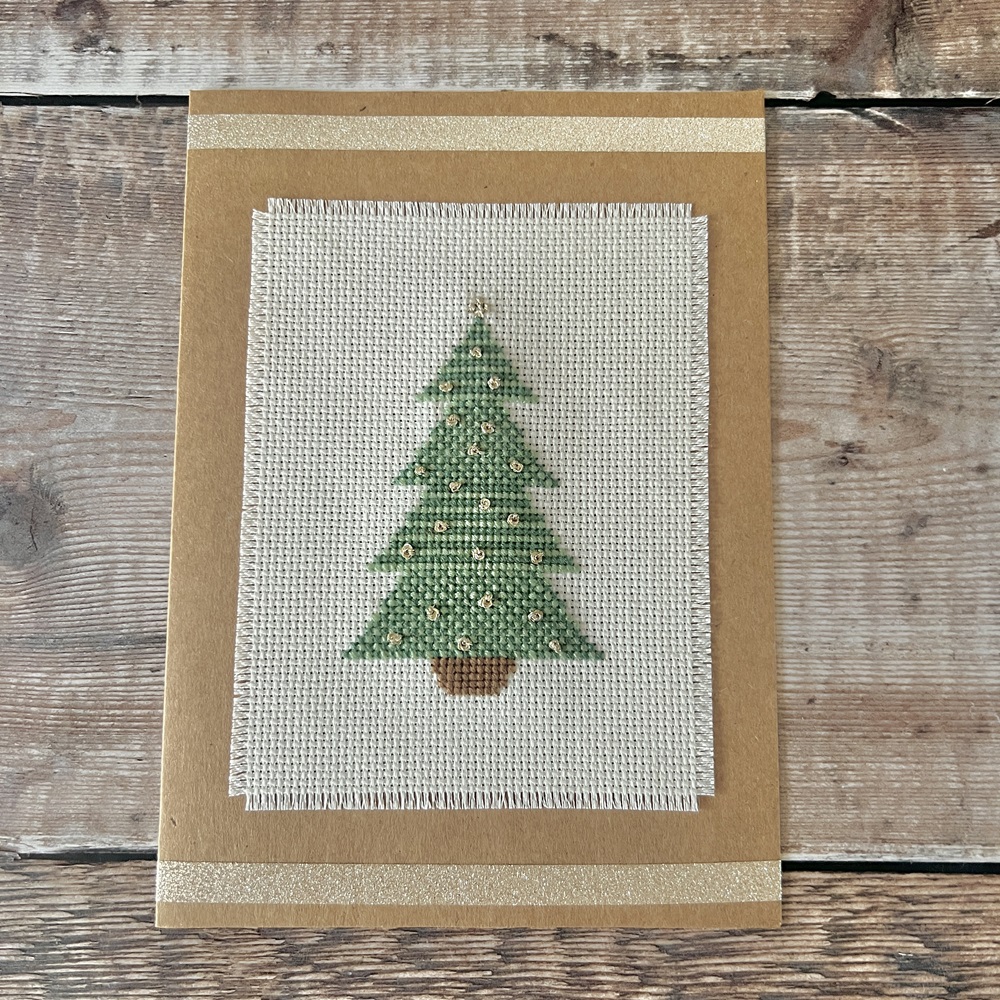
On the back of the cross-stitch piece, add double sided tape along each edge.
Place the sticky side of the cross stitch centrally on to the card.
Tips and ideas
- If you do not want to use the colours on the pattern, you could change the colour of the aida and threads to those of your choosing.
- French knots can sometimes be tricky – you could attach small glass seed beads instead.
- The card could be placed in frame and used as festive décor for future.
Christmas Gift Decoration
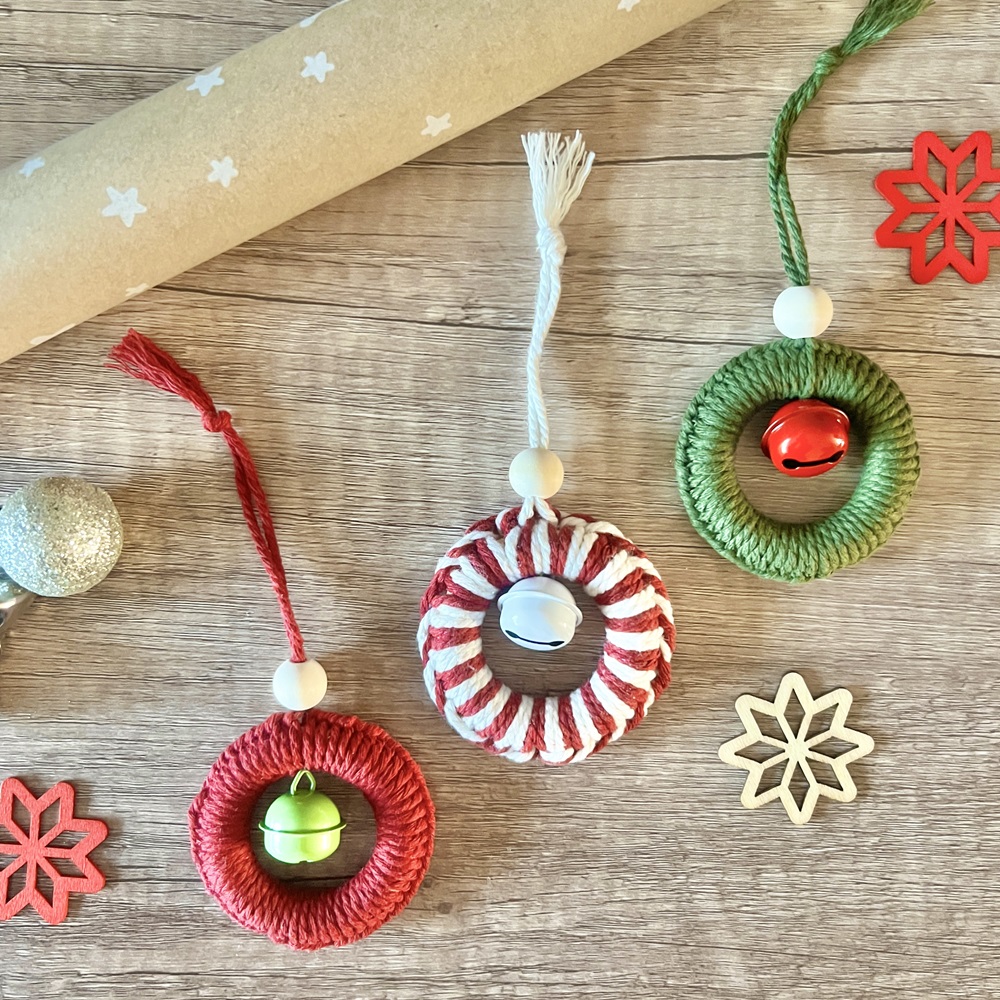
Skill level: Beginner
You will need:
- 5cm wooden hoop
- 2m of red 2mm macrame cord
- 2m of white 2mm macrame cord
- 15mm wooden bead
- 20mm jingle bell
- 10cm clear thread
- Yarn needle
- Scissors
To Make:
Step 1
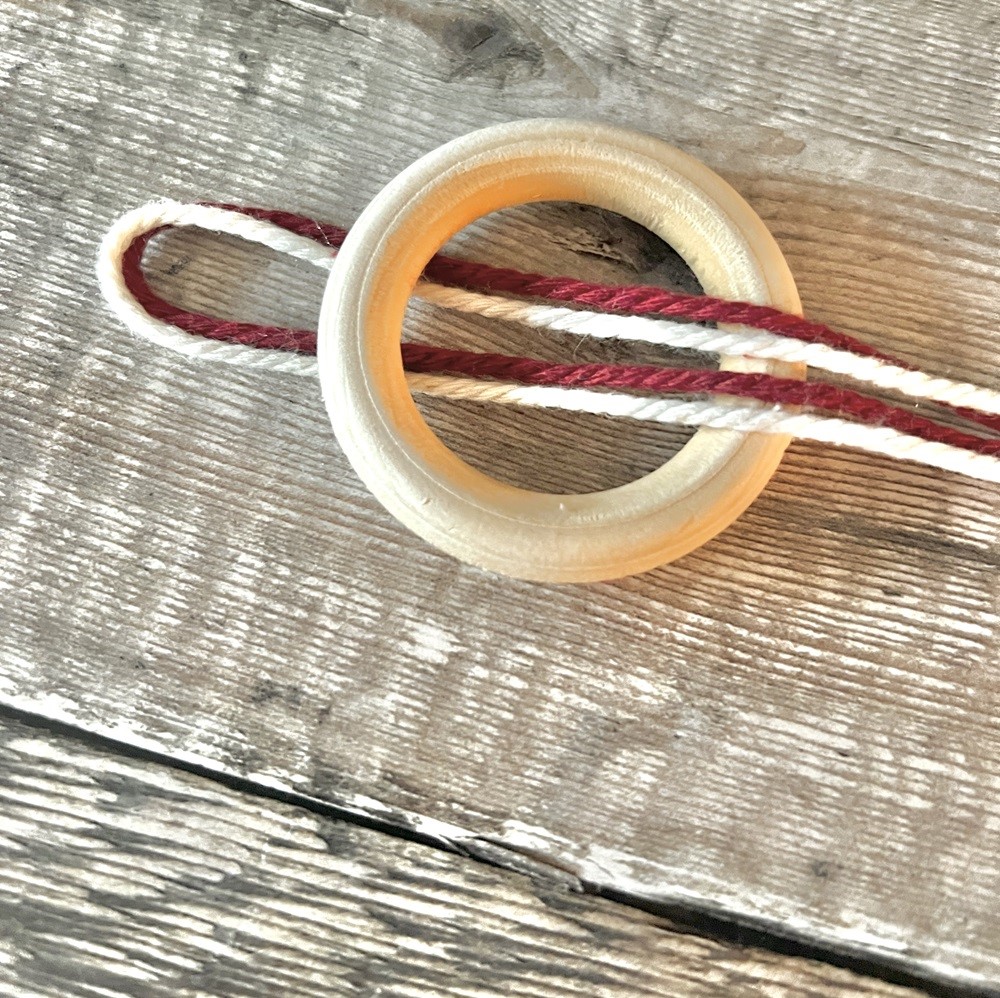
Take the piece of red macrame cord and the piece of white macrame cord and hold them together in a line. Fold the cords in half longways so they now measure 1m.
Place the folded end through the hoop and out the other side.
Step 2
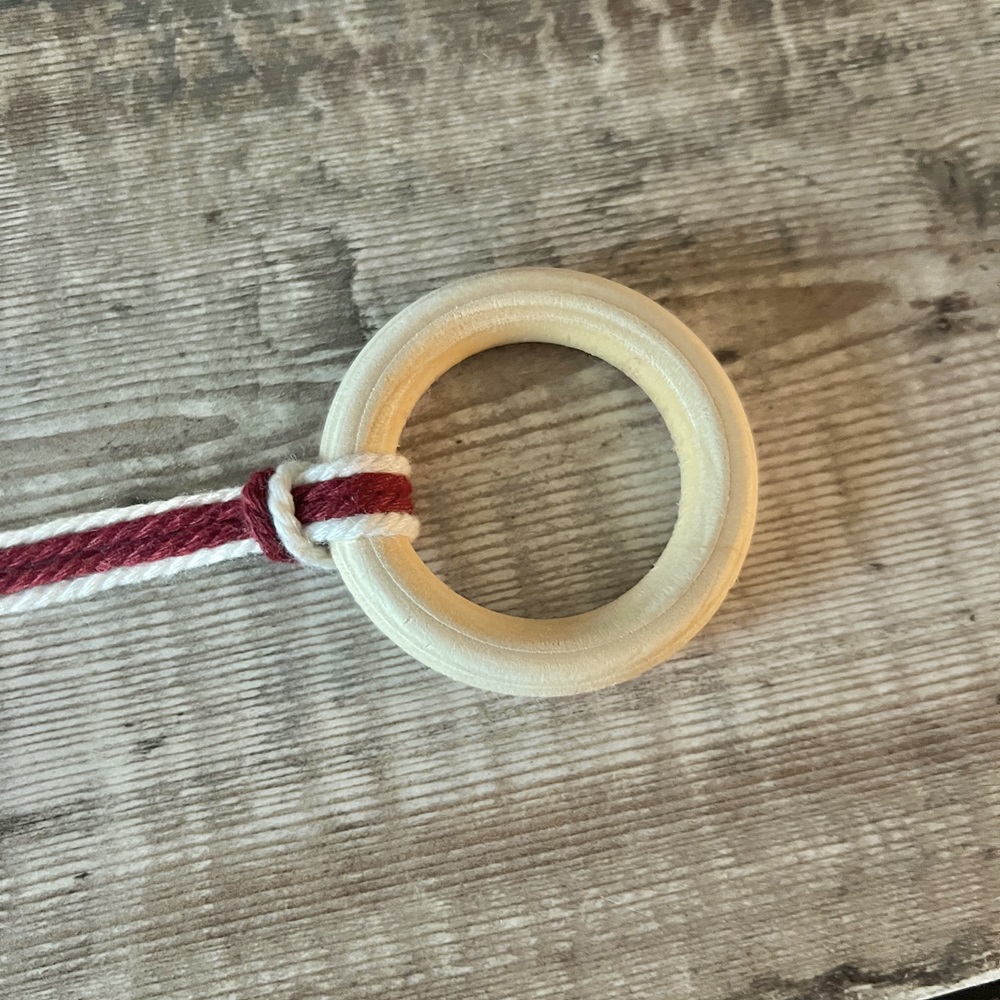
Take the tails ends of all of the cords, put them over the top of the wooden ring where the loop is and then place them through the loop. Pull tight.
Step 3
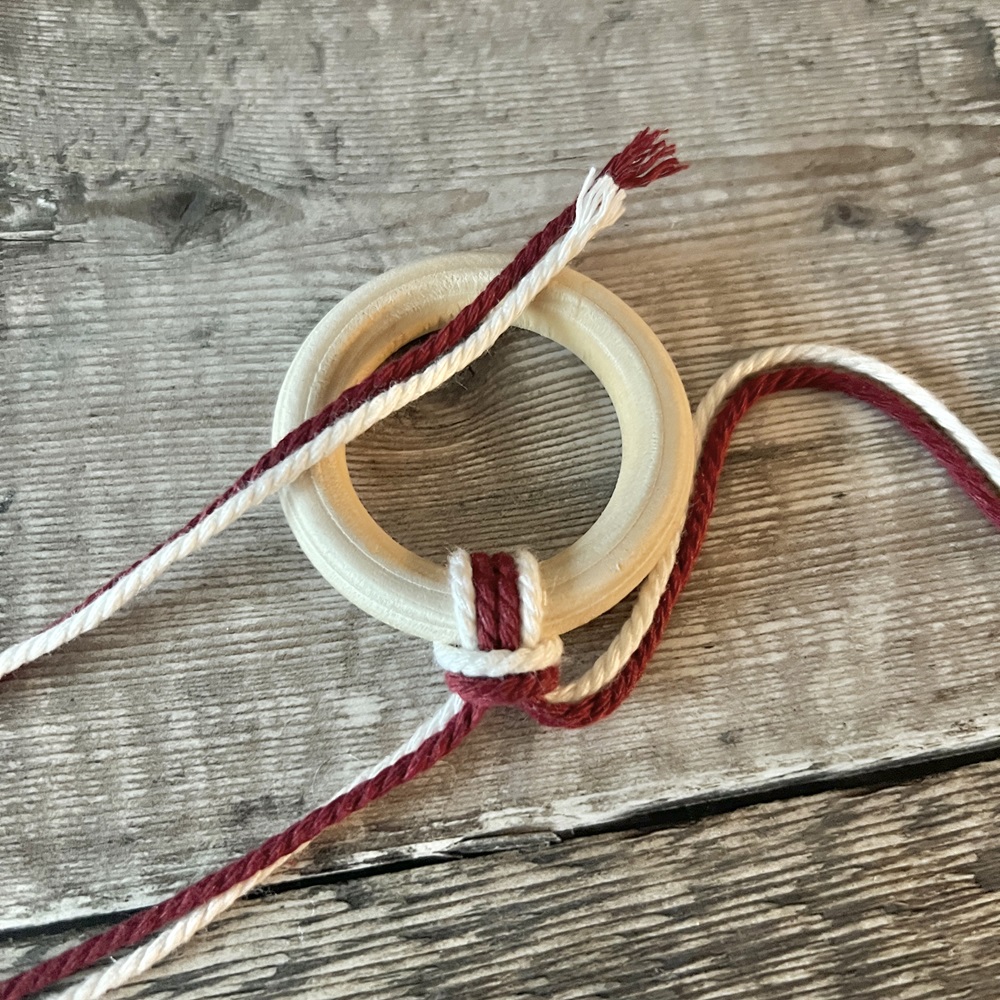
Separate the cords so there is a red and white cord on the left, and a red and a white cord on the right.
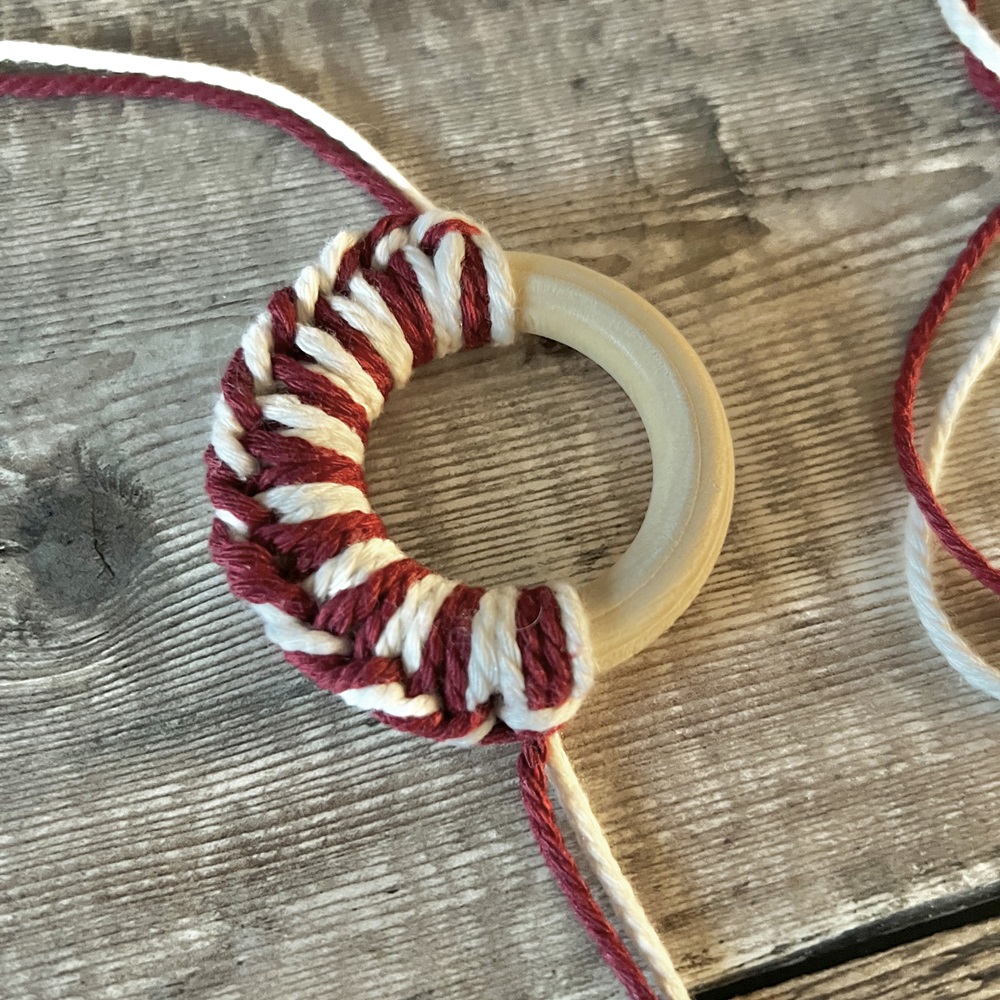
Take the red and white cord on the left-hand side and place the tails over the top of one side of the wooden hoop as in the image above.
Place the tails through the middle of the wooden hoop and back through the loop created by the cord. Pull tight.
Step 4
Continue adding knots until you are halfway around the wooden hoop.
Step 5
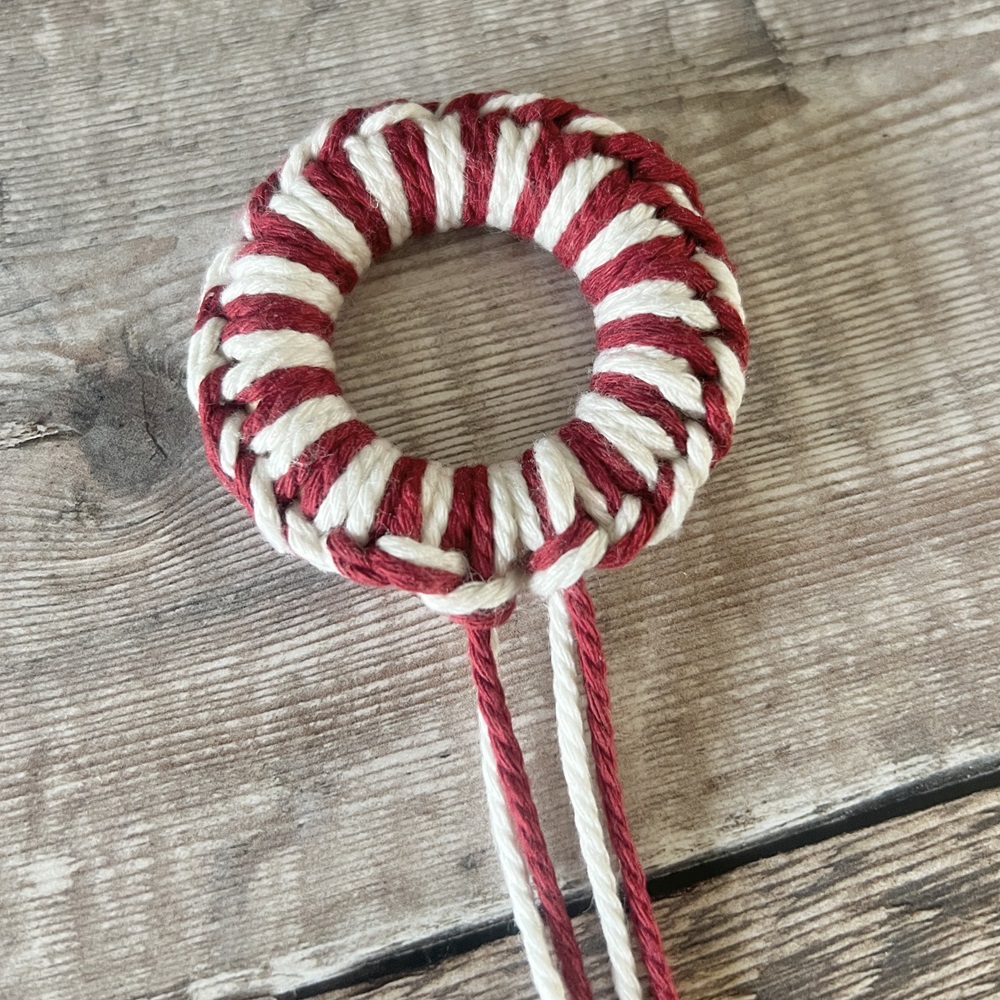
Take the cords you initially put to one side and add more knots until you have covered the whole hoop with cord.
Step 6
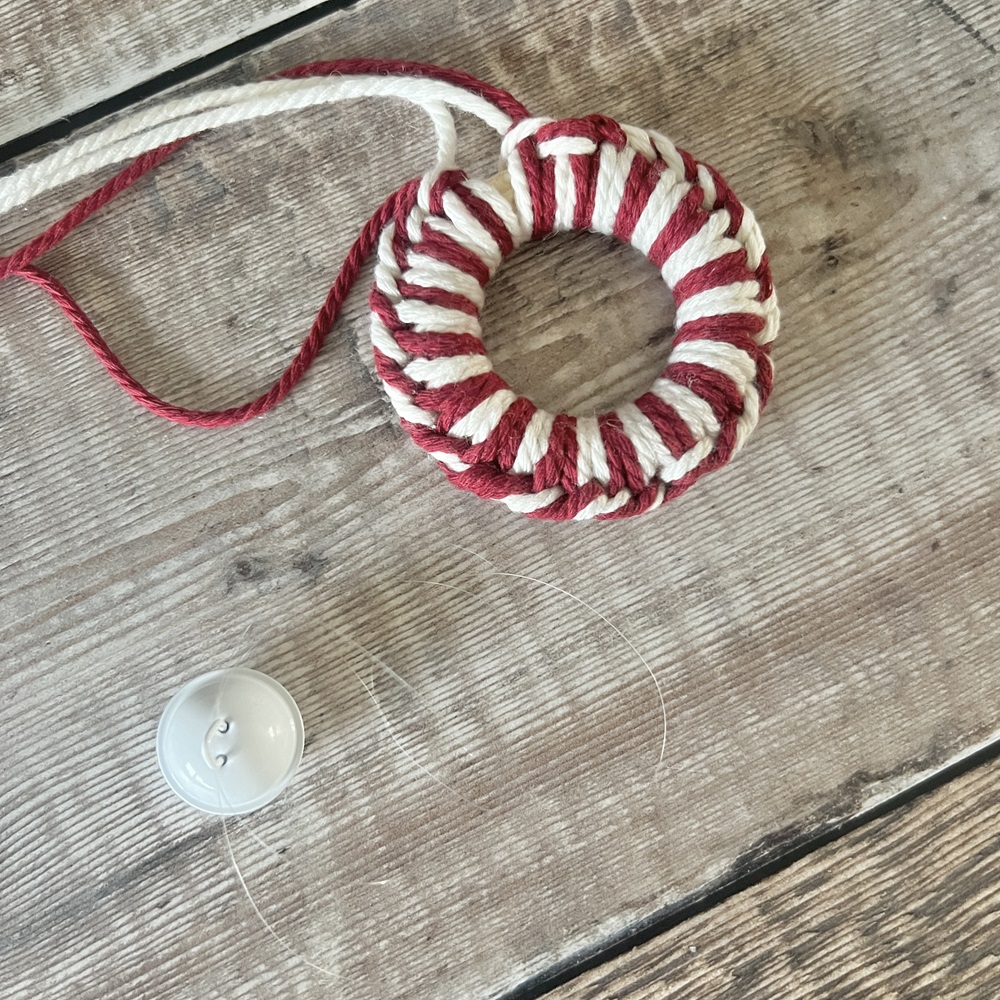
String the bell on to the clear thread.
Step 7
Tie the clear thread to the wooden hoop, in the middle of the four strands of cords. Tie two knots and trim any excess thread.
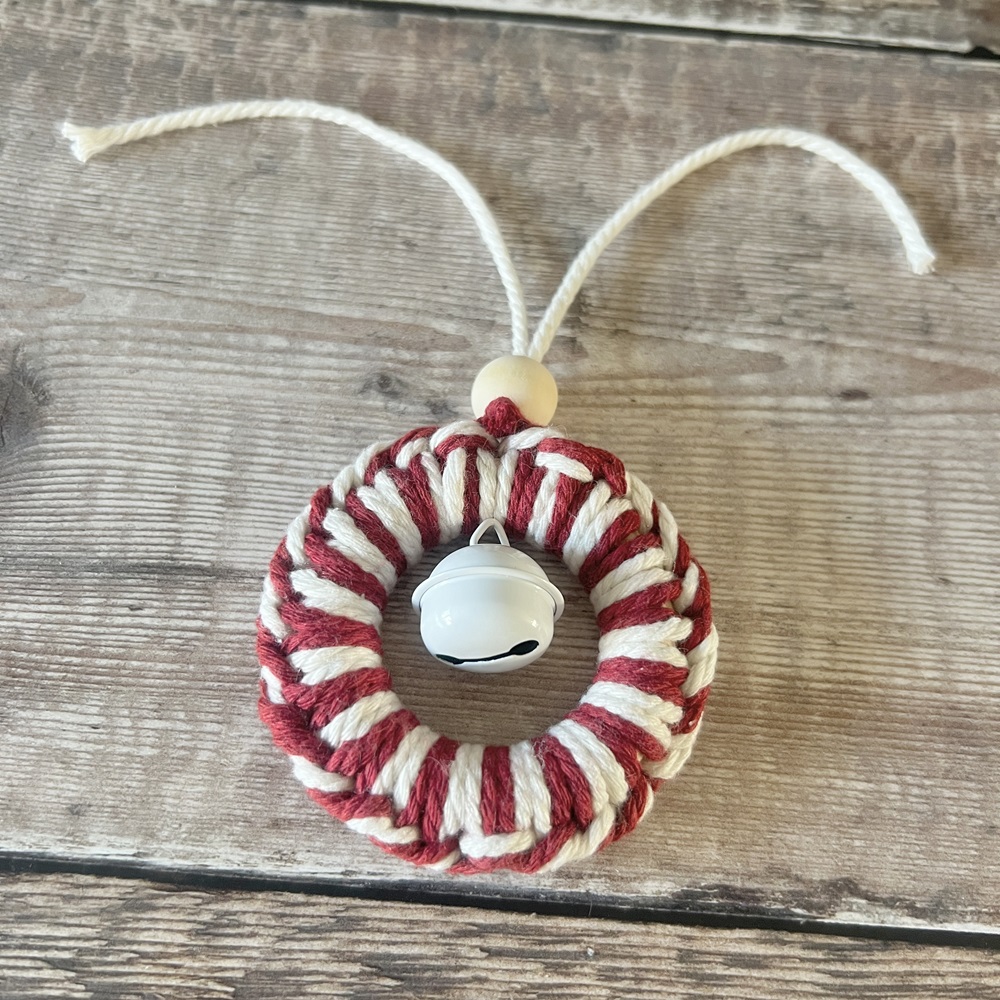
Step 8
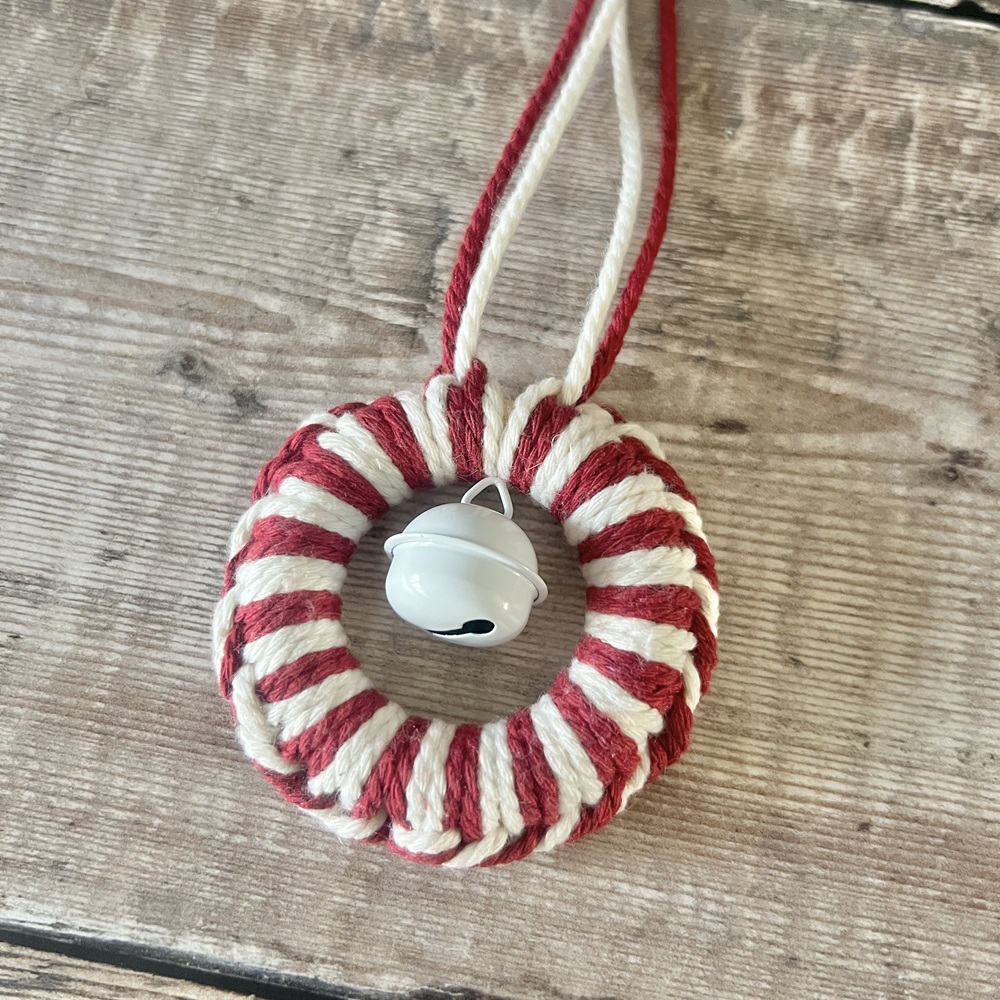
Thread the white cord on to the yarn needle and then thread on the wooden bead.
Take the red cords to the side of the decoration you would like to be the back, and tie a tight knot, tie another tight knot. Trim the ends of the red cords to neaten.
Step 9
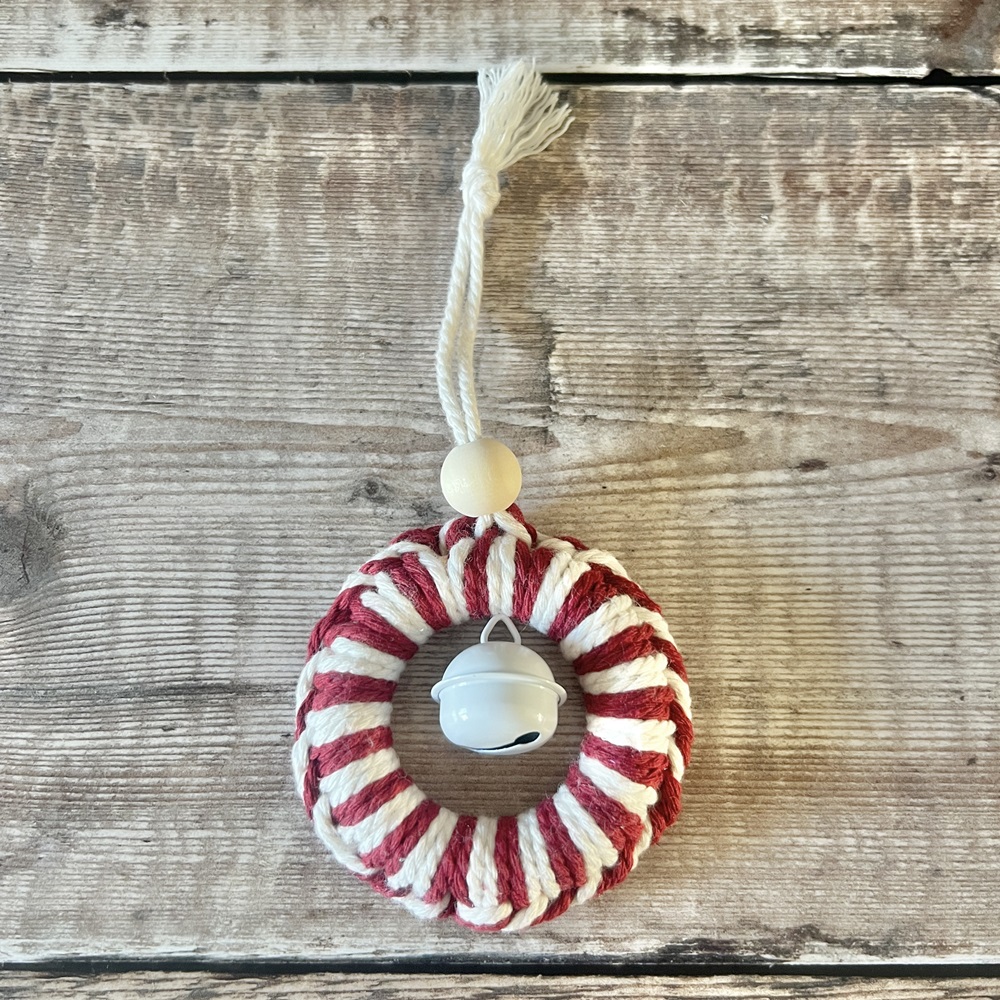
Take the white cords and tie a knot 5cm from the top of the bead.
Cut the cord 2cm from the knot.
Fray using the end of the needle.
Tips and ideas
- Using a fine permanent marker, you could write the name of the recipient on the bell.
- If you do not want to use the colours on this design, you can change the colours to any of your choosing.
- To make a decoration with just one colour, cut 3m of one colour of cord.
Complete the knots as explained but just use one cord for the knots instead of two. - The recipient can hang the decoration on their tree or in their home.


