White

November 2024 – Featured Crafts by Kirstie Phipps


This month, we’re celebrating Diwali with two delightful crafting projects that bring a touch of handmade charm to your festivities! Perfect for all ages and skill levels, these crafts are a wonderful way to add a personal, festive flair to your home while embracing the spirit of the festival of lights.

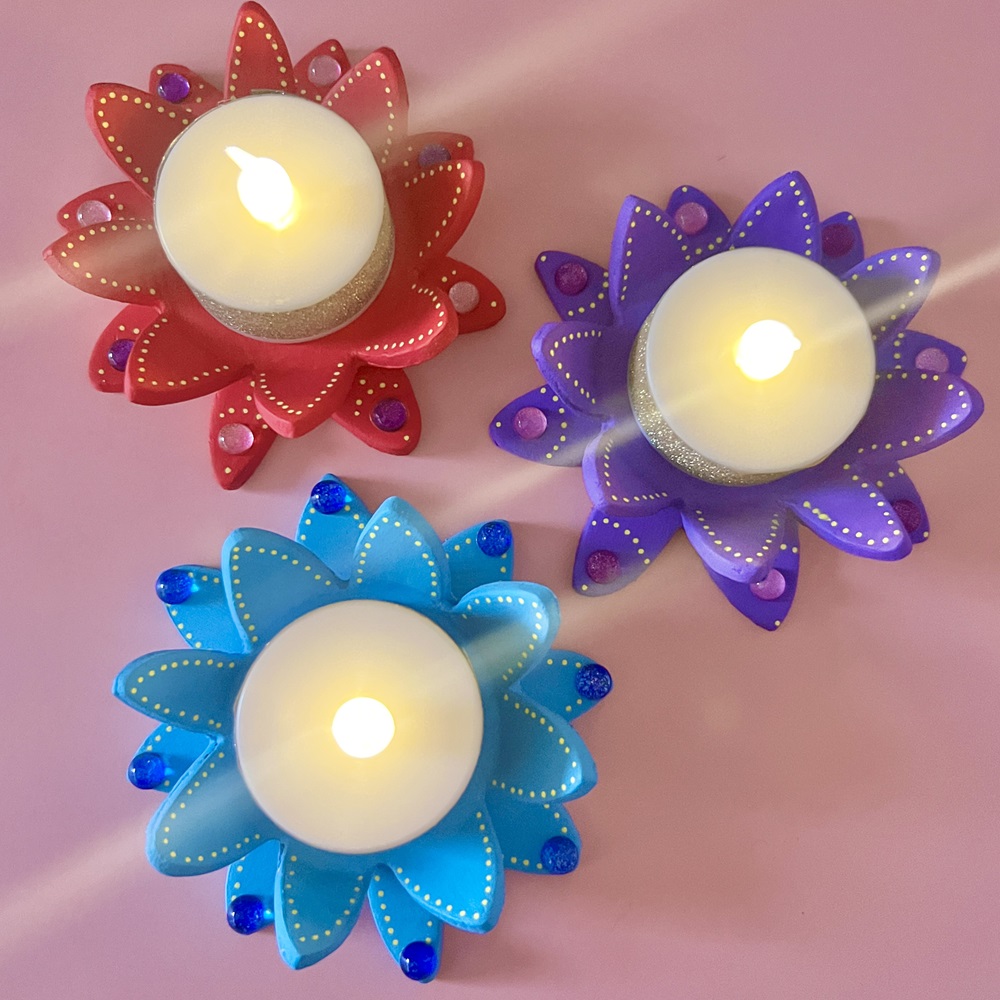
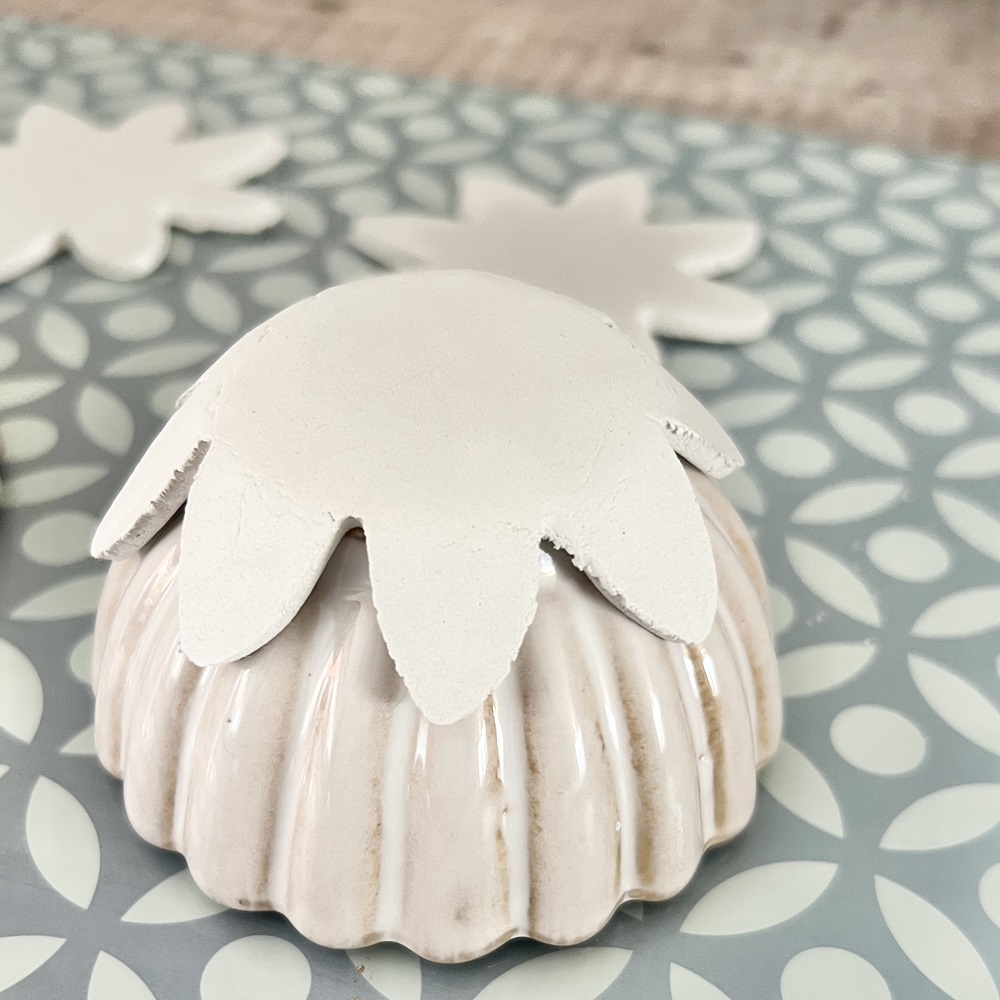
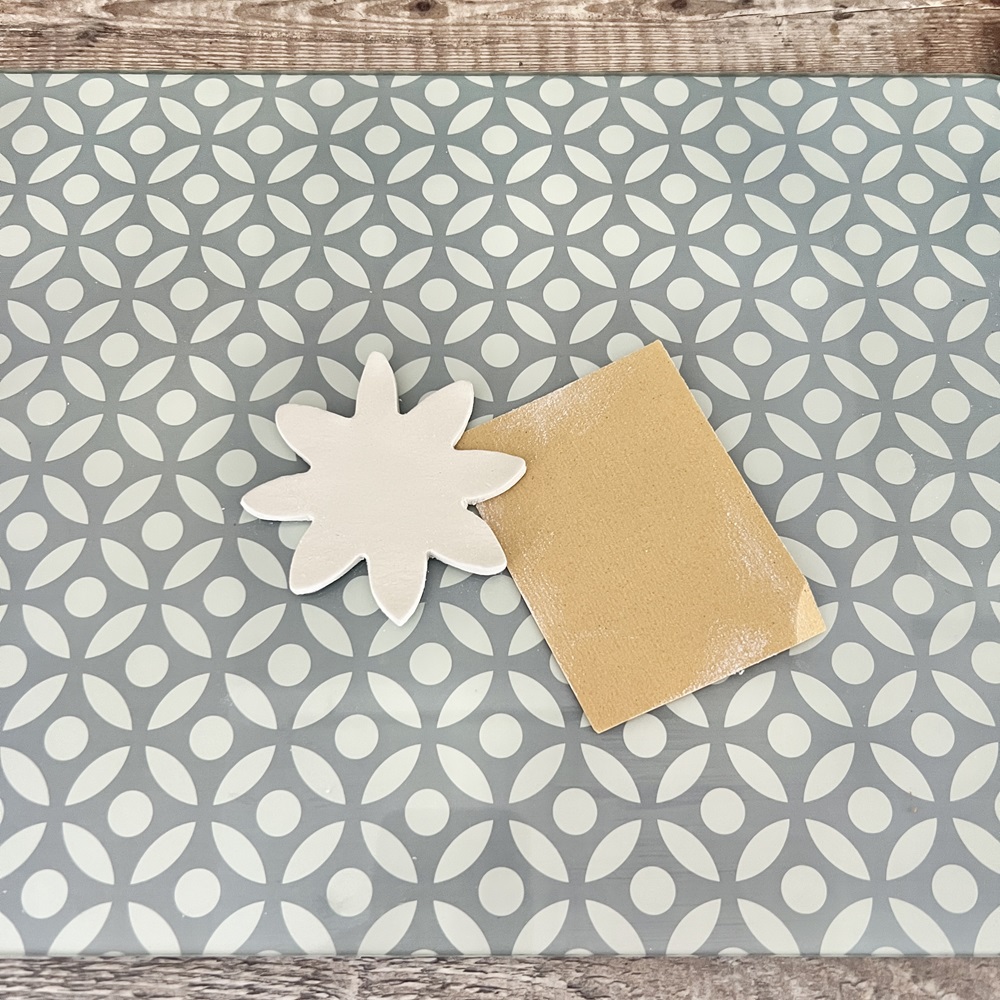
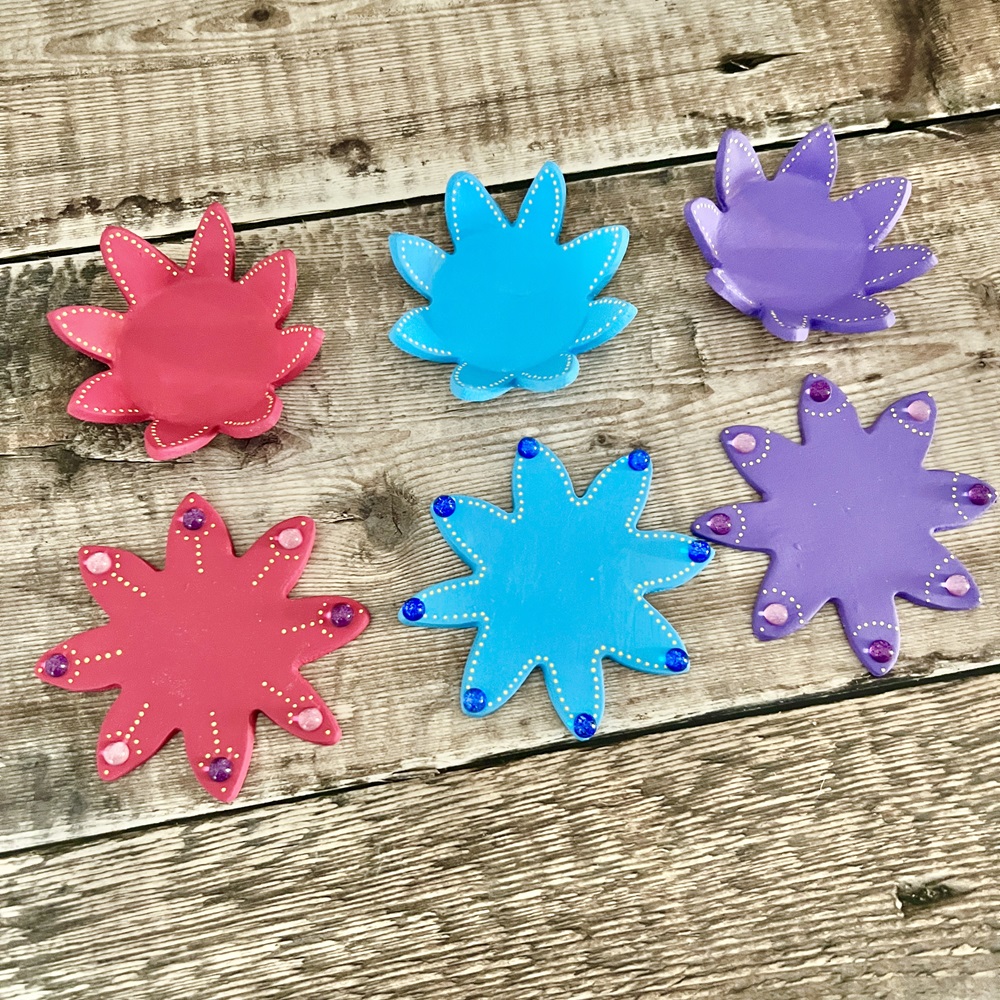
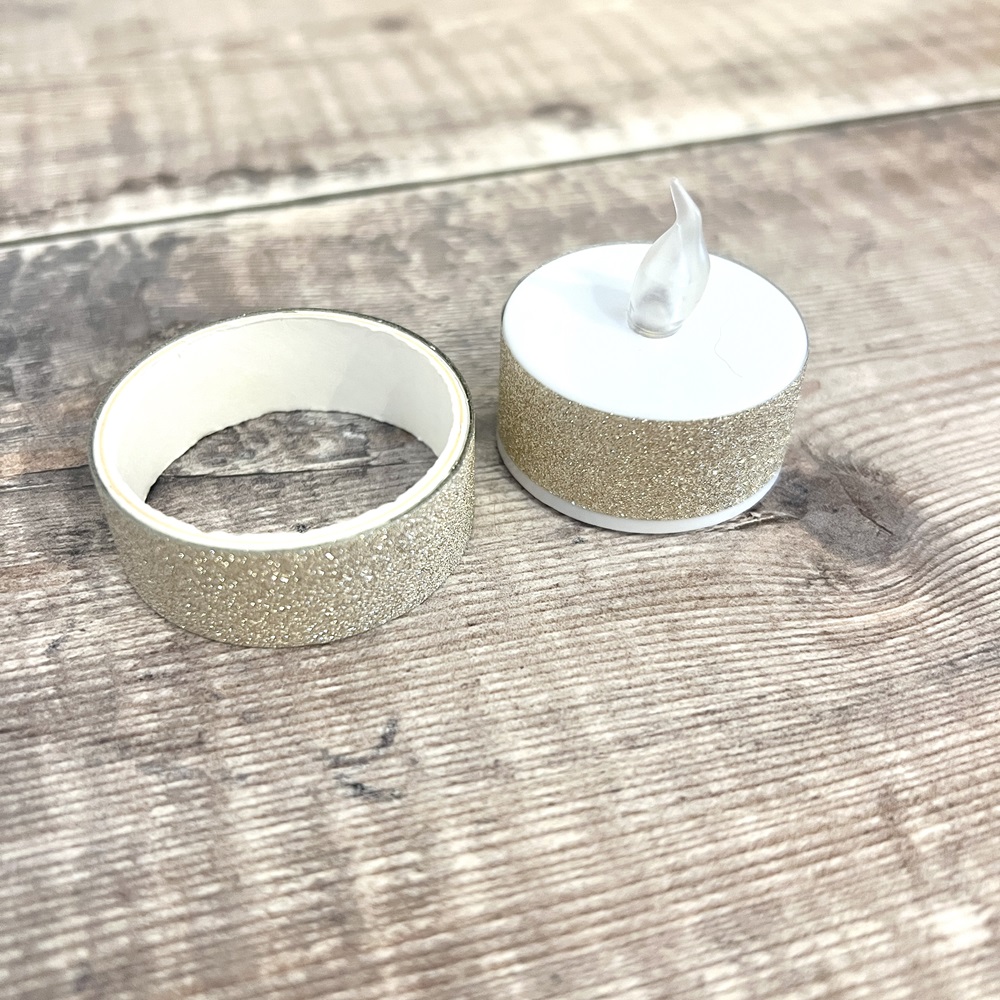
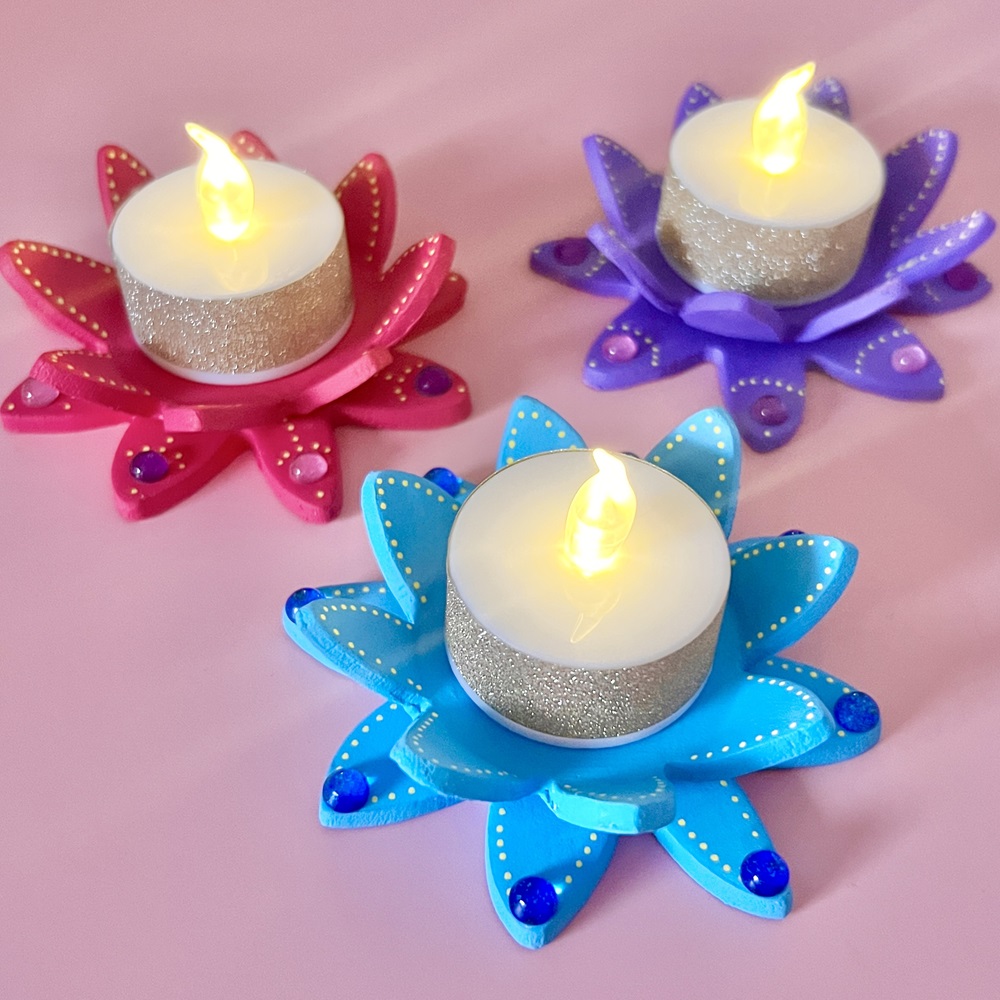
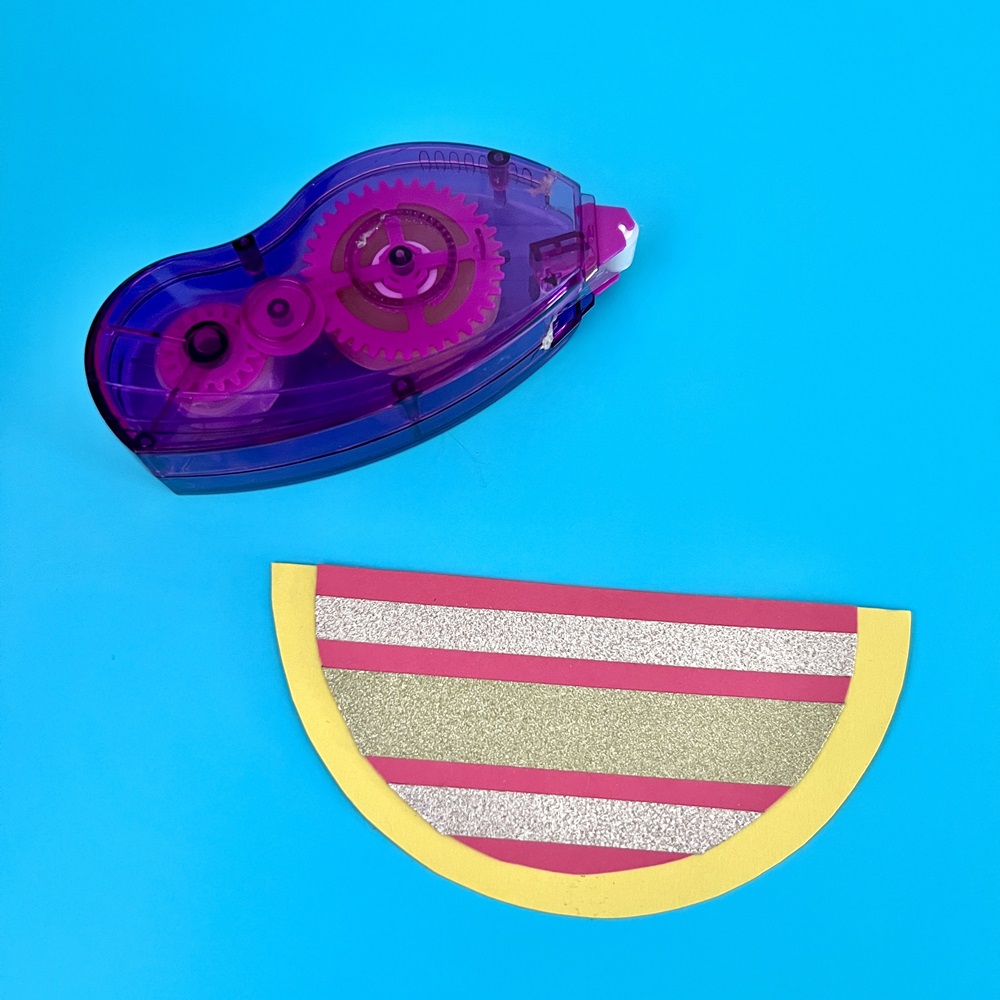
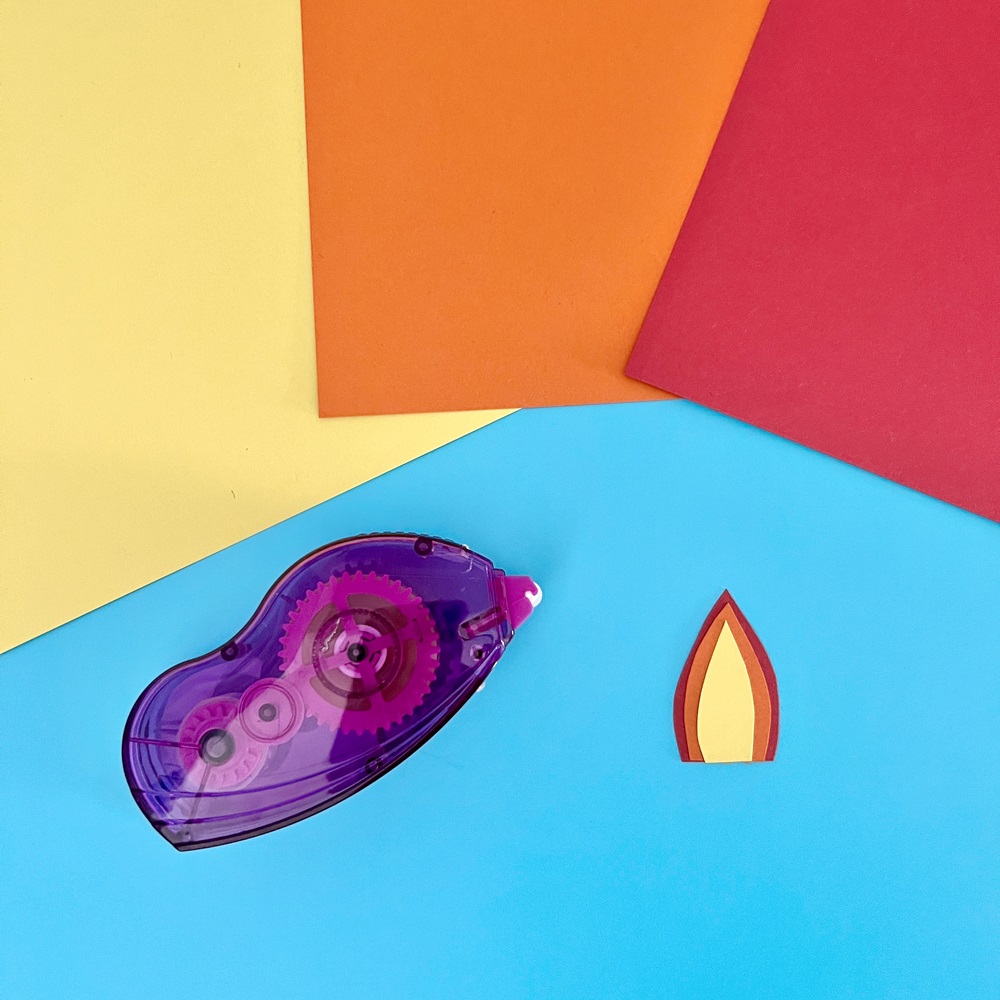
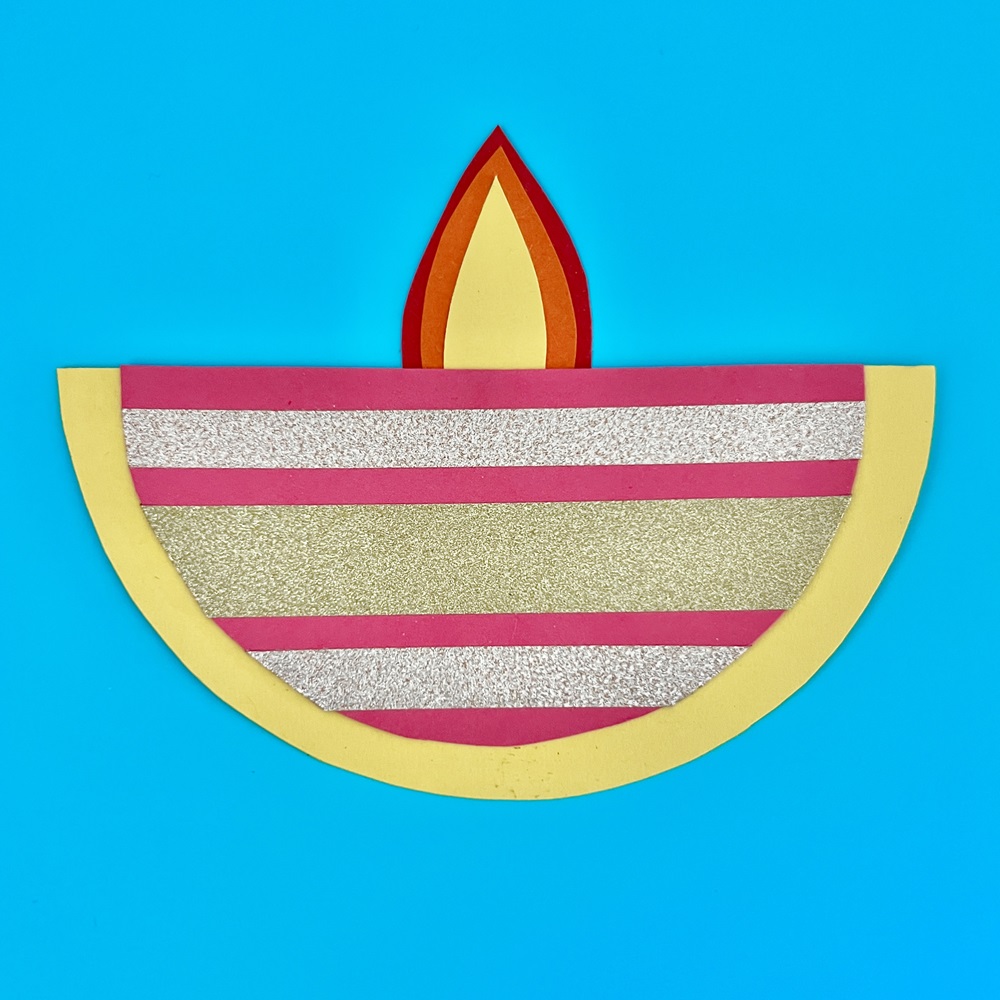
First, we’ll guide you through creating a stunning Diwali tealight holder—an elegant and functional way to display the warm, glowing lights that symbolize the victory of light over darkness. This simple yet striking project will brighten up any space, bringing a magical Diwali ambiance to your home.

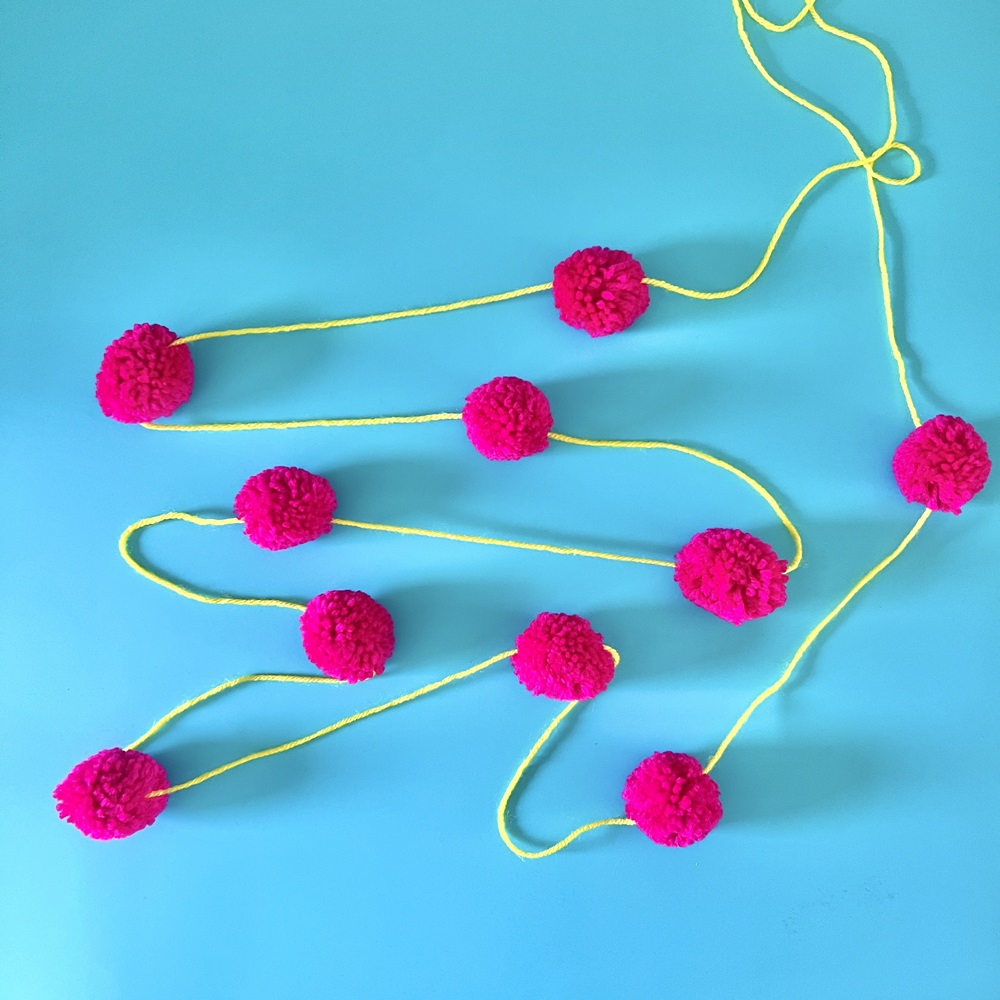
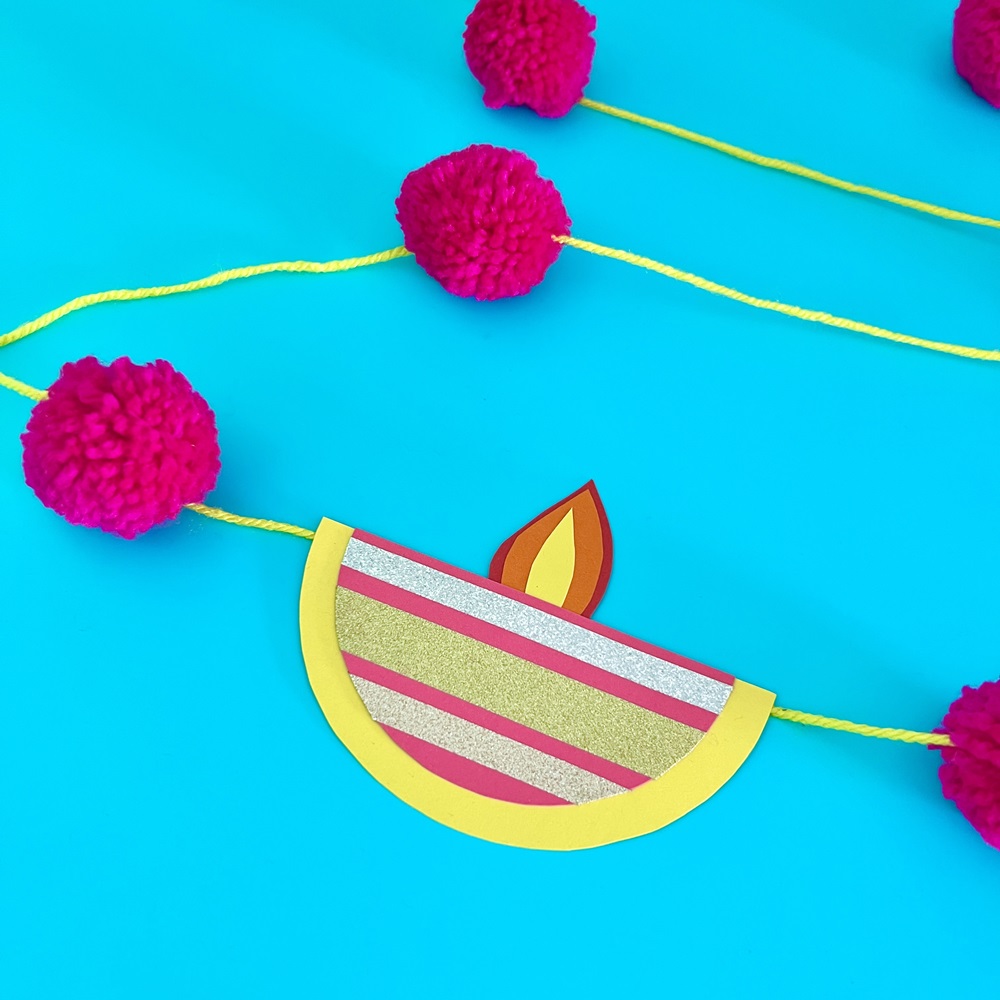
Next, we’ll show you how to make beautiful Diwali bunting, an easy-to-make decorative garland that adds a festive feel to your celebrations. Perfect for hanging across windows, doorways, or as a centerpiece for your Diwali décor, this project is sure to impress.

Whether you’re familiar with crafting or trying it out for the first time, these DIY projects are the perfect way to make your Diwali celebrations even more special. Let’s get started on these festive crafts!

Diwali Tealight Holders

Skill level: Beginner


You will need:

  • White air-dry clay (approximately 50g per holder)
  • Acrylic paints and/or acrylic paint pens (bright colours)
  • Flatback glass beads (0.5cm diameter)
  • Battery operated tealight (3.5cm diameter)
  • Washi tape (1.5cm or 2cm x 13cm)
  • Flower shaped cookie cutter (8-9cm) Ensure the middle section is slightly bigger than the tealight
  • Small bowl/round dish with a base roughly the same size as the middle area of the cookie cutter. We found that a dipping sauce sized bowl worked well for this project.
  • Sandpaper – grade 100
  • Superglue
  • Paintbrush
  • Scissors
  • Clean, flat work surface


To  Make:

Step 1

With the rolling pin, roll out the clay on to your flat surface until it is 0.4cm thick.

Step 2

Using the cookie cutter, cut out two flower shapes for each tealight holder you would like to make.
For each tealight you will make one flat and one shaped flower.

Step 3

To shape one of the flowers, take the small bowl and place it upside down. Carefully place a flower centrally over the base of the bowl and gently push the petals down, using the bowl to shape the clay.

Following the manufacturer’s instructions, leave both the flat clay flower and shaped clay flower to dry.
As the clay dries, turn the flat flower from one side to the other every so often so the clay can dry on both sides.
With the shaped flower, wait until it is completely dry on the outside, and then carefully remove it from the dish, placing it on the flat/bottom side, allowing the inside to dry.

Step 4

When the flowers are completely dry, using the sandpaper, carefully sand any edges of the flowers that need to be smoothed out.

Step 5

Apply the bright coloured acrylic paints in a design of your choice.
When the paints are dry, use the superglue to carefully add the flatback glass beads. Leave to dry.

Step 6

To cover the tealight, take the washi tape and carefully wrap it around the circumference of the tealight, to cover the side. Trim when the tealight has been fully wrapped in tape.

Step 5

When all of the paint and glue is dry on the tealight holder, apply super glue to the bottom side of the shaped flower. Place it centrally on top of the flat flower and hold in place until the glue has dried.
Place the tealight into the tealight holder.

Tips and ideas

  • Only use the tealight holder with a battery operated tealight – not a real flame.
  • Ensure you wash your small bowl/s thoroughly after use.
  • If small crack marks appear in the clay when drying, add a few drops of water to your fingertips and rub over the crack to remove it.
  • Use bright coloured paints, beads and washi tape
  • If you don’t have a cutter, you could draw a flower shaped template on to a piece of card, cut it out and use this to cut the clay shapes.
  • If you do not have a bowl of the correct size, you could use an alternative object to mould the clay shape, such as a suitably shaped yogurt pot.
  • You may wish to apply a layer of sealant to the tealight holder.
  • Instead of adding washi tape to white tealights, you may like to purchase coloured tealights.

Diwali Bunting

Skill level: Beginner


You will need:

  • Bright coloured card (including some red, orange and yellow for the flames)
  • Washi tapes
  • Bright coloured yarn for pom-poms
  • 3 metres of bright coloured yarn or string for stringing the bunting
  • 3cm pom-pom maker
  • Scissors
  • Double-sided glue tape roller
  • Compass with pencil
  • Yarn needle
  • Sticky tape
  • Ruler


To Make 2 Metres of Bunting:

Step 1

Set the compass to 5cm. Draw 9 semi-circles on your coloured card – use as many different colours of card as you would like.
Cut the semi-circles out of the card.

Step 2

Using the washi tapes, decorate one side of each of the semi-circles of card.

Step 3

Set the compass to 6cm. Draw 9 semi-circles on your coloured card – use as many different colours of card as you would like.
Cut the semi-circles out of the card.

Step 4

Take one of the smaller semi-circles, add glue tape to the backside, and place it on top of one of the larger semi-circles, lining up the straight edge and leaving an even border around the other side.
Repeat for all of the cut semi-circles.

Step 5

Using the yellow card, cut out 9 small flame shapes with an approx. height of 2.5cm (as they’re flames, they don’t need to be identical).
Glue each yellow flame shape on to a piece of orange card and cut around the flame shape leaving a small orange border.
Glue each orange flame shape on to a piece of red card and cut around the flame shape, leaving a small red border.

Step 6

Add a horizontal strip of glue to the bottom of the flame shape and stick centrally to the top, flat edge of the back of the semi-circle.

Step 7

Using your pom-pom maker, follow the manufacturer’s instructions to make 10 3cm pom-poms.
Trim the pom-poms with your scissors to neaten.

Step 8

Thread the yarn needle with the yarn you will use to string your bunting.
Take one of the pom-poms and carefully push the needle through the centre of the pom-pom, threading it on to the yarn.
Thread all of the pom-poms on to the yarn.
When all pom-poms have been added to the yarn, spread them along the yarn, leaving 20cm between each one.
Cut the yarn, ensuring approximately 20cm excess at each end.

Step 9

Place one of the card semi-circles centrally in between two of the pom-poms.
On the back of the card, at the top of the semi-circle, attach the yarn to the card with sticky tape.
Repeat the above for all of the pieces of card, attaching them along the bunting.

Tips and ideas

  • Add more or fewer card shapes and/or pom-poms depending on the length of bunting you require.
  • Decorate the cards as you wish, you could add biodegradable glitter, pen etc.
  • You could make multicoloured pom-poms by using more than one colour of yarn when making them.
Create your own user feedback survey