This month, Kirstie Phipps brings us two fantastic sewing projects that are both stylish and practical, especially for those who love to sew and have a passion for travel! Whether you’re heading off on a grand adventure or just dreaming of your next getaway, these beginner-friendly crafts are the perfect way to add a personal touch to your travel essentials.
First, Kirstie will guide you through creating a custom luggage tag—a fun and functional project that makes it easy to spot your suitcase while adding a dash of flair to your travel gear. Next, she’ll show you how to craft a chic passport cover, perfect for keeping your most important travel document safe and stylish on the go.
These projects are not only great for beginners but also offer endless possibilities for customization, letting you reflect your unique style while honing your sewing skills. Let’s get crafting!
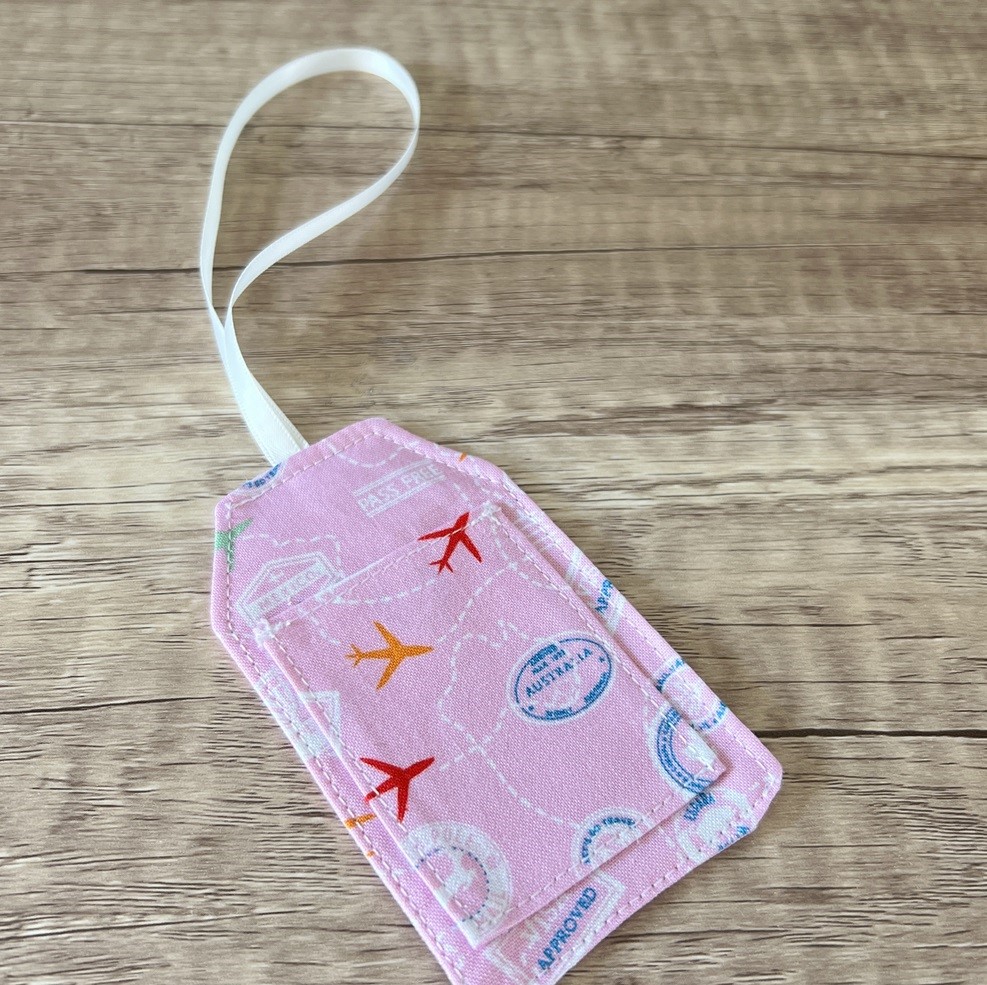
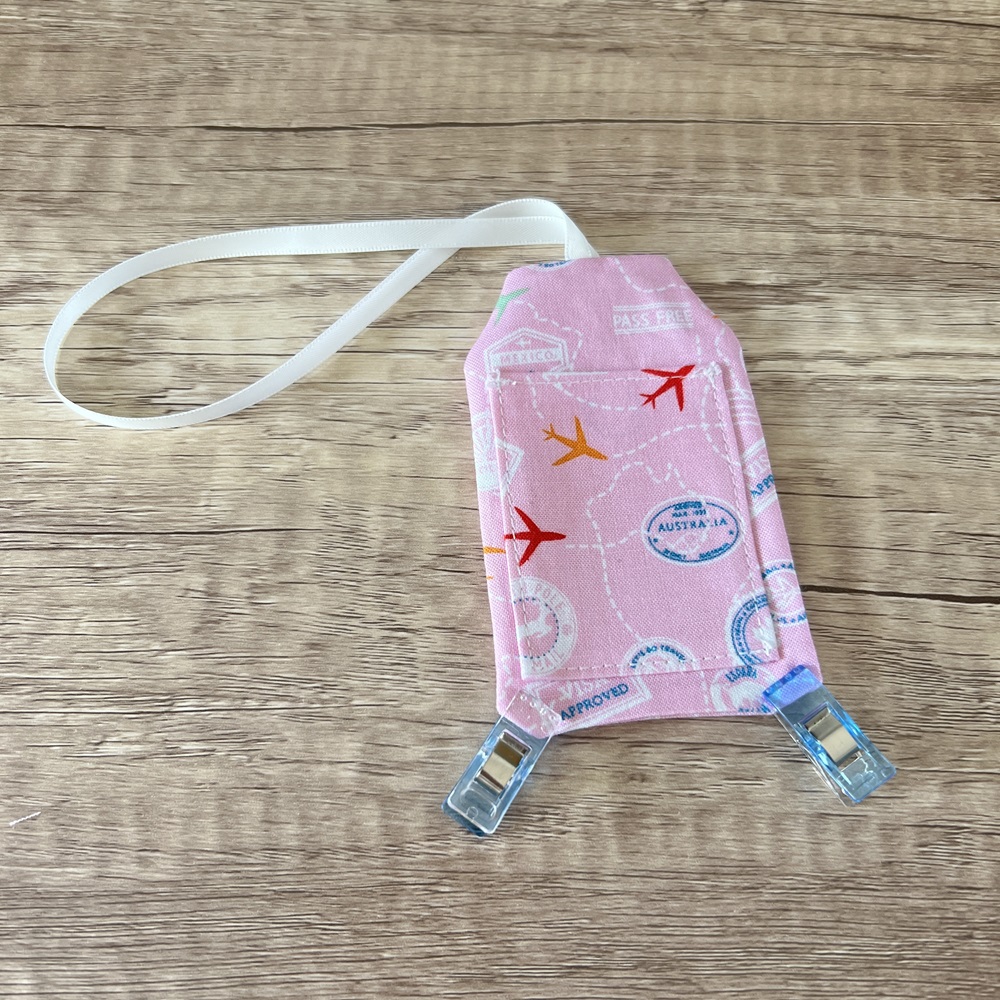
Luggage Tag
Skill level: Beginner
You will need:
Cotton fabric x 2 pieces, 12cm x 7.5cm (Fabric pieces A and B)
Cotton fabric 8cm x 6.5cm (Fabric piece C)
Medium weight interfacing x 2 pieces, 12cm x 7.5cm
Medium weight interfacing 8cm x 6.5cm
White card 6cm x 5cm
Ribbon 6mm x 34cm
Thread
Scissors
Clips
Iron
Pen
Sewing machine
Printer
Chopstick (or alternative to push out the sewn corners)
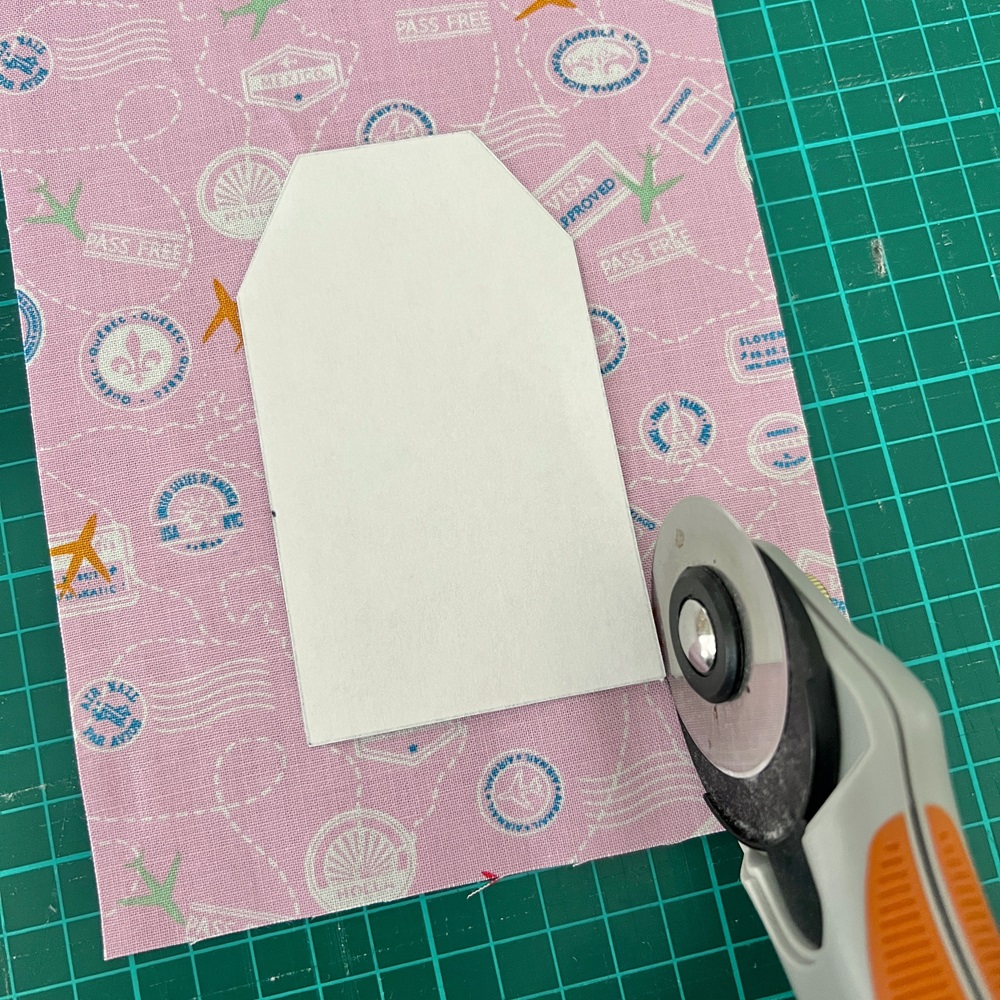
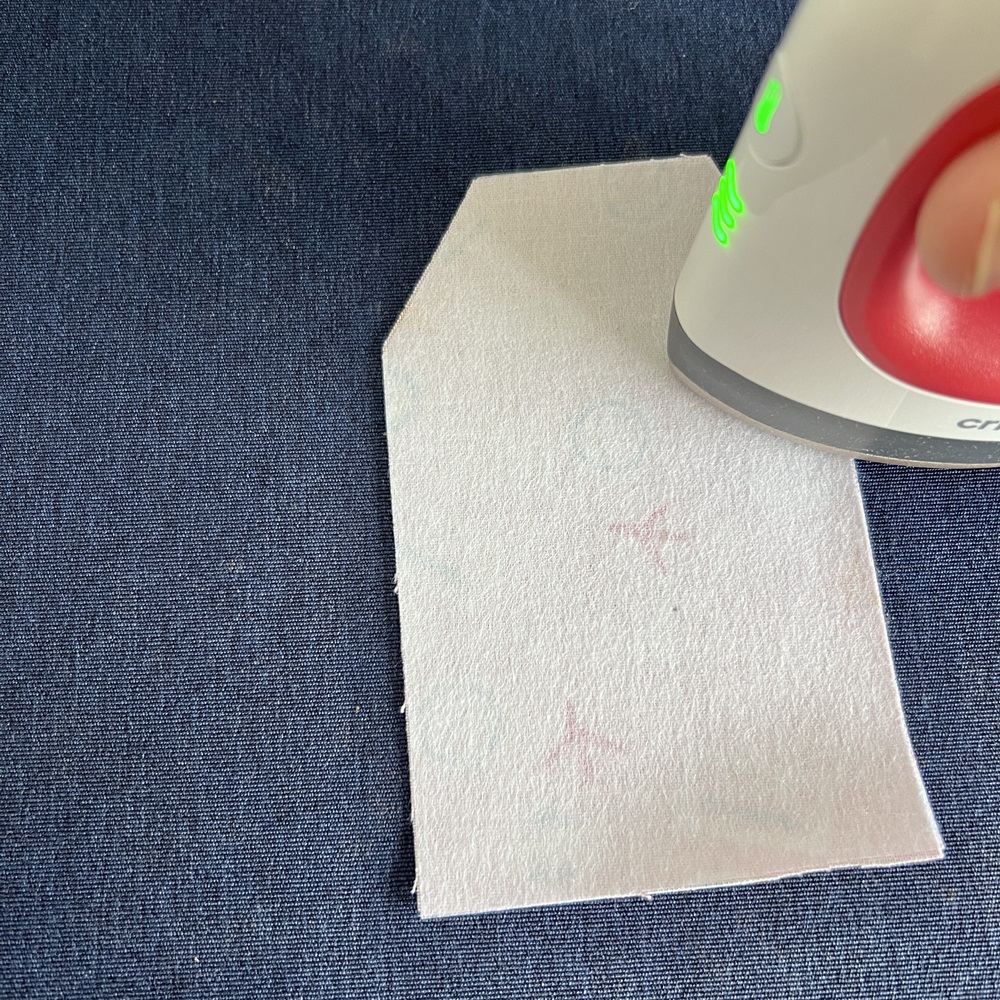
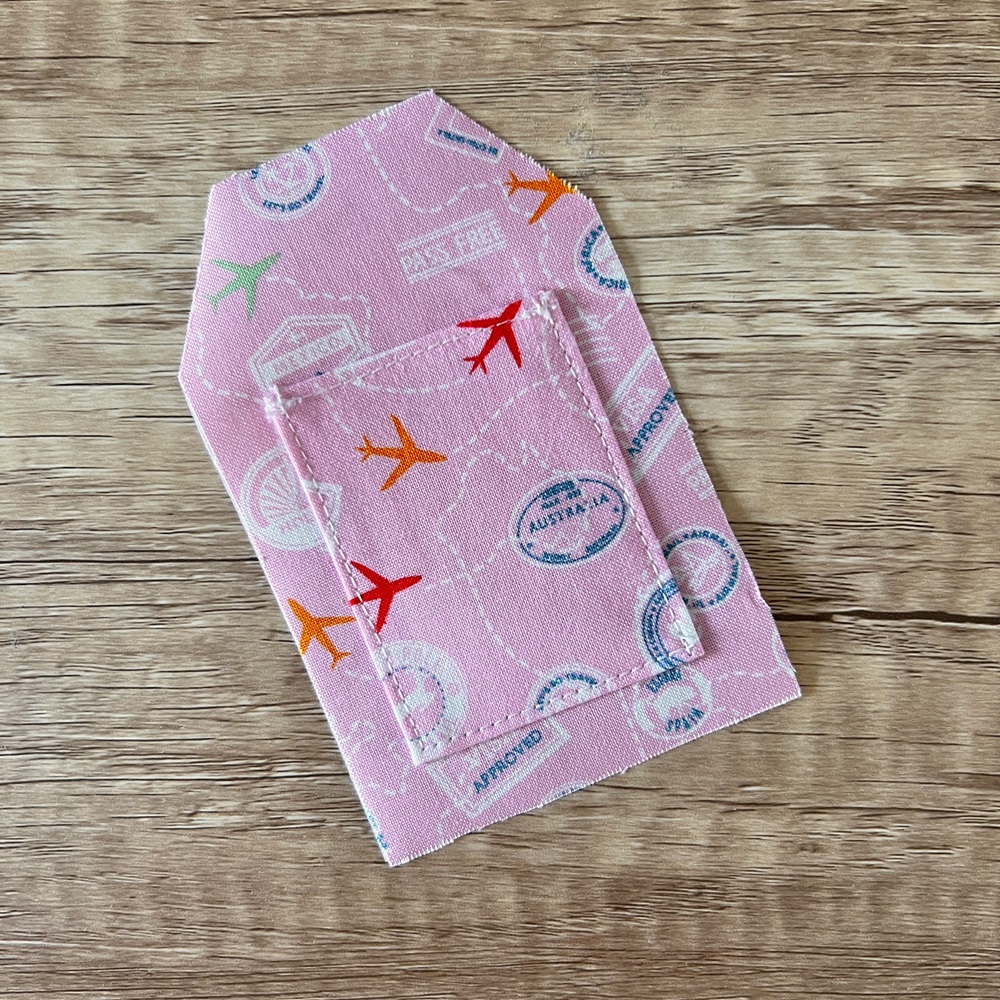
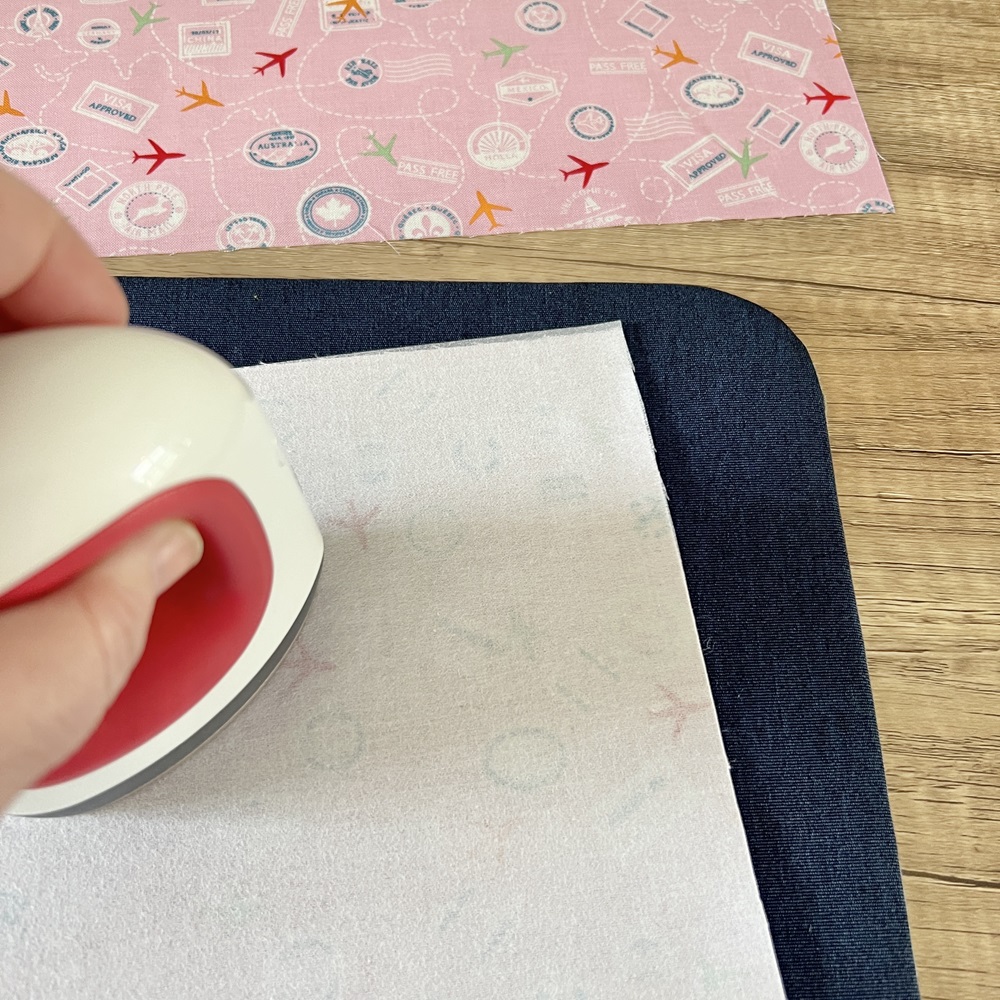
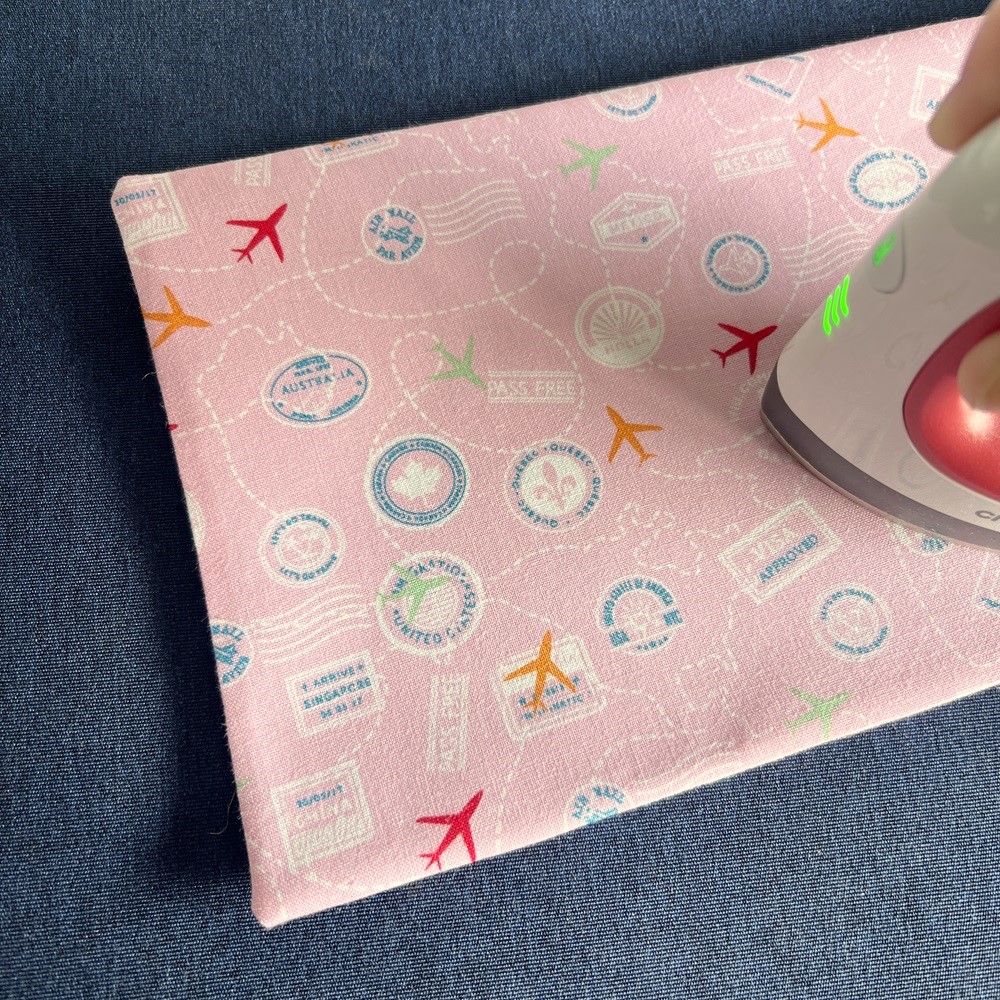
Take fabric piece A. Place the luggage tag template on top of the fabric and cut out. Repeat on fabric piece B and also on the two pieces of interfacing. On the wrong side of fabric piece A, place one piece of the interfacing (shiny side down) and iron the interfacing on to the fabric. Also add the interfacing (as above) to fabric piece B.
Step 2
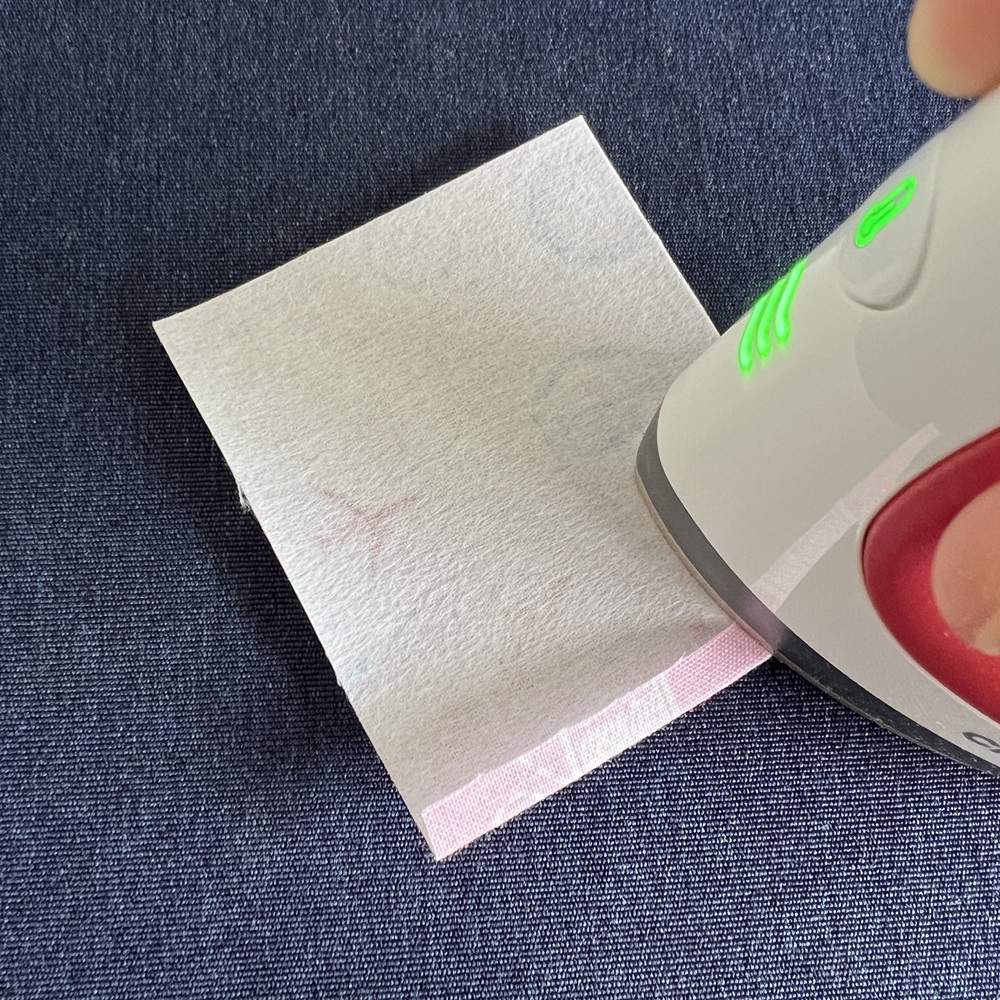
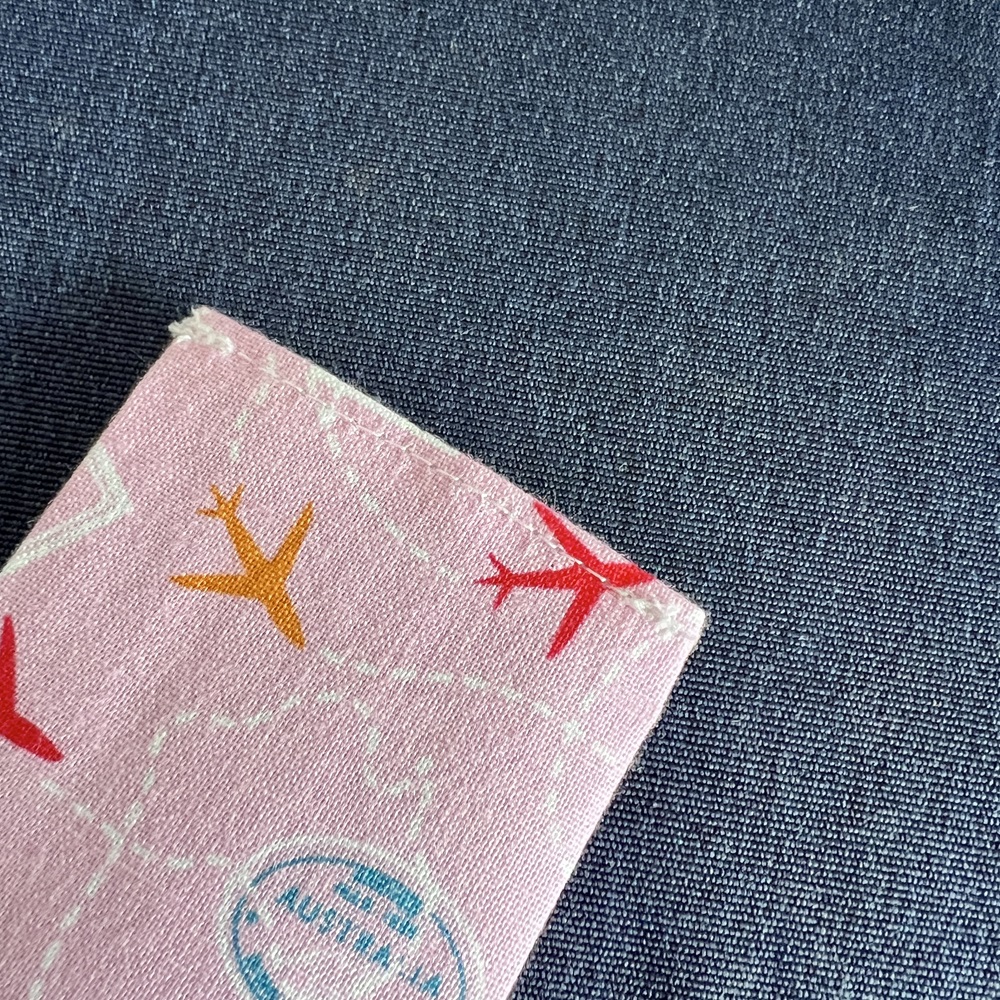
Take fabric piece C and on the wrong side, iron on the remaining piece of interfacing. Place face down and press a 0.3cm hem on to all edges of the fabric. Straight stitch along one of the short edges – if your fabric has a pattern that is a specific way up, stitch along the edge at the top of the pattern, as this will be the pocket piece on the tag.
Step 3
Place fabric piece C right-side up, on top of fabric piece A, in the middle of the rectangular section of the tag shape, with the stitched end towards the shaped end of the tag. Clip in place. Straight stitch fabric piece C on to fabric piece A. Do not sew along the side already sewn in step 2. Remove the clips as you sew.
Step 4
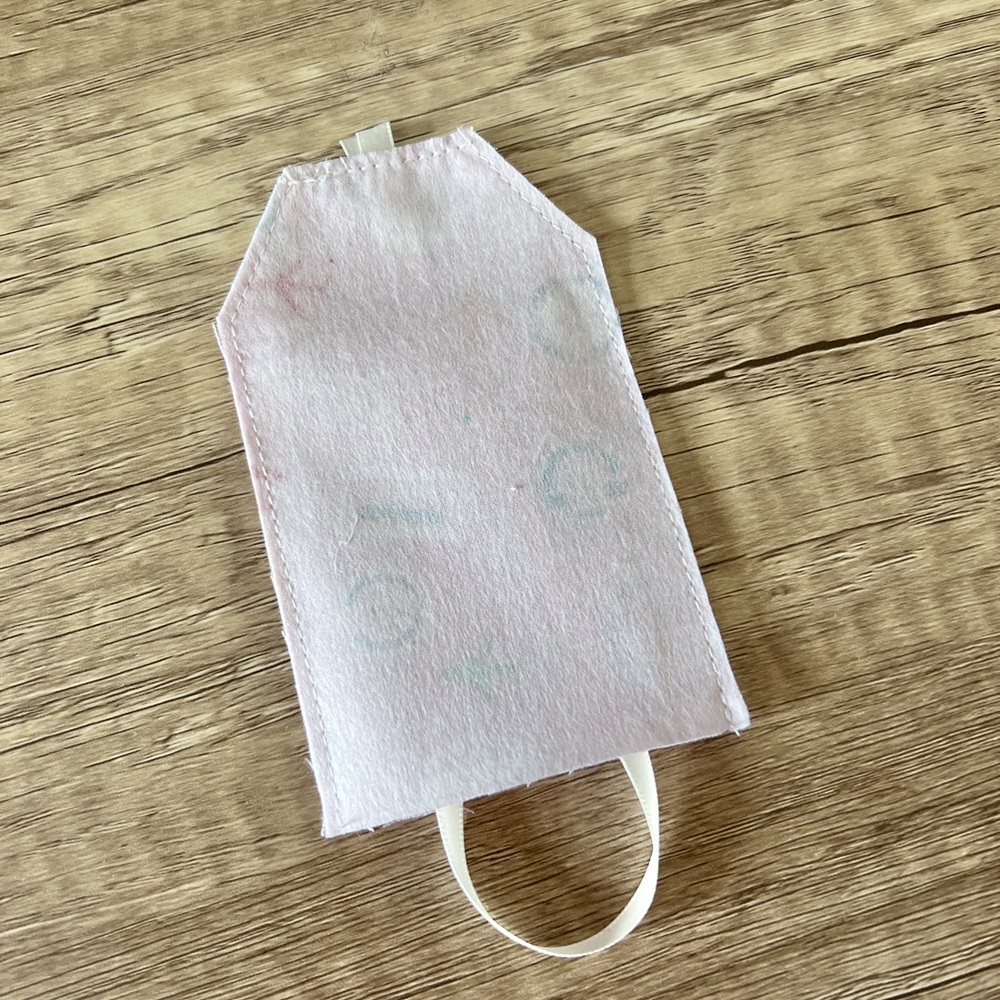
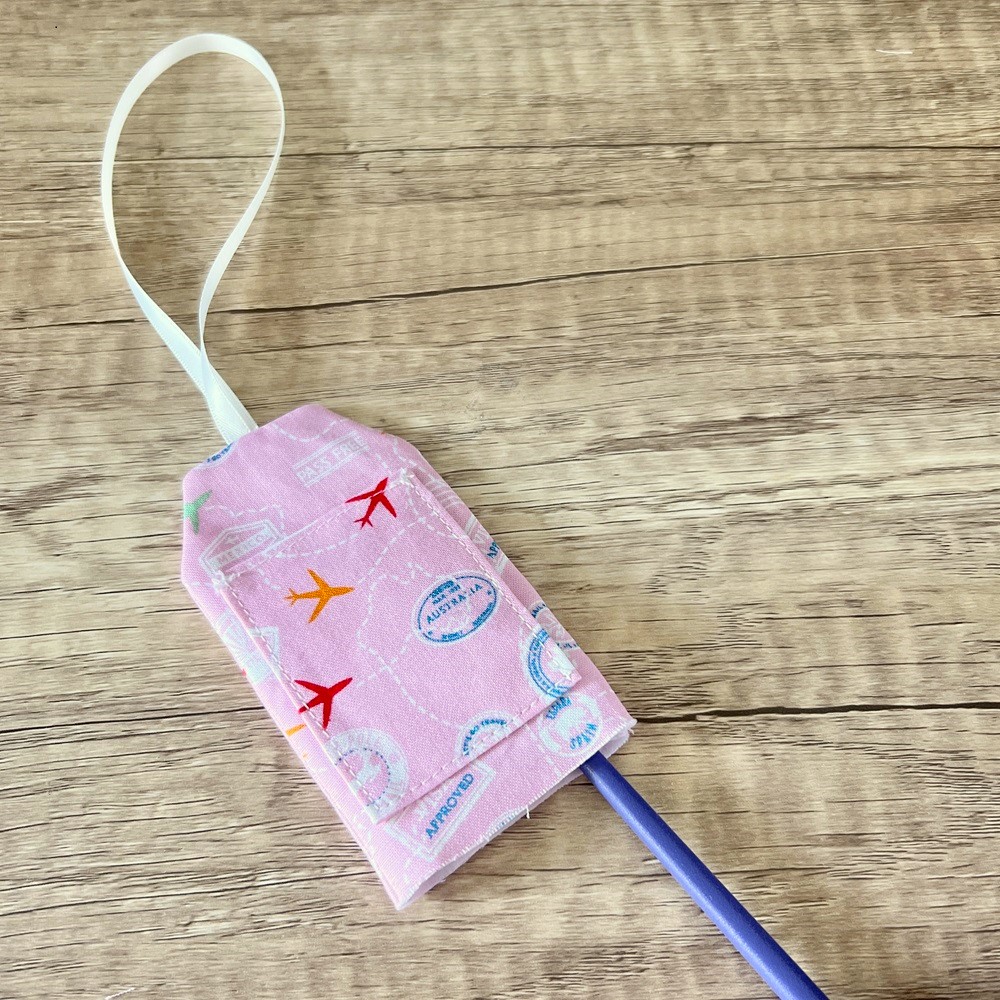
Place fabric piece A right side up. Take your ribbon, fold it in half and place it in the middle of the top of the tag shape with the raw ends at the top – leave 1cm overhang. Place fabric piece B on top fabric piece A, right side down, sandwiching the ribbon. Straight stitch around all sides of the luggage tag (except for the bottom side), close to the edge. You may want to add a few extra stitches over the ribbon to ensure it’s secure.
Step 5
Pull the fabric and ribbon through the hole at the bottom of the tag to show the right sides of the fabric. Use a chopstick to carefully push out the corners and the seams.
Step 6
At the bottom of the tag where the open end is, fold a hem inside the fabric to hide the raw edges of the fabric and press. Clip in place.
Step 7
On your machine, straight stitch around the edges of the tag, 0.2mm from the edge. Add your details on to the piece of card and place it into the pocket on the tag.
Tips & Ideas
Follow the manufacturer’s instructions on how to iron on the interfacing.
If your fabric/s have a design or pattern that is best viewed a specific way up, ensure you cut and then sew the fabric pieces together the same way up so the pattern is in the same direction when turned the correct way out.
This is a great project to make with your fabric scraps.
If you have a vinyl cutting machine, you could personalise the tag using heat transfer vinyl to add the person’s initials.
Make both the luggage tag and passport holder and gift to your family and friends.
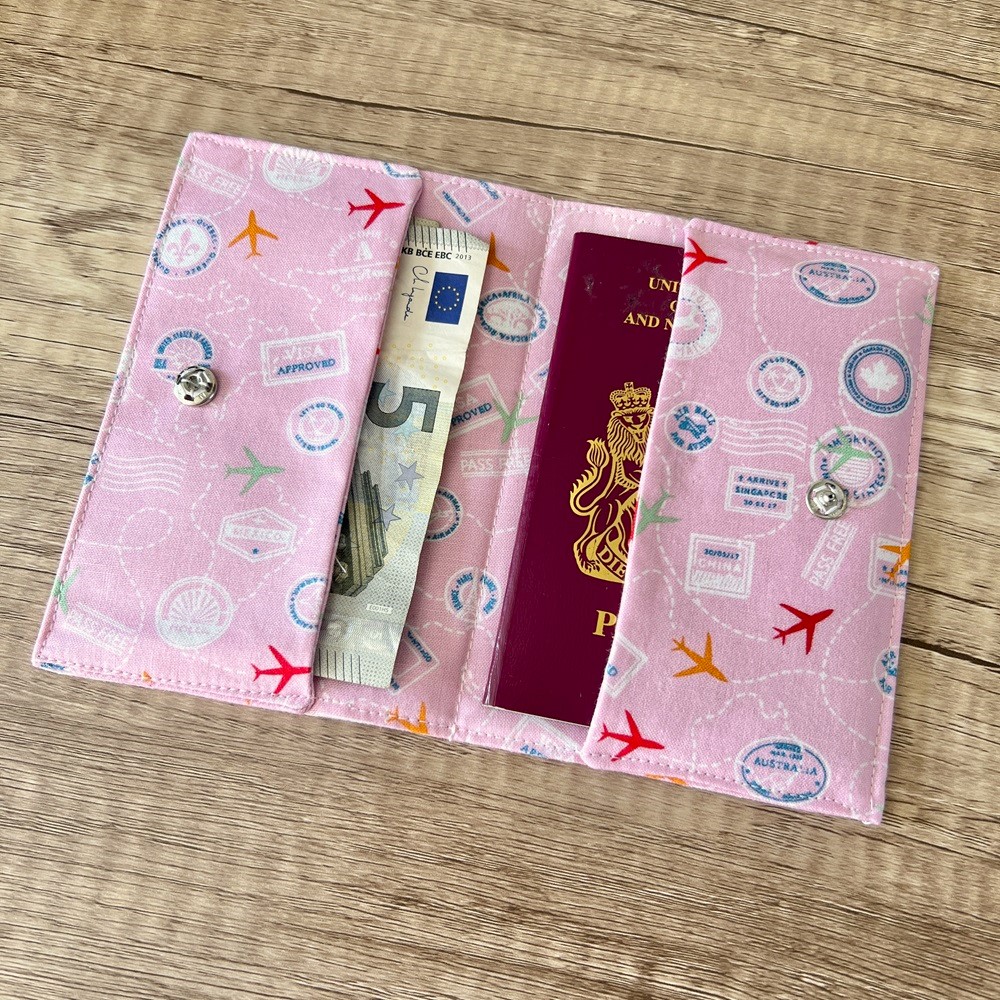
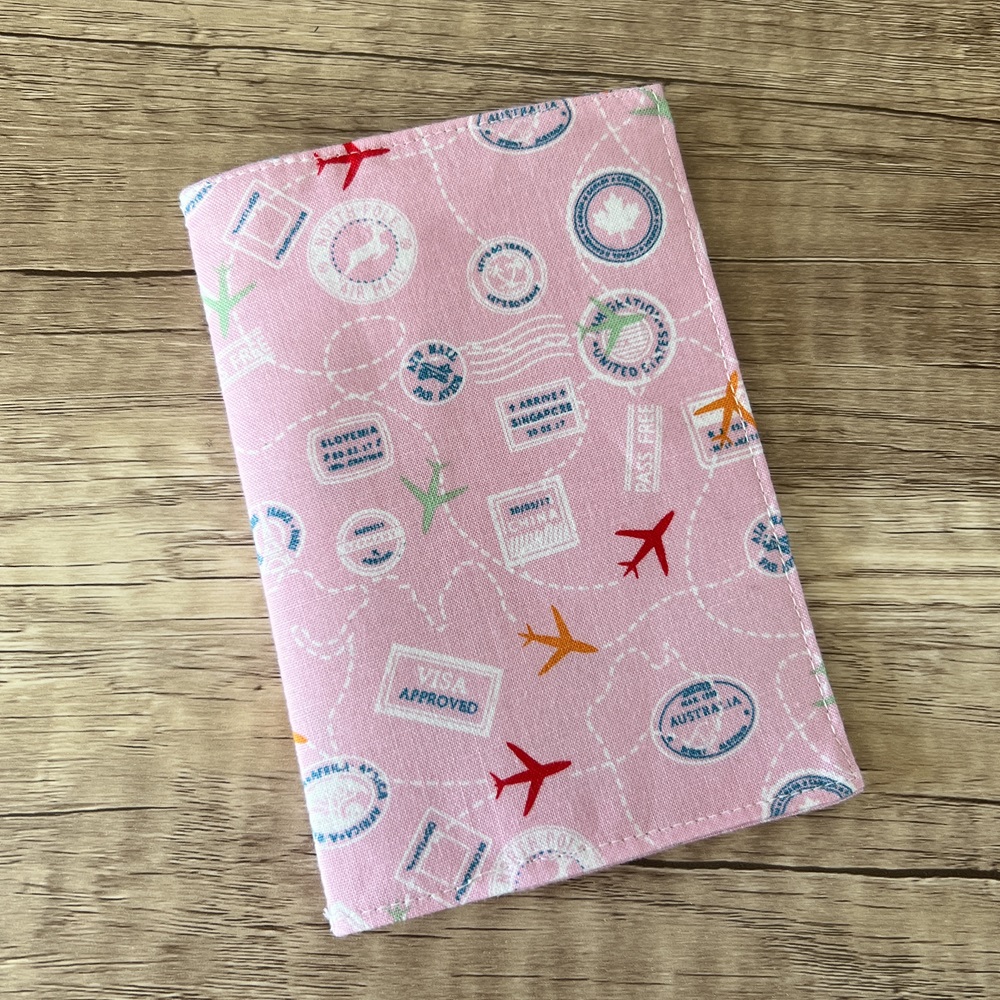
Passport Cover
Skill level: Beginner
You will need:
Cotton fabric x 2 pieces – 35cm x 16cm
Medium weight interfacing 35 x 16cm
Popper
Thread
Needle
Scissors
Clips
Iron
Chopstick (or alternative to push out the sewn corners)
Take one of the pieces of the fabric and place it right-side down. Place the shiny side of the interfacing face down on to the fabric. Iron on the interfacing.
Step 2
Take both pieces of fabric and clip them together, right-sides together. Using your sewing machine and leaving a 0.5cm seam allowance, straight stitch around all edges of the two pieces, except on one of the longer sides, leave a gap of approx. 4/5cm unsewn (this will allow you to turn the fabric right-side out). Trim the corners and the hem so there is less bulkiness.
Step 3
Using the gap you have left unsewn, pull the fabric through the hole, so the right sides of the fabric are now showing. Carefully use the chopstick to push out the corners and hemmed sides of the fabric. Press with your iron. When pressing, neaten up the edges of the open section and press a hem inside – you will stitch this section closed in the next step.
Step 4
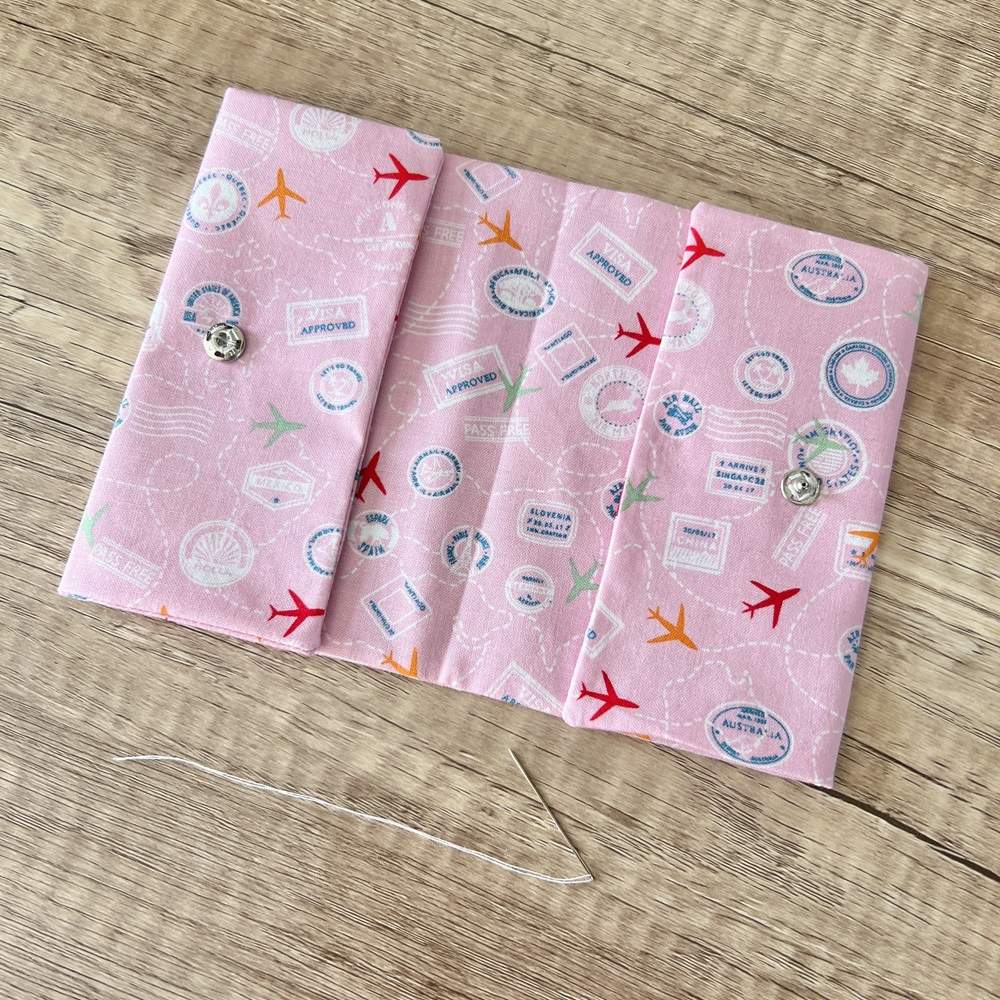
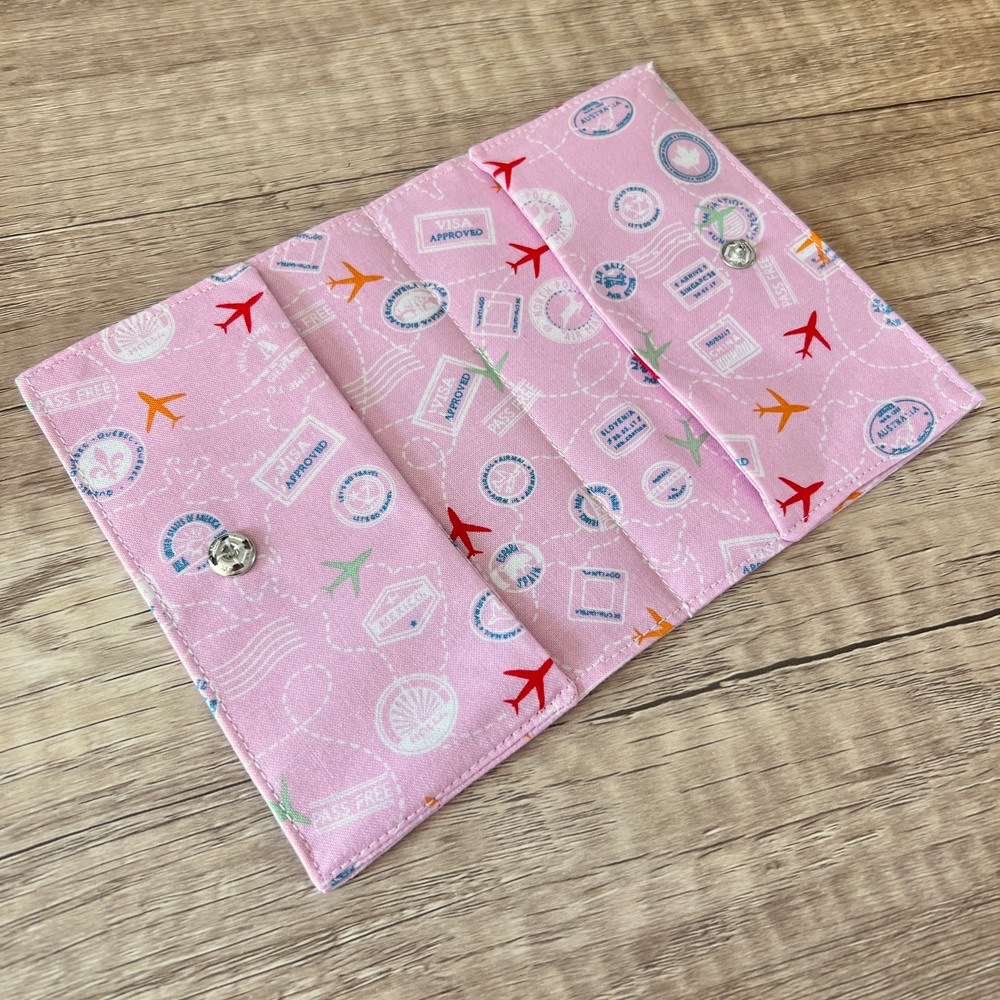
Fold the fabric in half lengthways to find the middle, press. Open the piece and lay it flat. Take the left-hand side of the fabric and fold towards the middle so the overlap is 6.5cm and press. Repeat on the right-hand side. Place your passport under one of the flaps to check it fits well.
Step 5
Measure one of the short, folded edges from top to bottom and then find the middle. 2cm from the folded edge, on the left-hand side, hand sew on one piece of the popper (make sure you only sew on the ‘flap’ piece and not all the way through all of the layers of fabric). In the same place, on the right-hand side, hand sew on the other piece of the popper. After you have sewn a couple of stitches on the second half of the popper, fold it over to meet the first half of the popper to check both parts0 meet and have been positioned in the correct place. Continue stitching until the popper piece is secure.
Step 6
Clip the overlapped sections in place. Machine a straight stitch around the whole fabric piece, approx. 0.2cm from the edge. Be careful when you’re near the poppers. Also, stitch a straight line down the fold in the middle of the opened piece.
Step 7
Place your passport in your case. You can keep some money or your other travel items in the case too.
Tips & Ideas:
If you do not have a British passport, please check measurements. The passport we used was 17.5cm x 12.5cm (when opened and flat). Adjust the measurements accordingly if yours is larger or smaller.
You could use a different fabric for the lining.
If you would like a firmer case, add interfacing to both pieces of fabric.
If your fabric/s have a design or pattern that is best viewed a specific way up, ensure you cut the pieces accordingly and that you sew the fabric pieces together the same way up so the pattern is in the same direction when turned the correct way out.
Follow the manufacturer’s instructions on how to iron on the interfacing.
If you have a vinyl cutting machine, you could personalise the cover using heat transfer vinyl to add the person’s initials.
Make both the luggage tag and passport holder and gift to your family and friends.