White

July 2024 – Featured Crafts by Gillian Cain

Hello July!

By now we should be fully into Summer but if not I think the projects for July will bring a little sunshine into your life.  It was lovely to get back to jewellery making again after a long break especially as I kept some for myself to update older Summer outfits.  They use simple processes but end up looking quite difficult to make.  I enjoyed using pressed flowers especially on the clocks; you’ve got to love a crafty hack.  My favourite though was water colouring and using flotsam and jetsam to embellish the frames and cards.  I love the cards and know some ladies who will really appreciate them. 

Seaglass Art - Peddle Art Box Frames & Cards

July is World Watercolour Month which celebrates art and creativity through the use of watercolour.  I’ve dabbled with them now and again and find watercolouring so relaxing to use as mistakes can be turned into happy accidents.  I particularly like using as backgrounds which is what I have done here incorporating with the flotsam and jetsam of the sea – seaglass, sea pottery, driftwood and shells – to make into delightful summer box frames and cheery cards.  I’ve gone abstract with the box frames designing around the main feature used to mimic what it is meant to be, then traced over downloaded line drawings for the cards. 


Materials:

  • Small box frames
  • 280gsm watercolour card (15x30cm which folds into a standard size 6×6 card), 6×6 envelope
  • Watercolour markers (or use what you have), paintbrush, black permanent fine liner marker
  • Seaglass, sea pottery, driftwood, shells
  • PVA dries clear glue
  • Light box (or go old school and use pencil and tracing paper)


Instructions:

Top two rows above are delightful small box frames – sea turtle, yachts, seabirds on groynes, lighthouse on rocks, love heart, best friends with balloons, sheep field, beehive. 

The bottom row is greeting cards on actual watercolour cards using seaglass as ice, olives, jewellery etc

Creating the box frames:

Tracing off the card templates:

Jewellery Craft (Part 1)

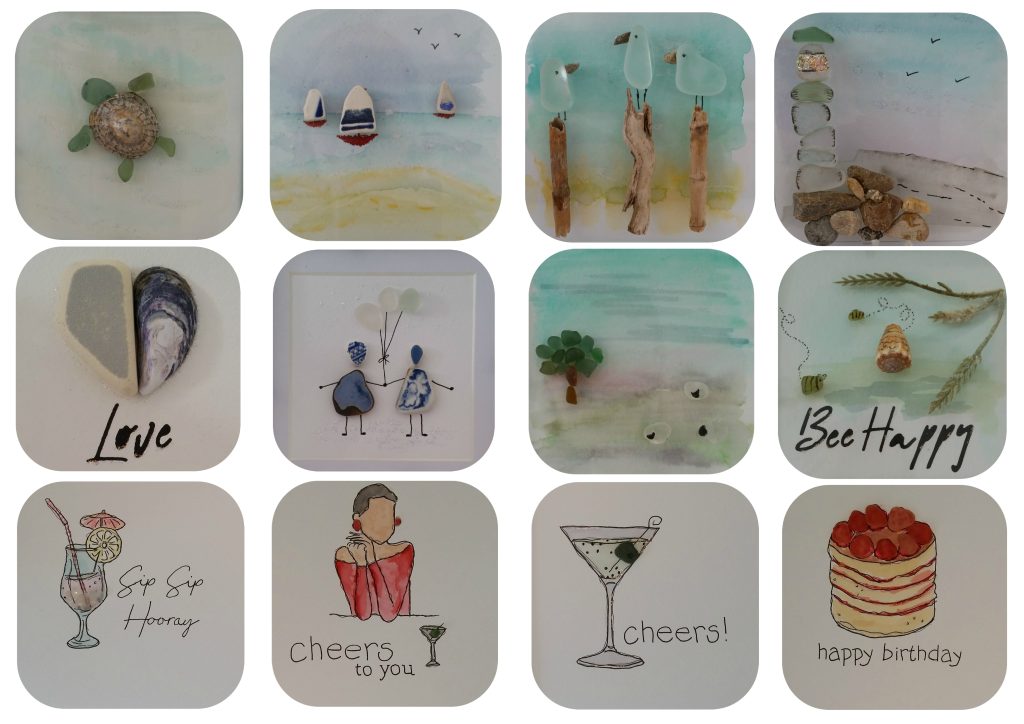
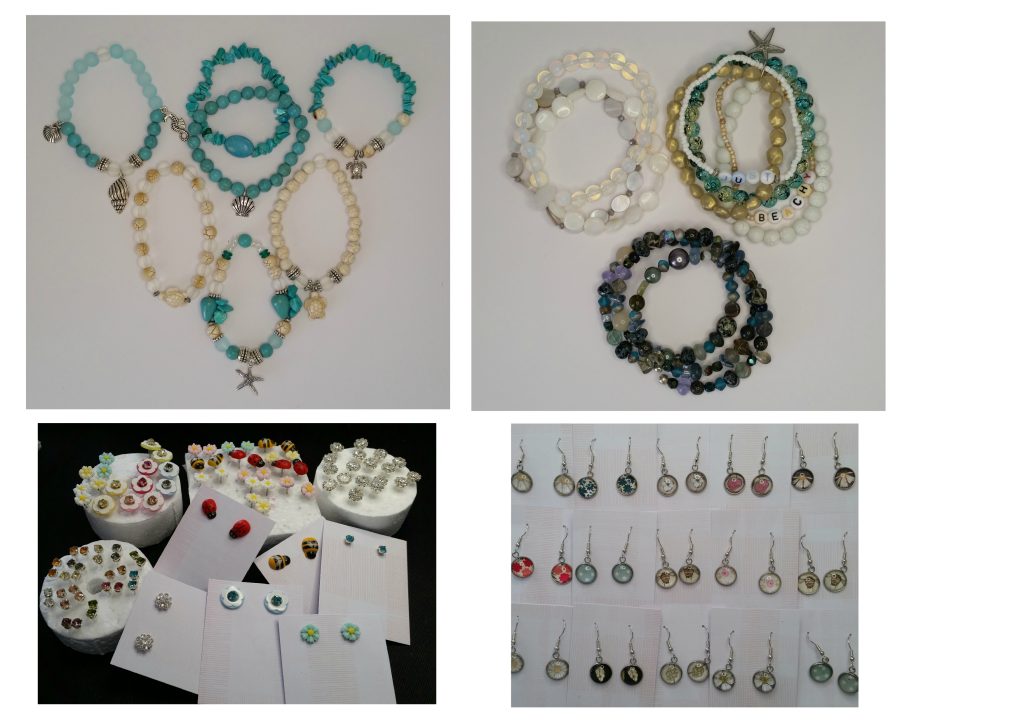
This month I’ve created beginner jewellery makes – elasticated bracelets and easy to assemble earrings. 

As the weather gets warmer we start to wear fewer layers and bare our skin, what better way of adorning ourselves celebrating Summer than with some gorgeous jewellery.  I’ve based these on friendship bracelets to tie in with the International Day of Friendship at the end of the month and Thank You Day at the beginning, a lovely idea to celebrate friendship and say thank you. 

Part 2 next month will go into more detail on advanced techniques for ‘findings’, names, tools and how they are used to assemble your makes, achievable with a bit of practice.  A finding is a construction component that links, fastens, connects in the jewellery making process. 


Materials:

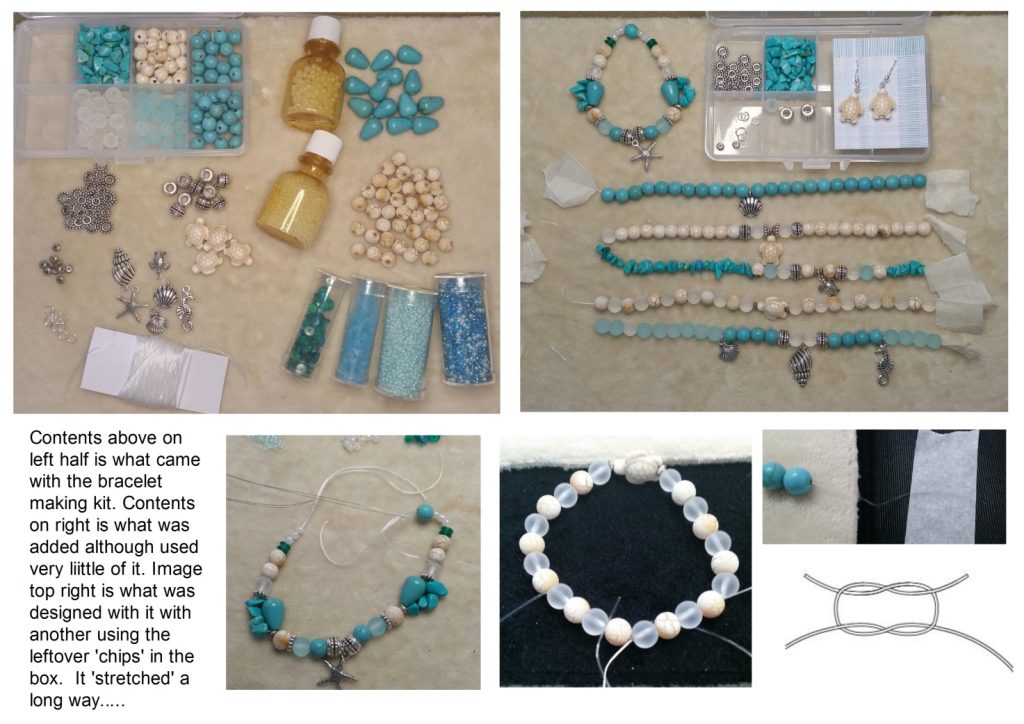
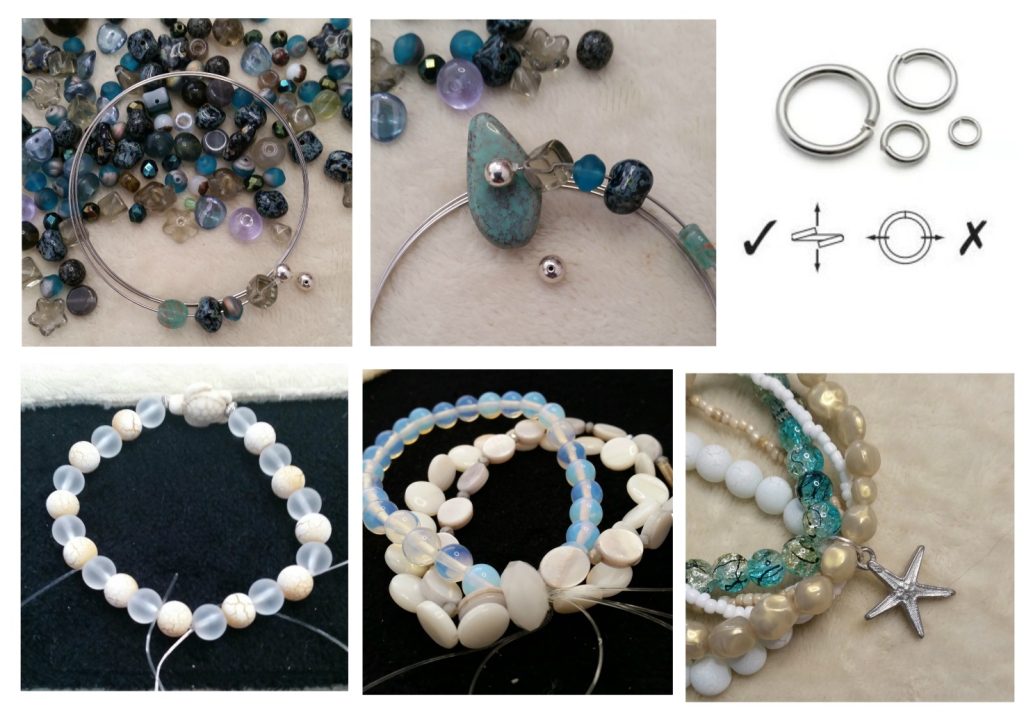
  • Bracelet making kit with charms, additional matching beads

The elastic in this kit was not great to thread through beads as it was multi stranded and unravelled at the cut ends the more it was threaded

I persevered with two before replacing with the brand I normally use which is a thicker one stranded version

  • Dries clear strong glue

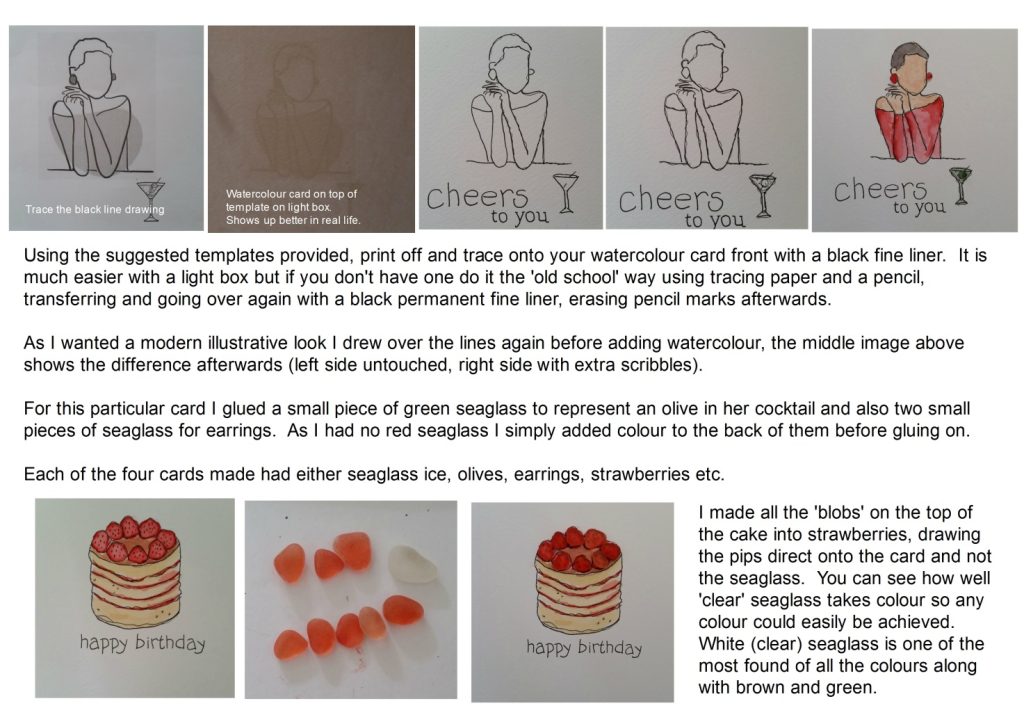
My preference is ‘glossy accents’ as it dries to a hard transparent finish, creates a strong bond and does not yellow but use what you have

  • Bead mat or fluffy fabric to contain beads from rolling away, masking tape, collapsible beading needle (optional but most helpful for these makes), jewellery pliers or similar
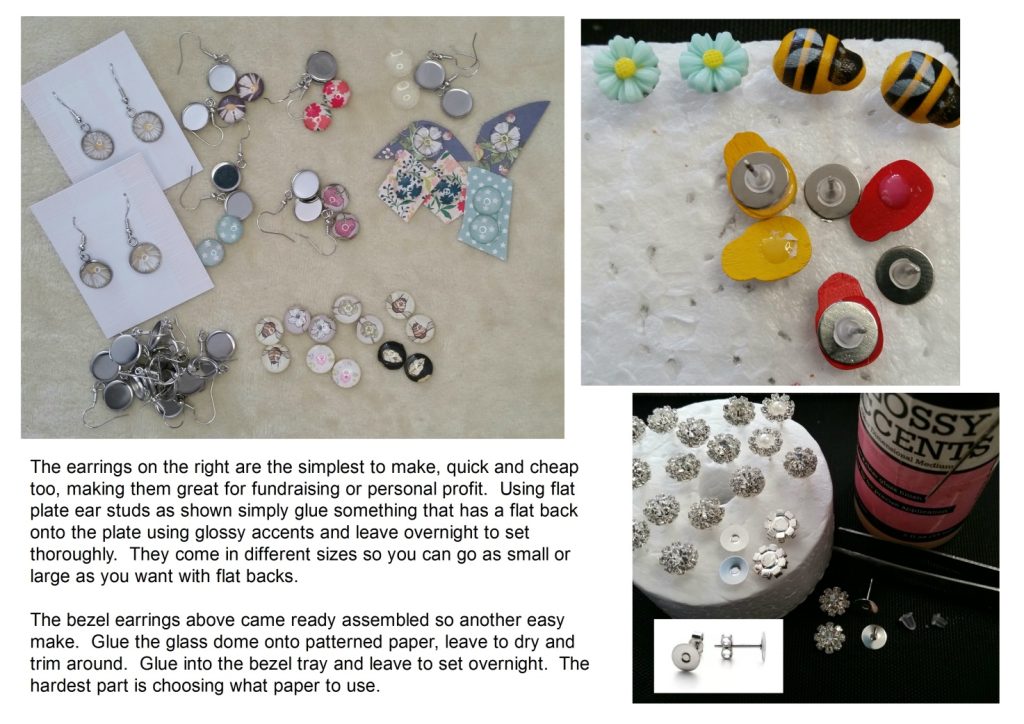
  • Ready assembled bezel earring kit, pretty papers
  • Ear studs with flat plate and butterfly backs, flat backed embellishments to glue on


Instructions:

Before starting assemble and sort all your items so you know what you are working with making it easier to plan designs.

To make an elasticated bracelet measure your wrist and cut at least twice that length of elastic.  Tape down one end onto your working surface with masking tape to prevent beads falling off when threading on and accidentally pulling elastic all the way through – easily done!  If you have a collapsible beading needle it is most helpful to use one.  A collapsible needle is flexible and has a specially designed eye that automatically collapses and reshapes when pulled through a bead. 

When you have threaded all your beads, add masking tape to both ends and try around your wrist to check the fit.  All the bracelets I made to fit my wrist were about 19cm and had some give so not too tight, which is surprisingly the most common length for a woman’s bracelet.

To fasten, hold the bracelet in mid-air to let the weight of the beads settle in, knot as shown below as many times as needed to secure (the elastic is strong pull tight to close any gaps).  Add a small blob of glue and leave to set.  When the glue has hardened you can trim the ends (they won’t show much as the elastic is transparent) or feed ends through the beads either side of the knot and then trim, whatever is easiest.

The bracelets above had hanging metal charms added, attached with jump rings.  The image below far right shows what one is and how to open up reversing the action to close up again.  If you have pliers use them to hold while doing this, if not it is possible using tweezers.

I also made multi stranded versions with multiple bracelets joined together using a larger jump ring and added hanging charm.  The other had all ends threaded through a large holed bead before fastening off and gluing. 

The blue version uses memory wire made from hard steel which maintains its shape.  They unfurl and wrap around the wrist with no need for a fastener.  Glue a memory wire end cap or bead to one end and leave to set.  Thread on beads (I used my bead soup which is leftover beads from other projects) and keep threading till the wire is fully covered.  This is the difficult part as memory wire is very springy – hold the last bead in place and glue on an end cap or bead, keep hold temporarily till you feel it is holding. 

I hope you enjoyed part 1 and have a go and are looking forward to part 2 next month!

July 2024 Blog – Jewellery (Part 1) by Gillian Cain – Printer Friendly PDF

Pressed Flower Homeware

Materials:

  • Pressed dried flowers (or microwave your own – instructions below)
  • Chosen item(s) to decorate
  • Slightly watered down dries clear PVA glue and small brush (optional glitter)


Instructions:

I’ve always loved pressed flowers and for these projects I’ve used microwave dried daisies from a few years ago and also mixed packs bought some time ago that I recently came across again.  The pressed flower art form has been traced back to 16th century Japan and is known as Oshibana so it’s been around a long time.  Flowers are dried and flattened to press out moisture to preserve them.  They do need gentle handling and lots of patience when decorating your homeware as hands can get messy with the glue and flowers then sticking to your fingers. 

On the main image above I’ve added flowers to a frosted jar which held craft supplies, now all gone – reuse and recycle when you can!  I’ve added flat hessian ribbon around the neck as it needed a little something else.  Inside the jar are glass floristry pebbles to support the additional wooden painted stem flowers (with added embellished glued on dried flowers of course) and some fake foliage.  It’s been finished by standing it on a light up drinks coaster – looks lovely at night when the light shines through the pebbles.  The clocks are an ‘IKEA tromma wall clock hack’.  The cover is easily removed for clock face decoration.  The numbers have holes cut in which I’ve embroidered through with backstitch to make them stand out more.  Flowers have been glued around the centre (without having to remove the clock mechanism) making sure there was enough space for the hands to move freely without obstruction.    

Microwaving instructions:

Lightweight card frame sun catchers:

My next project on this theme is to decorate some old summer canvas shoes to disguise the scuff marks – how pretty will they look with a lovely summery outfit. 

It is possible to microwave press roses and other similar rounded flowers but they do take more work – I will be having a go at some time in the future.

July 2024 Blog – Pressed Flower Homeware by Gillian Cain – Printer Friendly PDF

Create your own user feedback survey