

Hello June! This month Kirstie has provided some fantastic projects for you to try at home; Decopatch Plant Pots & Beaded Wind Chimes to glam up your gardens for the summer!
Decopatch Plant Pots

Skill level: Beginner
You will need:
- Terracotta plant pot (the one we have used has a 13cm diameter)
- White acrylic paint
- Patterned paper napkins (depending on the design, you will need 1-2 napkins)
- Waterbase sealer/glue – specifically for outdoor use. We used ‘Mod Podge – Outdoor’
- Paintbrush for acrylic paint
- Flat brush for sealer/glue
- Sharp scissors
To make:
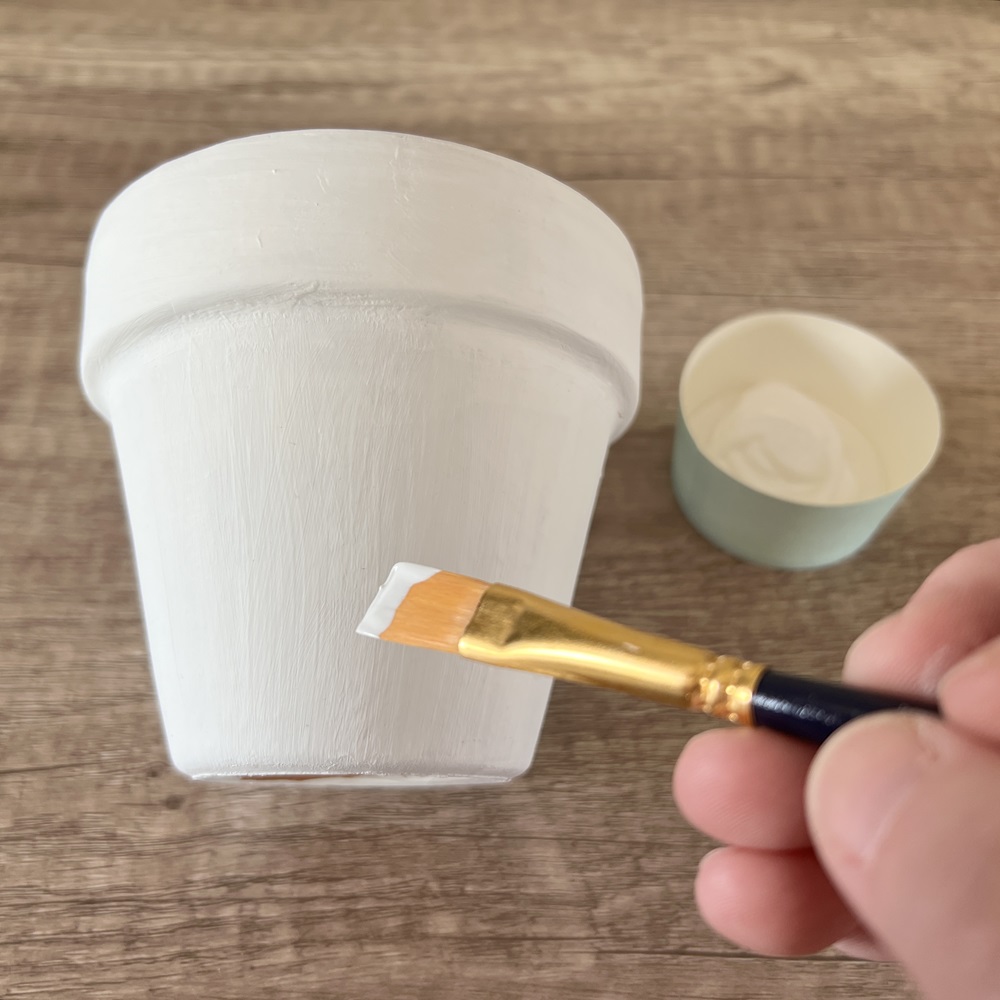
Step 1
Wash and dry the terracotta pot. Paint the pot with a coat of white acrylic paint and leave to dry.
You may wish to apply another coat or two depending on the coverage of the paint.
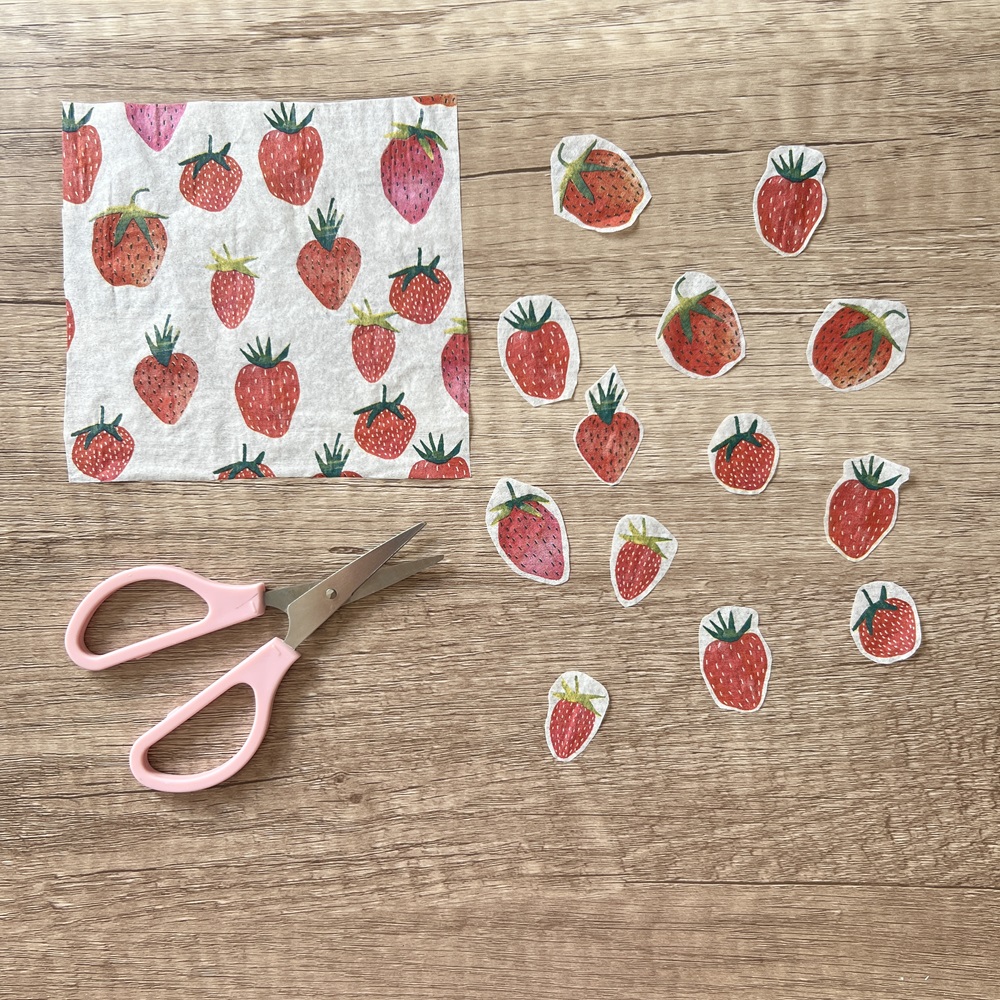
Step 2
Take the paper napkin and remove the top/patterned layer – this is the piece of the napkin you will use.
Cut out the sections of the paper napkins you would like to use on your pot.
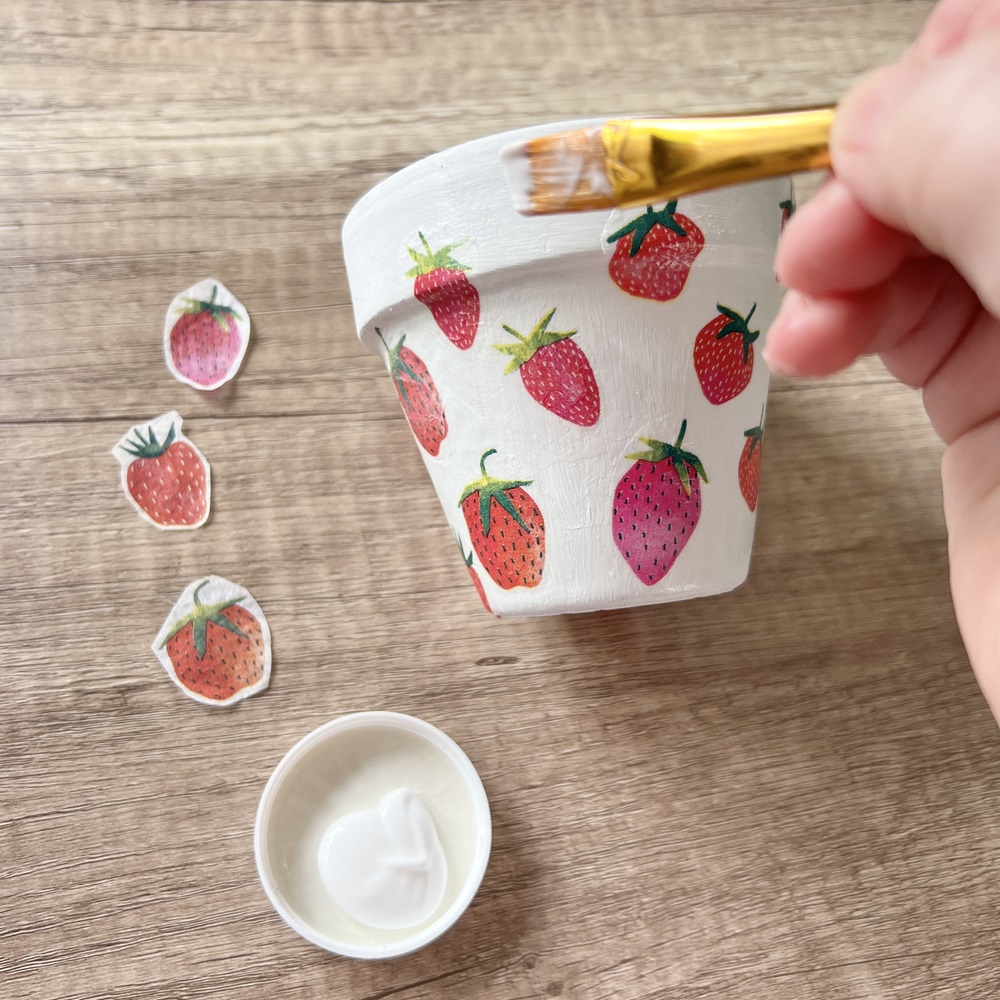
Step 3
Using the flat brush, apply a layer of sealer/glue to the pot where you would like to place your paper piece.
Carefully place the paper on to the sealer/glue and using the flat brush, gently press down the paper, flattening it as you go – be careful not to press too hard as you may rip the paper). Repeat for all of the pieces of the design you would like to add to the pot. Leave to dry.

Step 4
Coat the pot with another layer of the sealant/glue to give it extra protection.
When dry, plant your plant into the pot.
Tips and ideas
- Use up paper napkins and old plant pots you already have at home.
- You could use a mixture of napkin designs on the same pot.
June 2024 Decopatch Plant Pot Printer Friendly PDF
Beaded Wind Chimes

Skill level: Beginner
You will need:
- Wooden dowel – 28cm length x 1cm diameter
- Strong, clear wire/fishing wire cut into 7 pieces. Each piece should be 80cm long.
- Glass beads (approx 1-1.5cm)
- 7 x size 6 glass seed beads
- Jute twine
- Acrylic paint/s
- Clear sealer – suitable for outdoor use
- Scissors
- Measuring tape/ruler
- Paintbrush for paint
- Brush for sealer
- Superglue (optional)
To make:
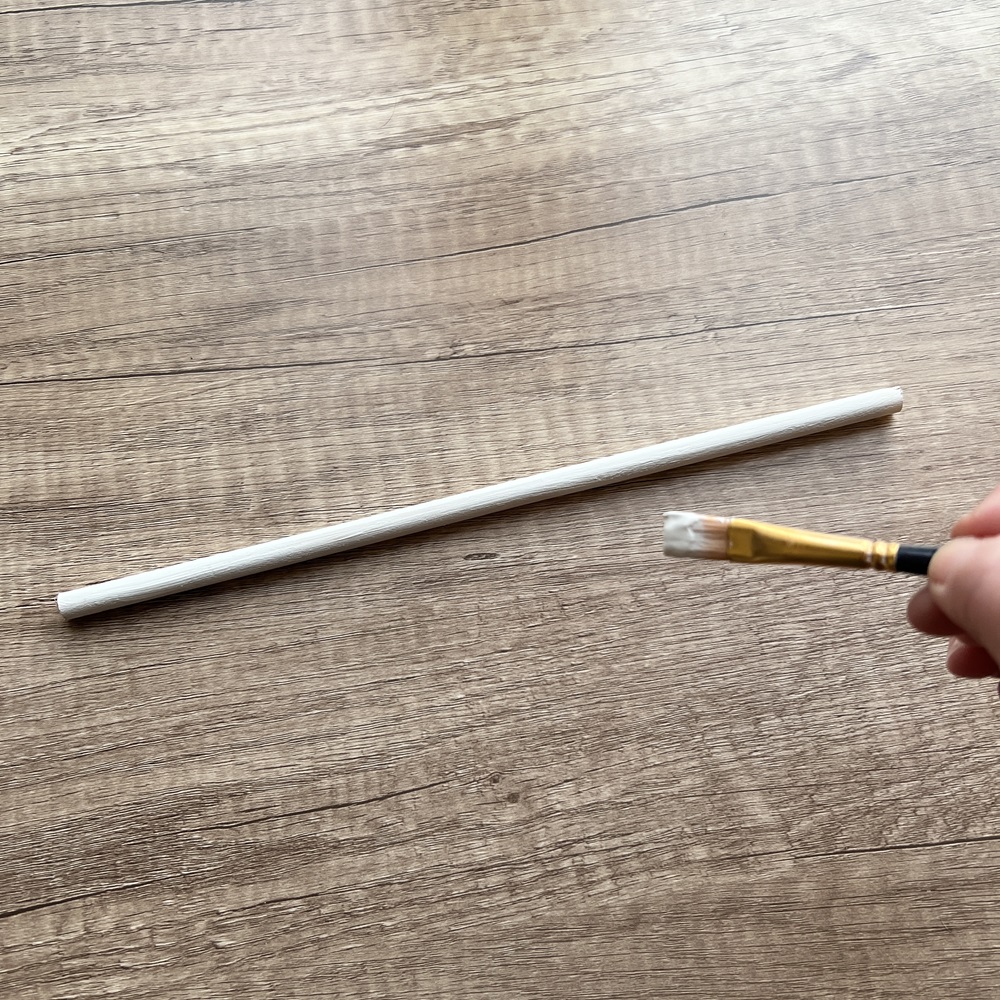
Step 1
Use the acrylic paint/s to paint the wooden dowel the colour you would like. When dry, apply a layer of sealer.
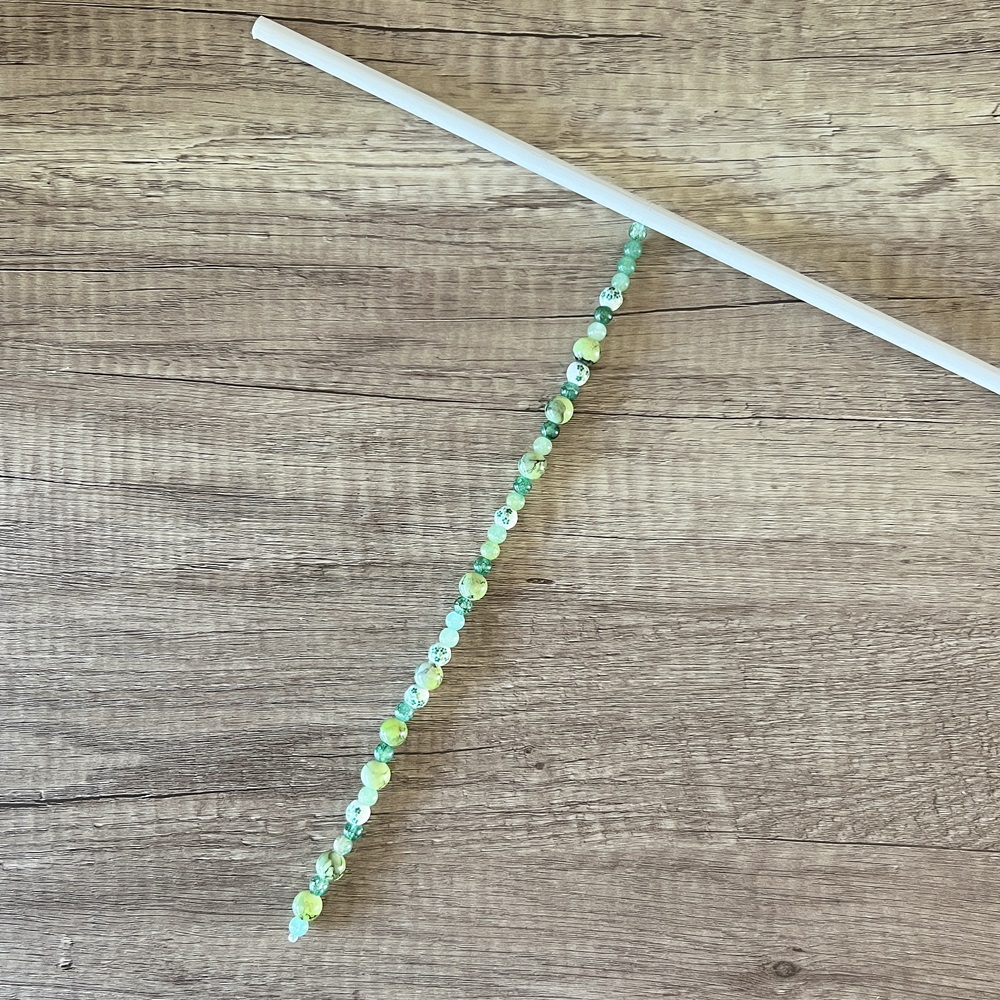
Step 2
Take one of the pieces of wire and fold it in half.
Place the wire in the middle of the dowel with one half of wire hanging over each side.
Tie three tight knots, securing the wire to the dowel. You should now have two equal pieces of wire, hanging from the dowel.
Take your beads and thread them on to the wire, ensuring both pieces of the wire are threaded.
When you have added the number of beads you would like, thread a seed bead on to one of the two pieces of wire and tie it on with three knots using both pieces of wire. You may wish to also add a spot of superglue to the knot.
Trim any excess wire underneath the knot.
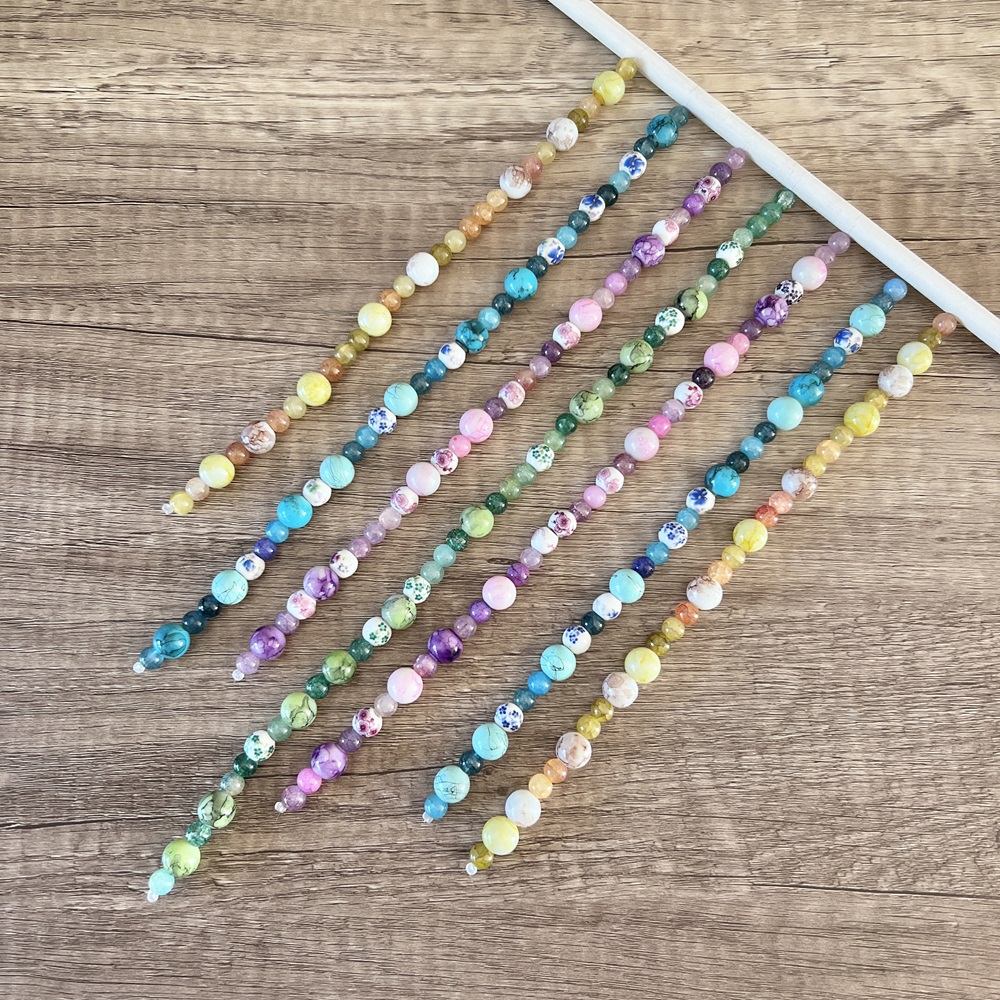
Step 3
Attach another piece of wire to the dowel (as above) 2cm along from the beaded wire.
As in the previous step, add on the beads you would like, finishing with the seed bead.
Add five more pieces of beaded wire, evenly distributing them along the length of the dowel.
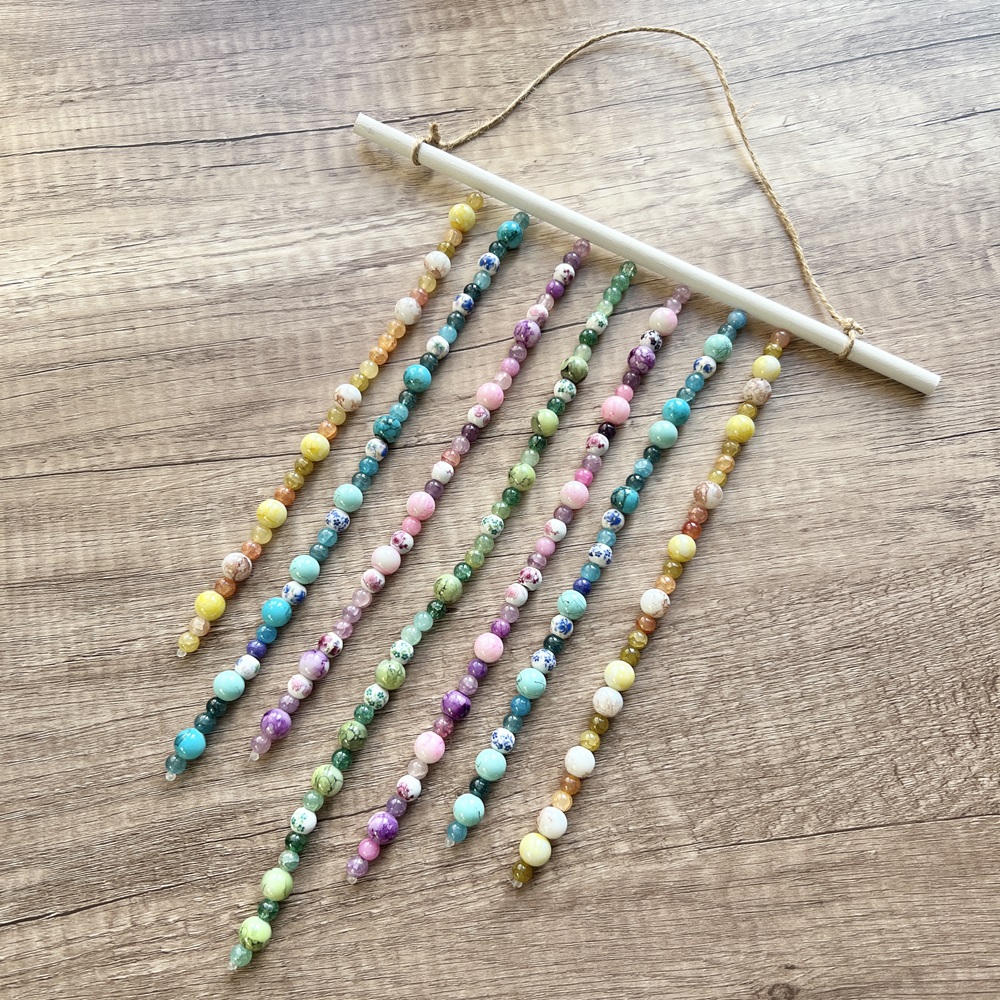
Step 4
Cut a piece of jute twine 40cm long. Take one end of the twine and attach it to one end of the dowel with a double knot. Repeat on the other end of the dowel to create a hanging for the wind chime.
Tips and ideas
- Use more or fewer wires of beads.
- Adjust the lengths of the bead strings to your liking.
- Use a thick stick instead of the dowel, leaving it unpainted for a natural look.
- Use up beads, buttons and bells etc. from your craft stash.
- This is a great activity for older children to work on.
June 2024 Beaded Wind Chime Printer Friendly PDF