This month Kirstie Phipps brings us two fantastic crafting projects that are both fun and functional for anyone who loves to crochet!
First, she’ll show you how to personalise your crochet experience by crafting a custom crochet hook handle, perfect for adding a touch of flair and comfort to your tools. She’ll also guide you through creating a gorgeous stitch marker that’s not only practical but also adds a bit of personality to your projects while you’re working on them.
Whether you’re a seasoned crocheter or just starting out, these simple yet inspiring crafts will help elevate your crochet game to the next level. Let’s get crafting!
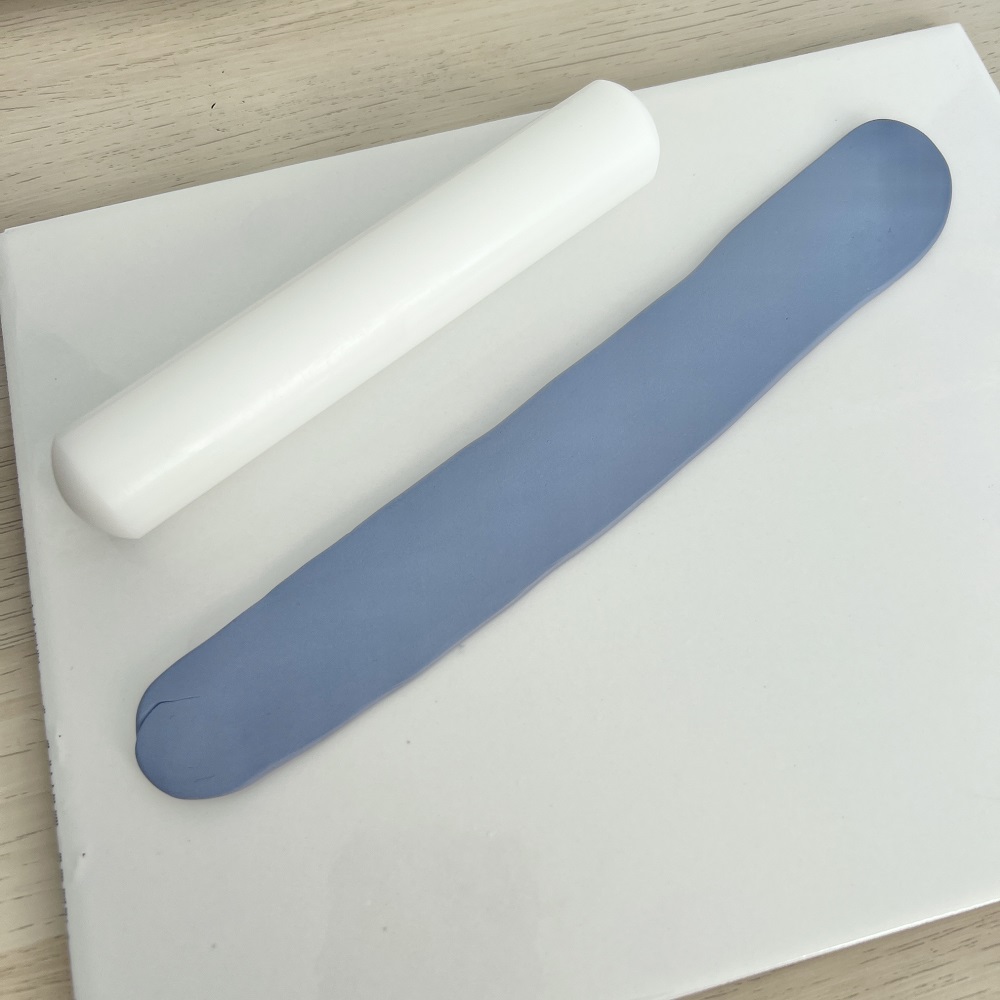
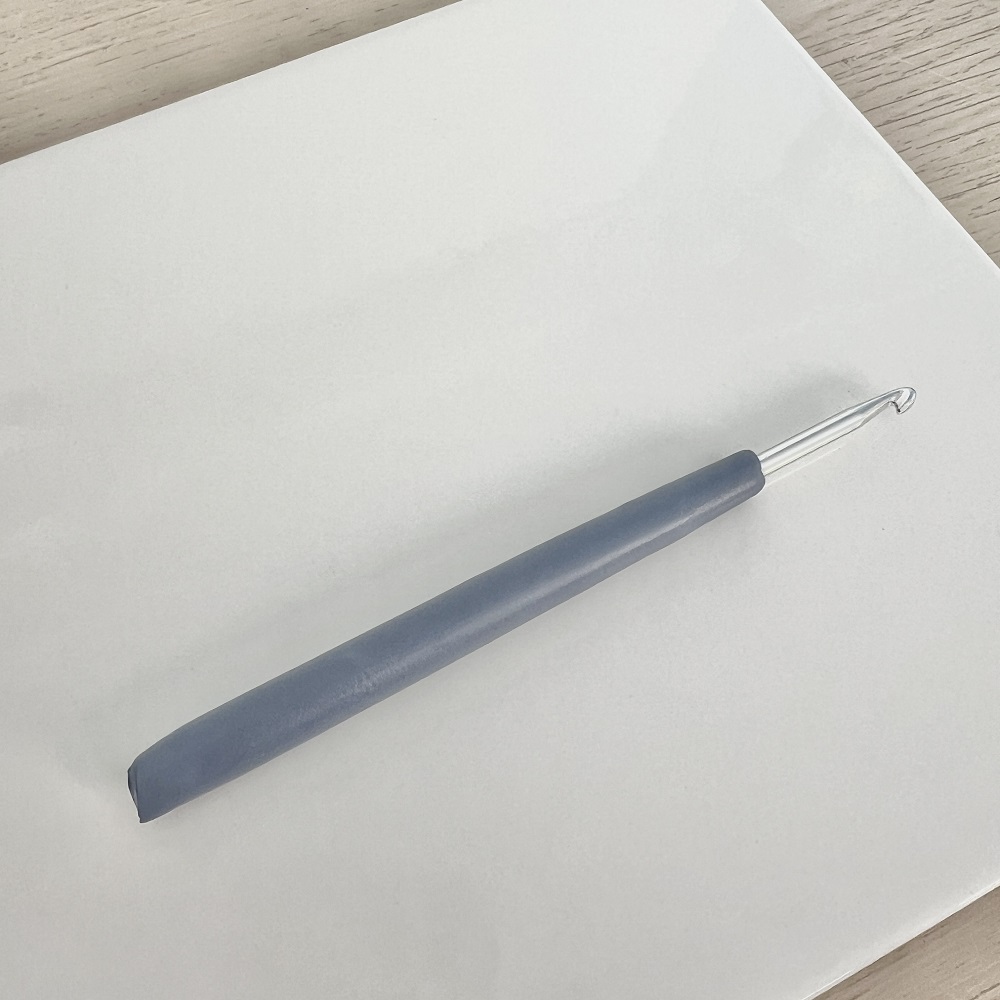
Ensure your work surfaces and hands are clean and lint free before handling the clay. Warm up the clay so it is in a workable condition. This can be done by using your hands or a rolling pin. To test if the clay is ready to use, roll it out on to your surface, you should then be able to pick it up, fold it in half and it should not crack on the fold. In your hands, make a ‘snake’ shape with the clay, this should be at least as long as your crochet hook and approximately 10mm diameter. Using the rolling pin, roll the clay on to your surface until it is 2mm thick.
Step 2
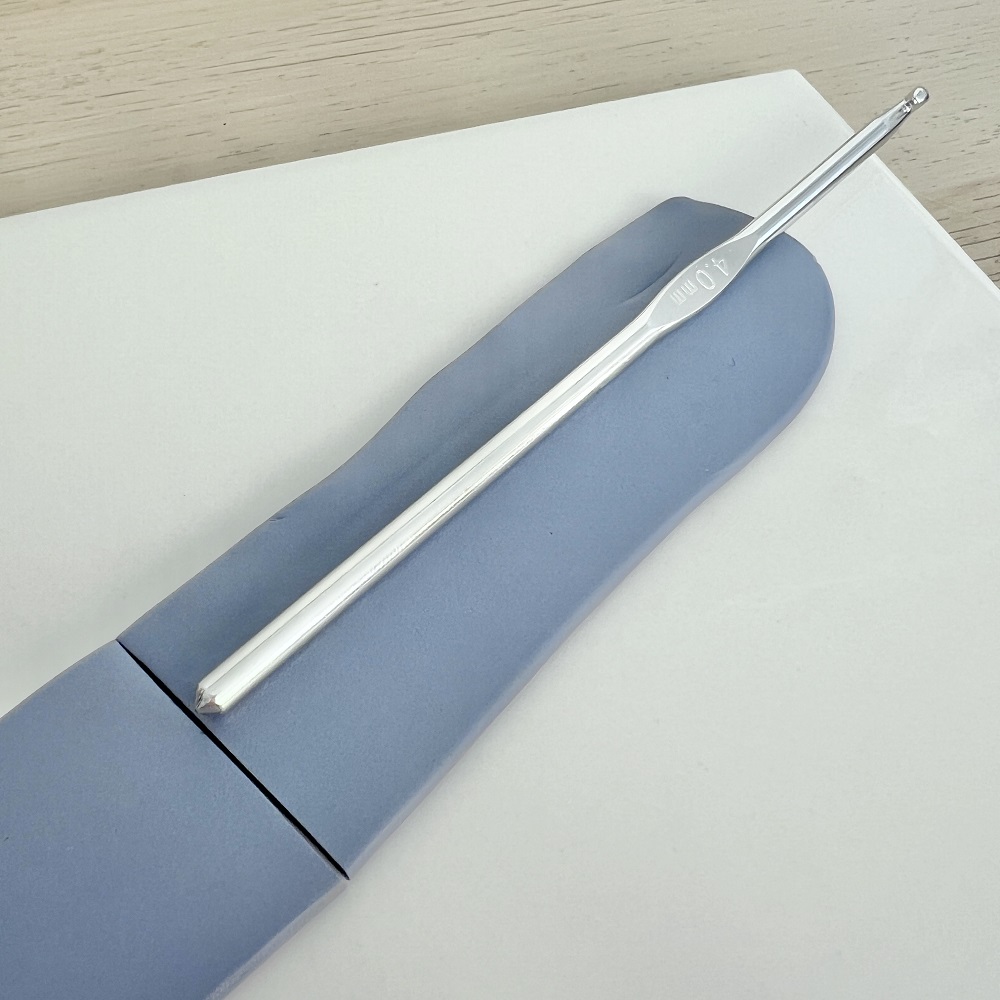
Place your crochet hook on to the top of the clay, with 25mm of the hook end overhanging and not on the clay. Using your craft knife cut off the clay at the bottom of the hook.
Step 3
Carefully roll the clay around the crochet hook until it is fully covered. You won’t need to use all of the clay – cut off any excess.
Step 4
Gently roll the hook on your surface – don’t press too hard. This will smooth out the clay and will remove any bumps.
Step 5
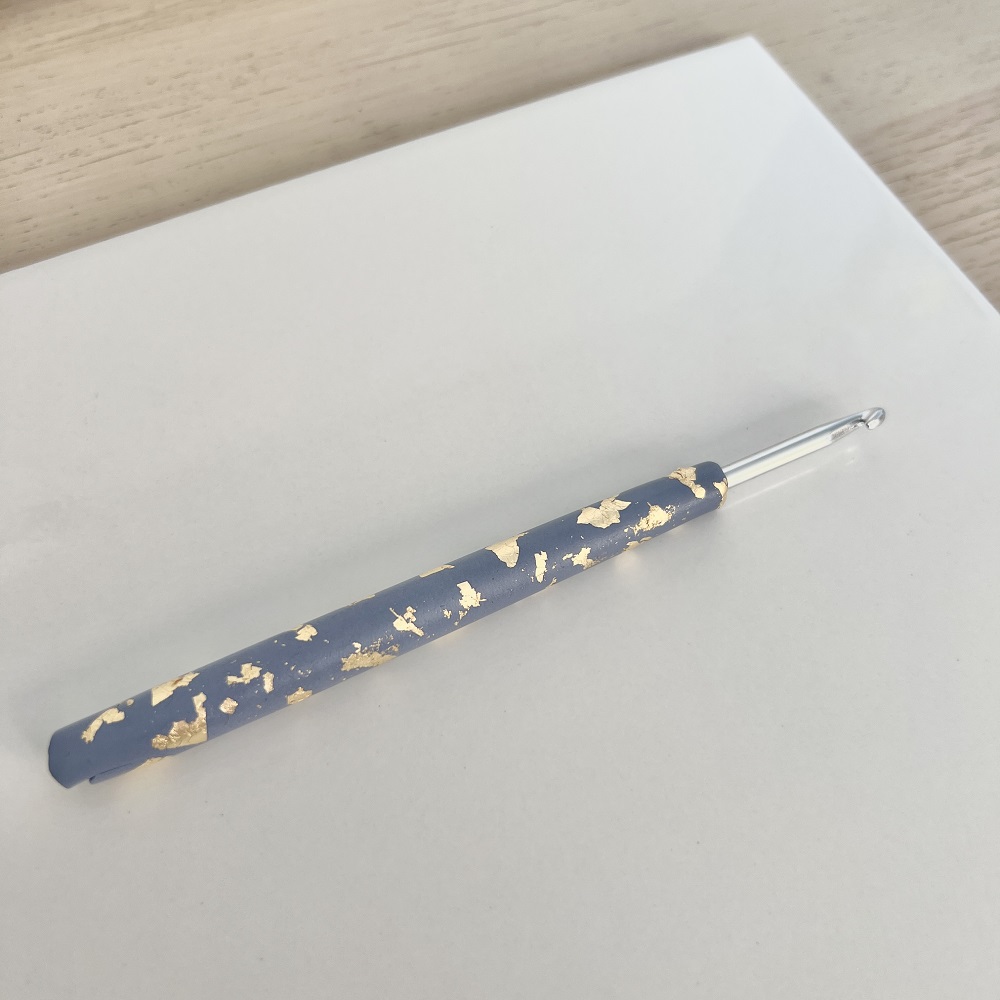
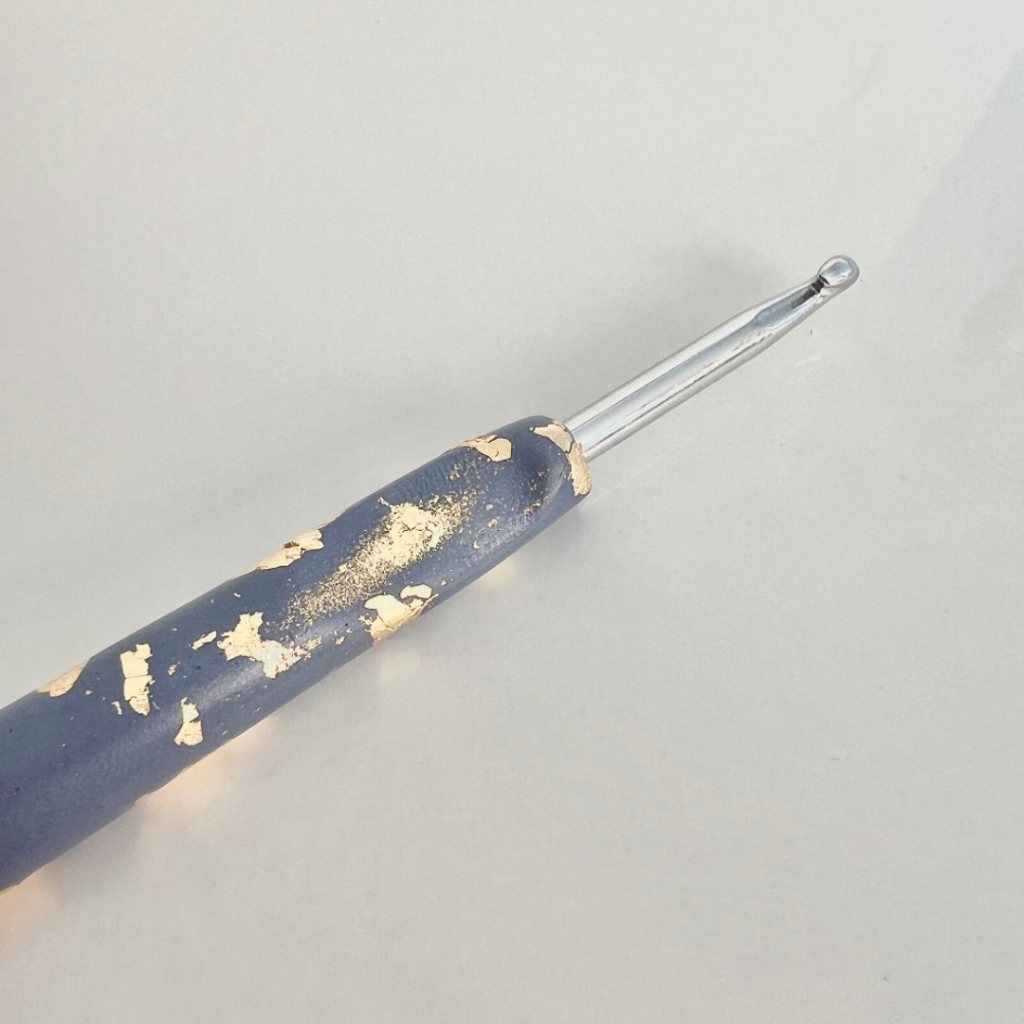
Carefully place pieces of the gold flake on to the clay. Gently roll the hook onto the tile again to ensure the gold flakes are attached to the clay. You may want to gently run your fingers over the flakes too to check they’re fully stuck.
Step 6
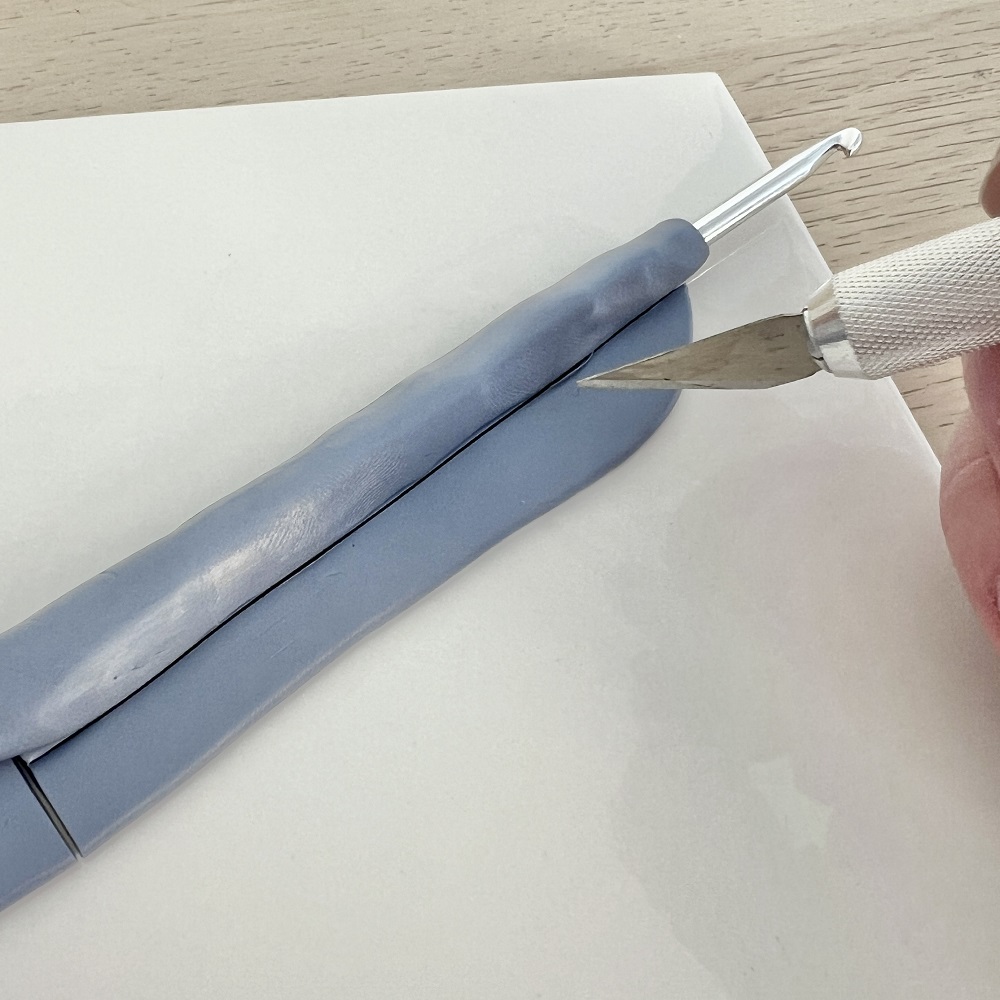
If you would like to add a thumb indent into your hook for ease of holding, push your thumb into the clay where you would like the indent. Use your thumb/finger to smooth out the thumb print left in the clay. Use your fingers to neaten the clay at the top end of the hook. You may also need to trim any excess clay at the bottom of the hook and then neaten with your fingers.
Step 7
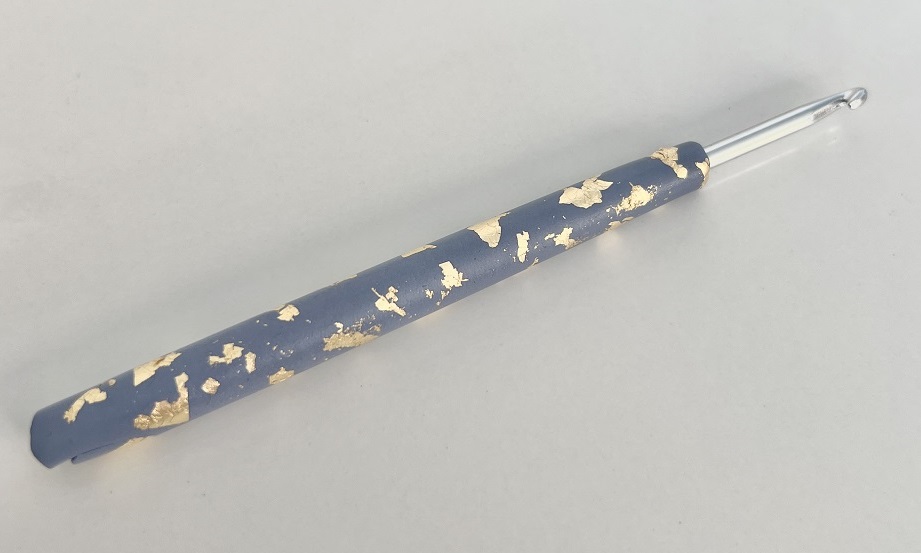
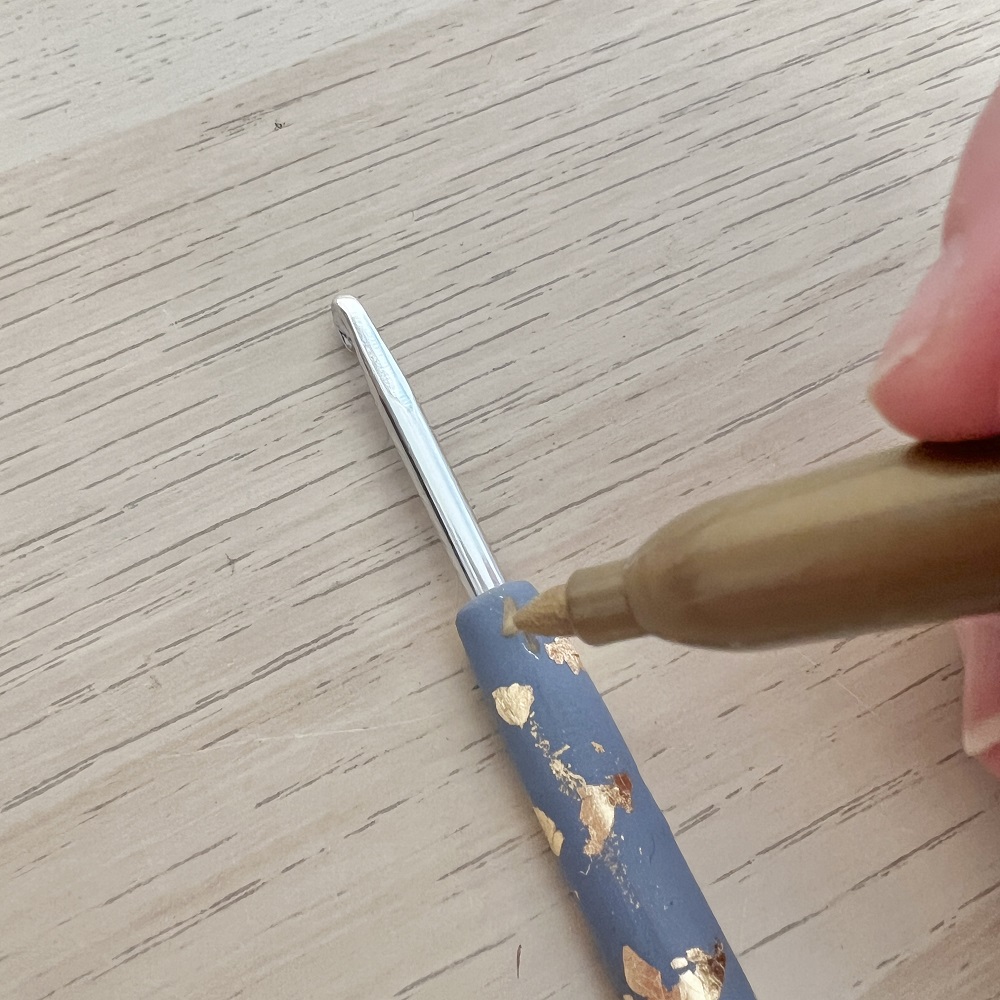
Line a baking tray with baking paper or plain copy paper and place the hook onto the tray. Follow the manufacturer’s instructions to bake the clay onto the hook. Leave to cool. When cool, using a permanent pen, write the hook size onto the clay.
Tips and ideas
This is a great project to use up scrap pieces of polymer clay you may have in your craft stash.
Experiment with clay and create different designs – marble, terrazzo, spotty etc.
You may wish to apply a coat of sealant over the hook to protect the design.
Create a set of covered hooks to gift to family and friends.
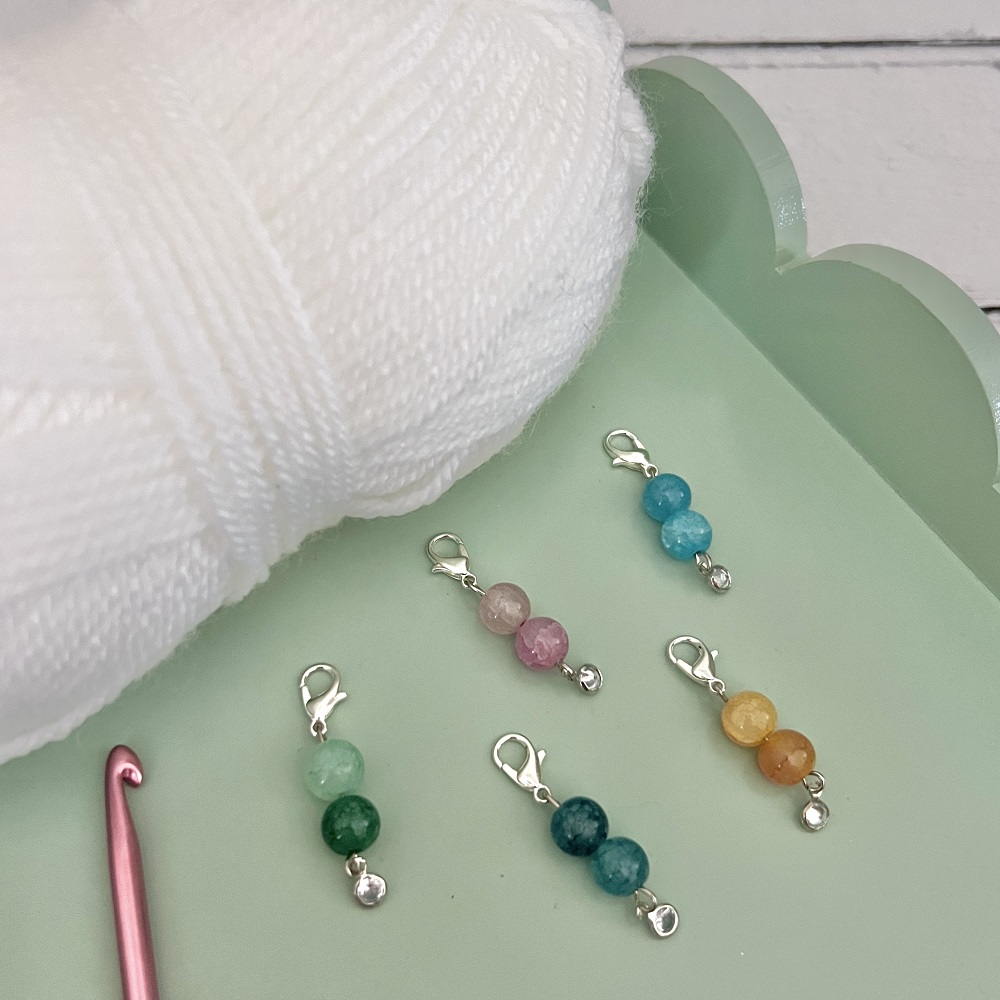
Stitch Markers
Skill level: Beginner To make one stitch marker, you will need:
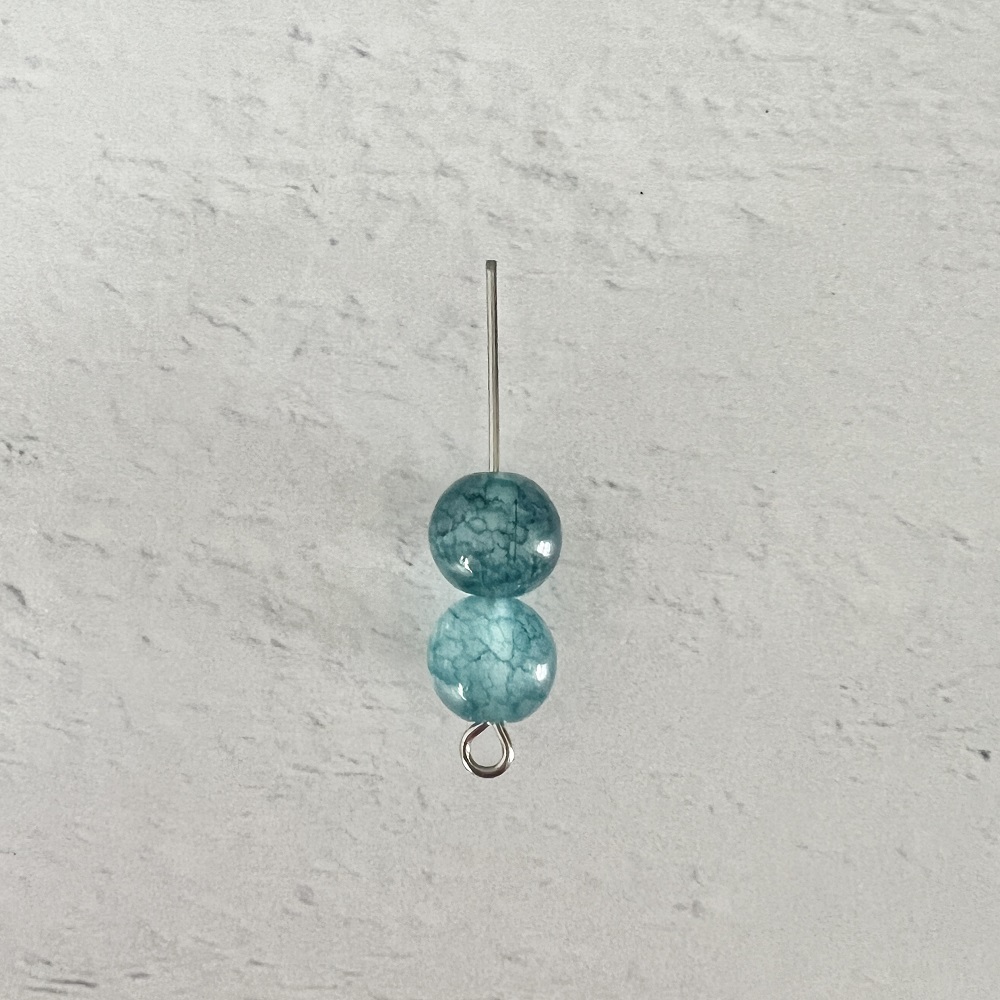
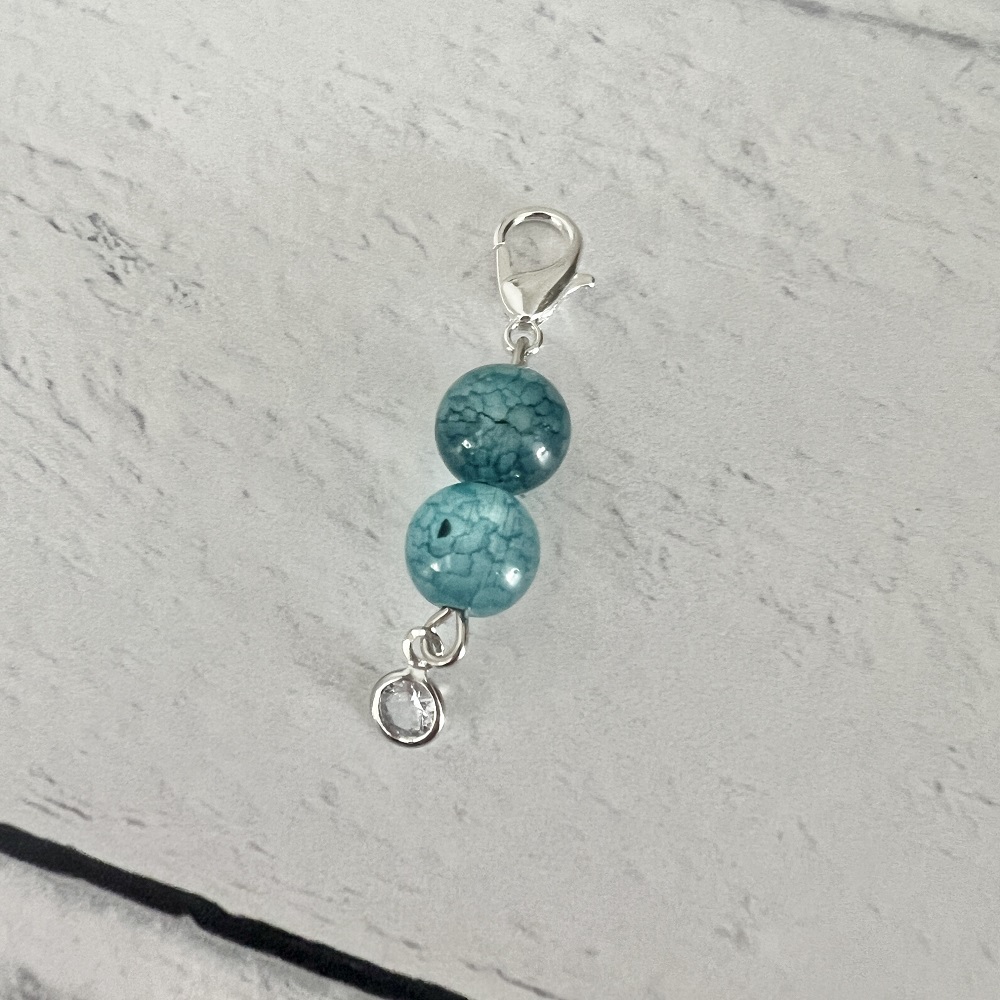
Take the two beads and thread them onto the eyepin.
Step 2
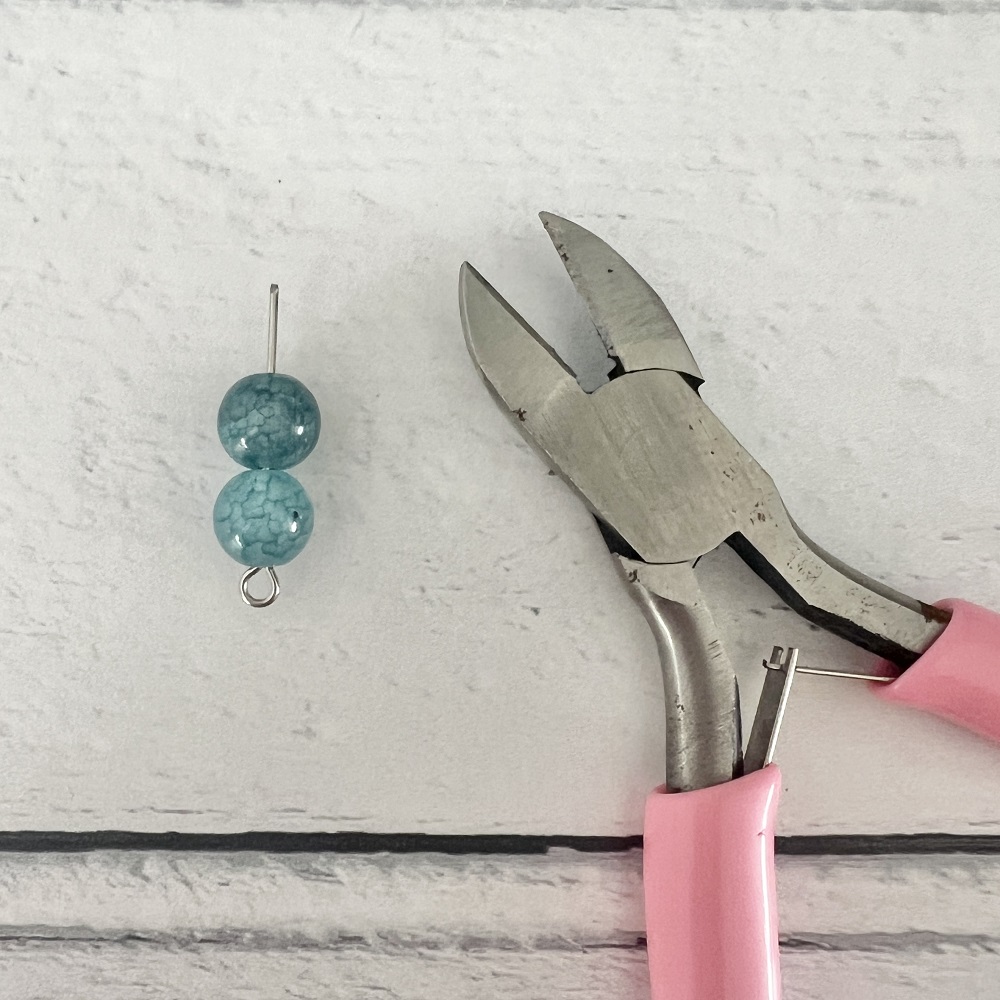
Ensure there is 10mm of the eyepin sticking out from the beads (the open end without the loop). You may need to use your cutting pliers to trim the pin.
Step 3
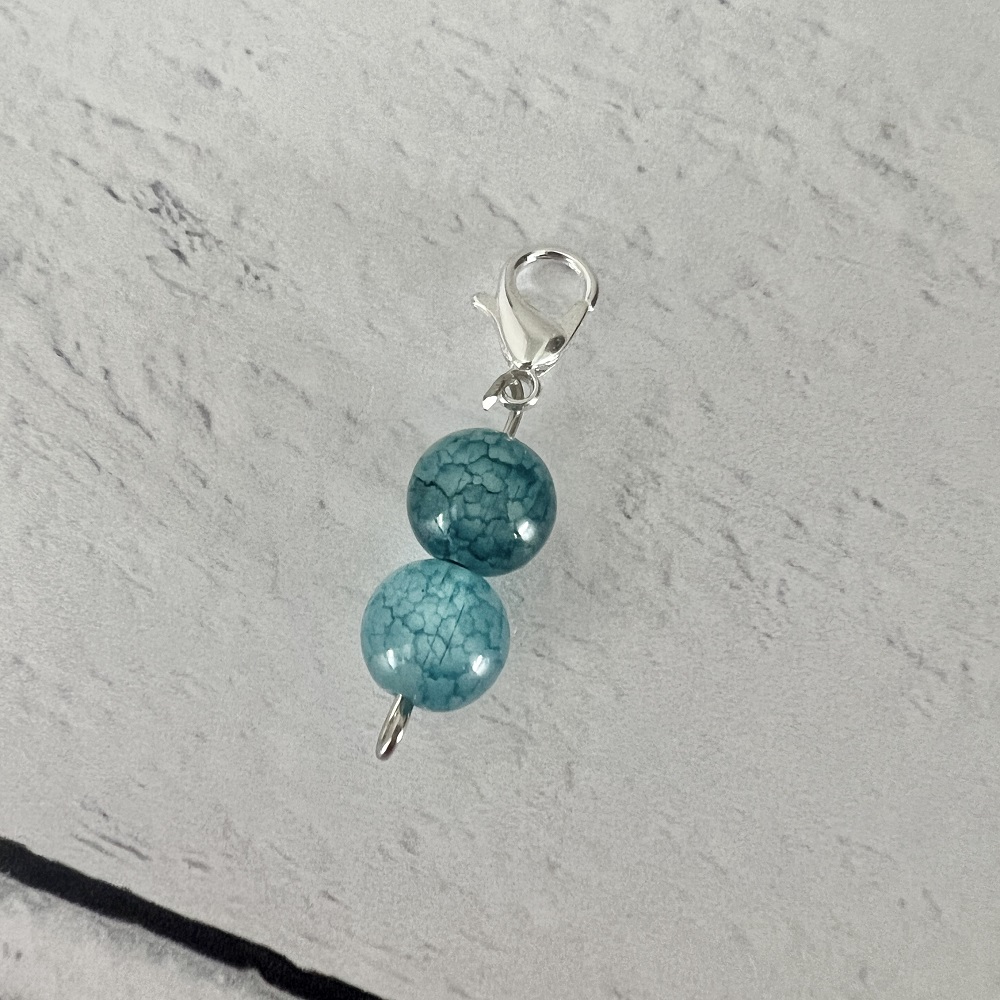
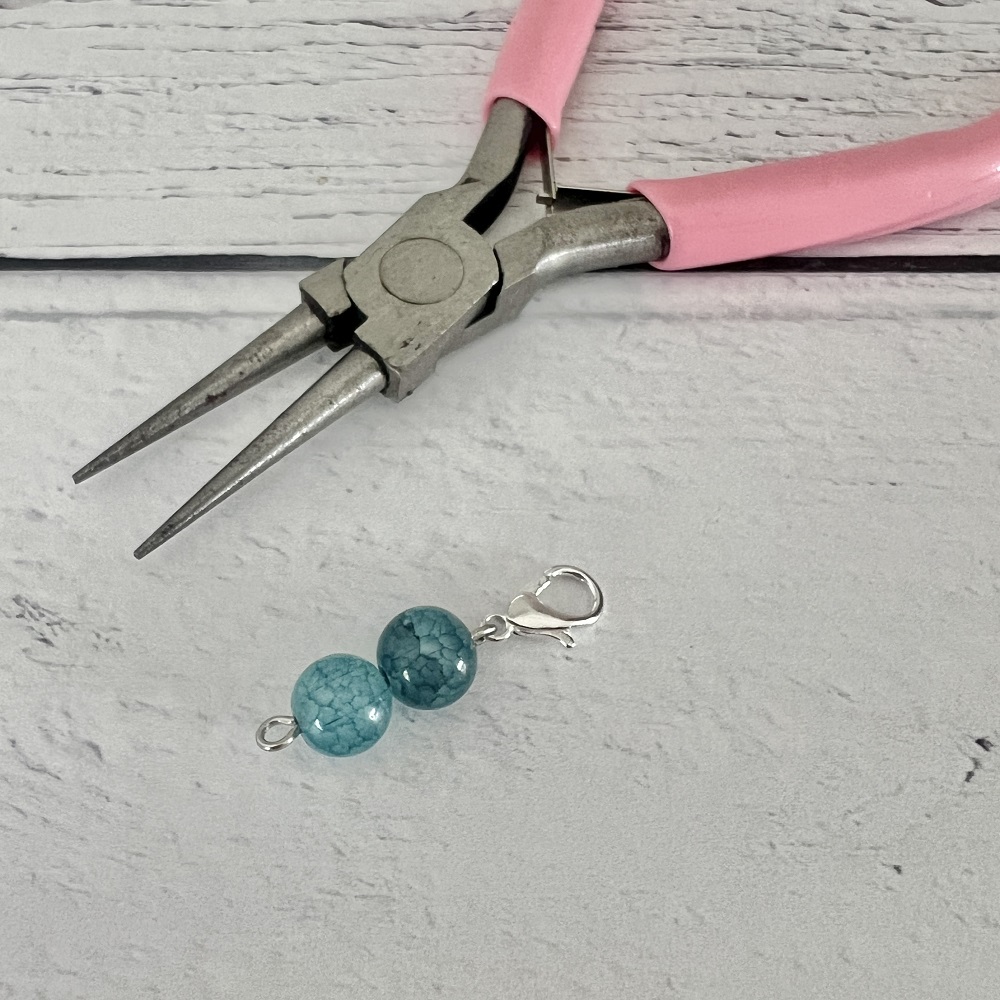
Using the round nosed pliers, carefully bend the straight end of the pin into a hook shape. Place the lobster clasp onto the hook.
Step 4
Use the round nosed pliers to fully close a loop, with the lobster clasp attached.
Step 5
At the other end of the eyepin, use your pliers to slightly open the loop. Attach the loop of your charm and close the loop on the eyepin.
Tips and ideas
The markers can be used for crochet or knitting.
Add number beads for the markers to be used to count rows.
Personalise the markers by adding initial beads.
If you don’t have a charm to add to the bottom, use a headpin instead of an eyepin.
You could use up beads and charms from your craft stash.
Create a set of stich markers to gift to your family and friends.